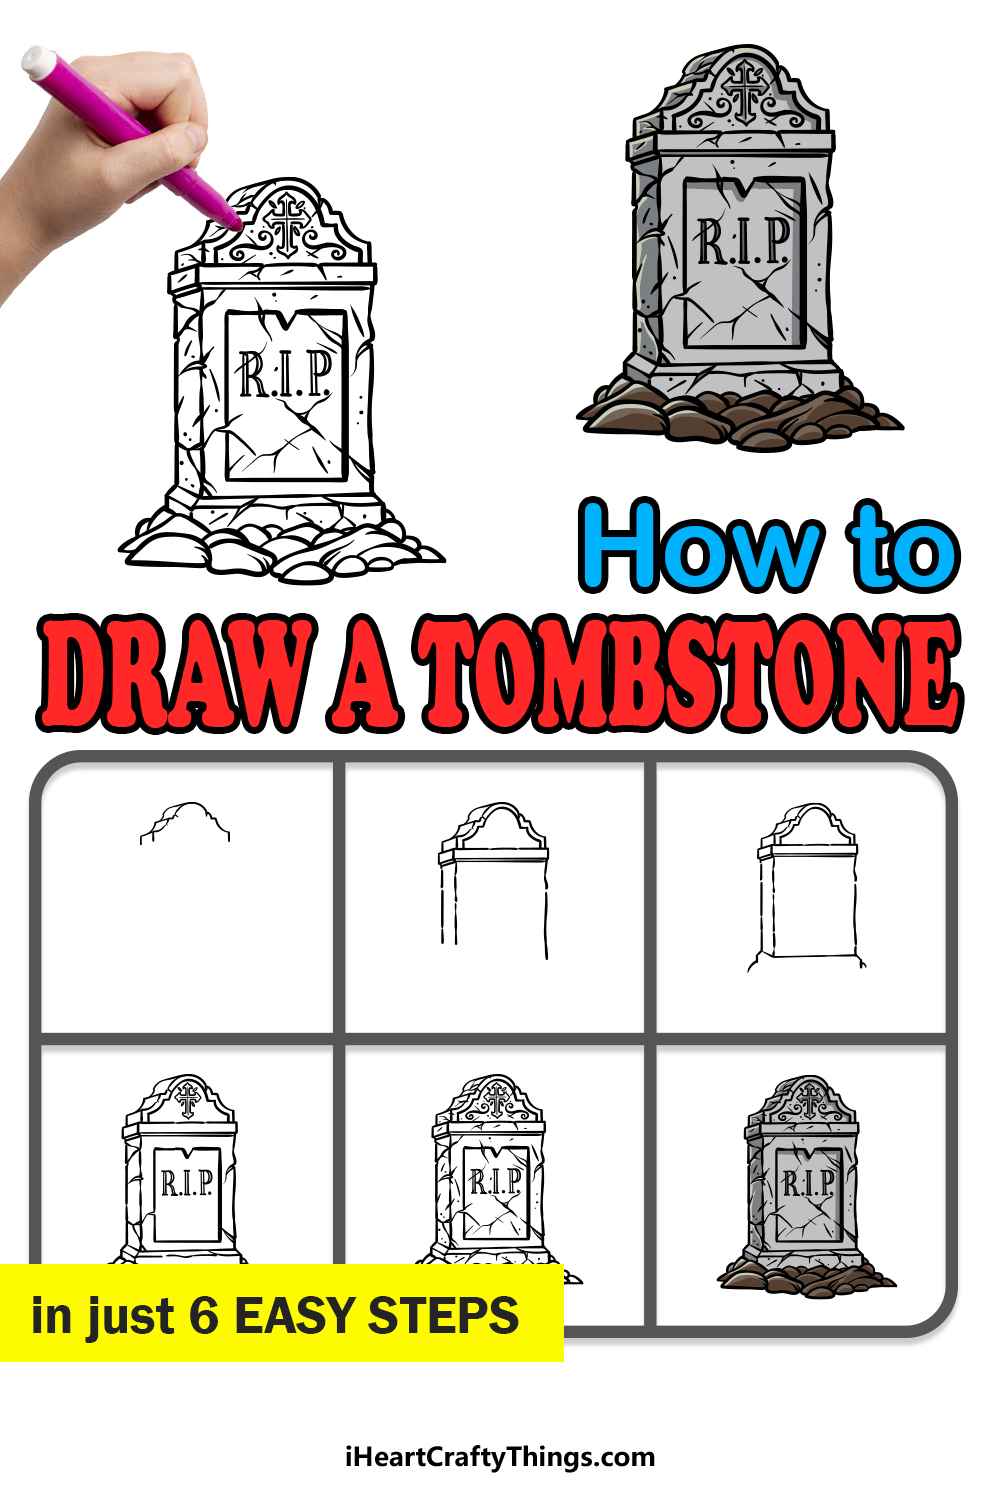
It’s dead easy to learn how to draw a tombstone when you follow this guide for kids. You can create some incredible art when you follow these simple steps.
Gravestones have become a symbol of creepiness thanks to Halloween decorations and horror movies, but they serve a noble purpose. They’re there to note the names and information of people who have passed so that they won’t be forgotten.
Of course, you certainly can depict them in spooky drawings as well. No matter what kind of art you would like to create, you can use this guide to make it happen.
I’ll show you how to build up all of the details so that you can easily complete it. Once you have finished it, you could change the details and add a background to make it more unique.
Find Out How To Make Your Tombstone Drawing
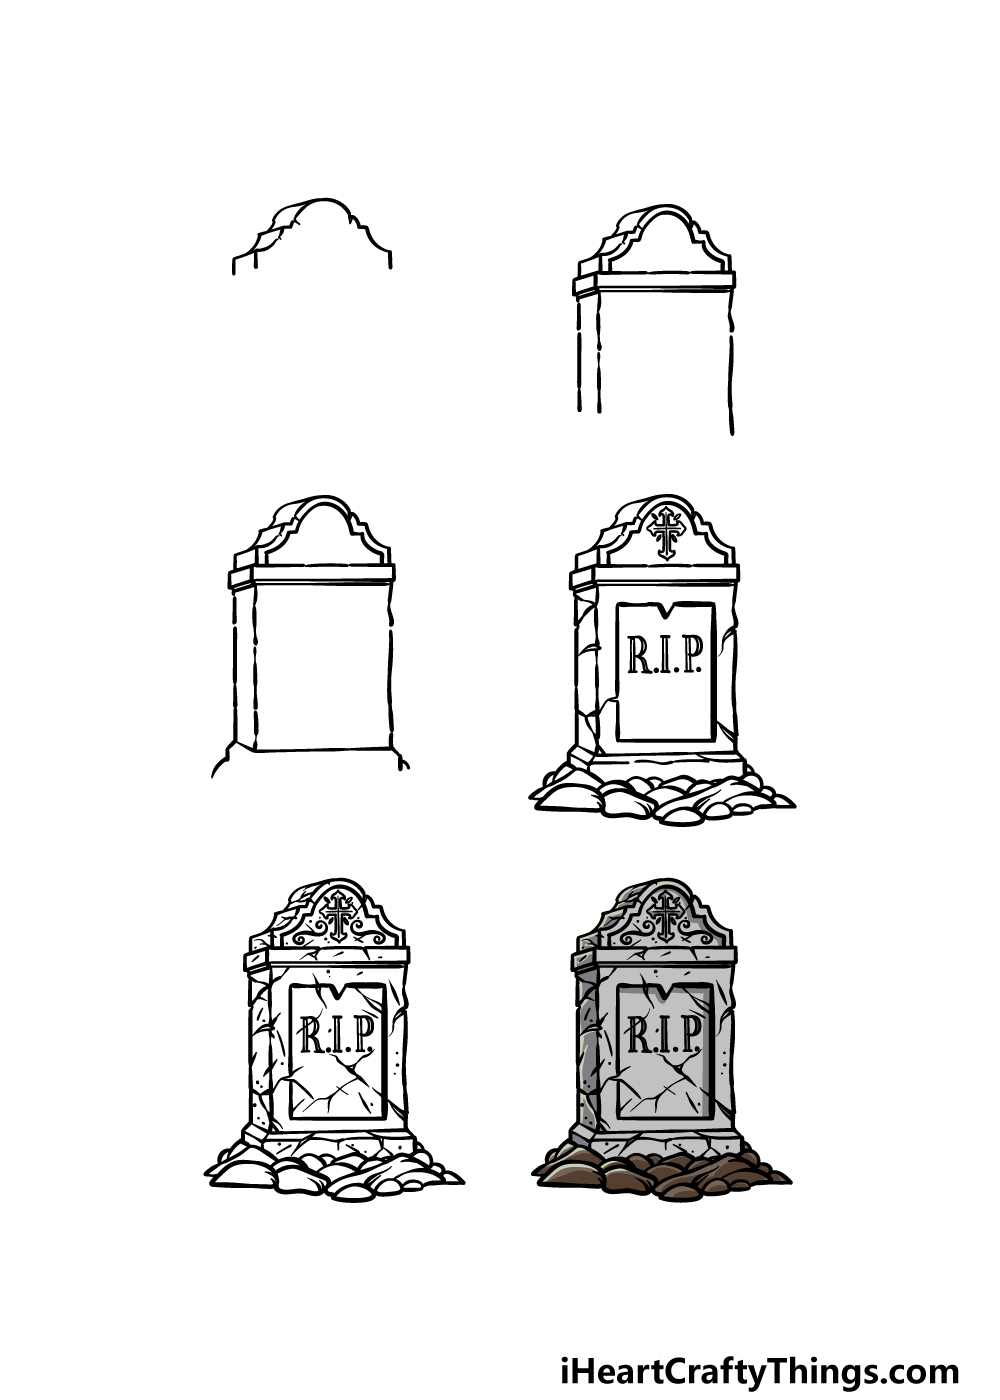
How to Draw A Tombstone – Let’s Get Started!
Step 1
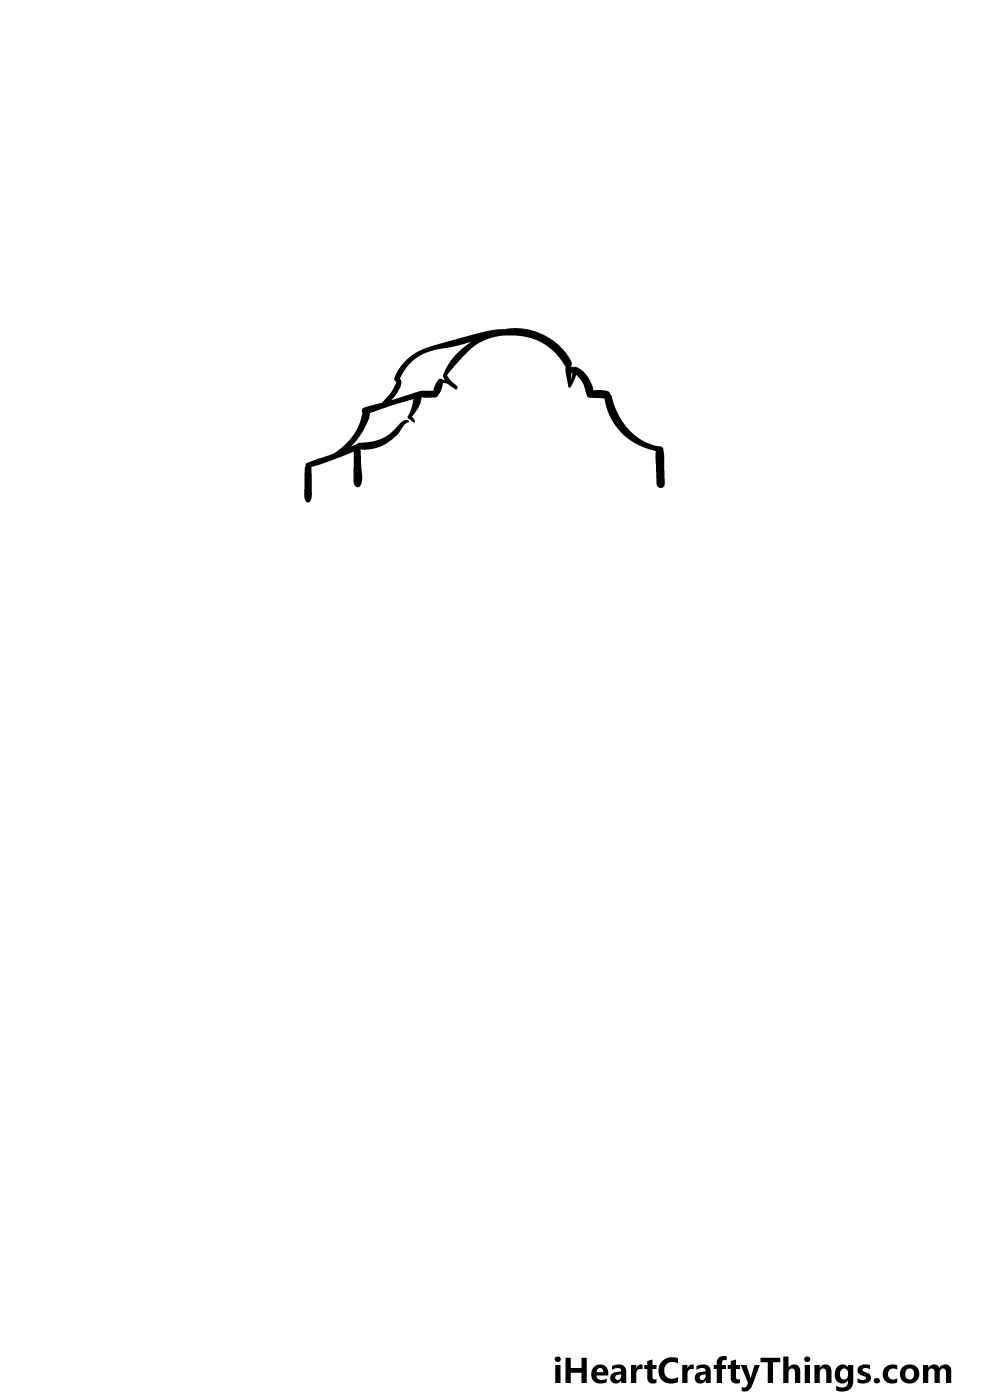
Tombstones will often have a very specific style or shape to their structure, and we will be replicating a classic example in this guide on how to draw a tombstone.
To get this process started, we will begin with the top of the tombstone.
When drawing this tombstone, remember that it is a thick slab of stone, and this is worth keeping in mind as you draw depth for the tombstone.
With that in mind, we will be using a combination of straight and curved lines to create the shape of the top of the tombstone. The top will be wide and get thinner with each layer of the shape.
Then, once you have drawn this outline you can then draw that depth we spoke about by extending some curved lines “backward” from the tombstone.
Step 2 – Next, draw some details along with the sides of the tombstone
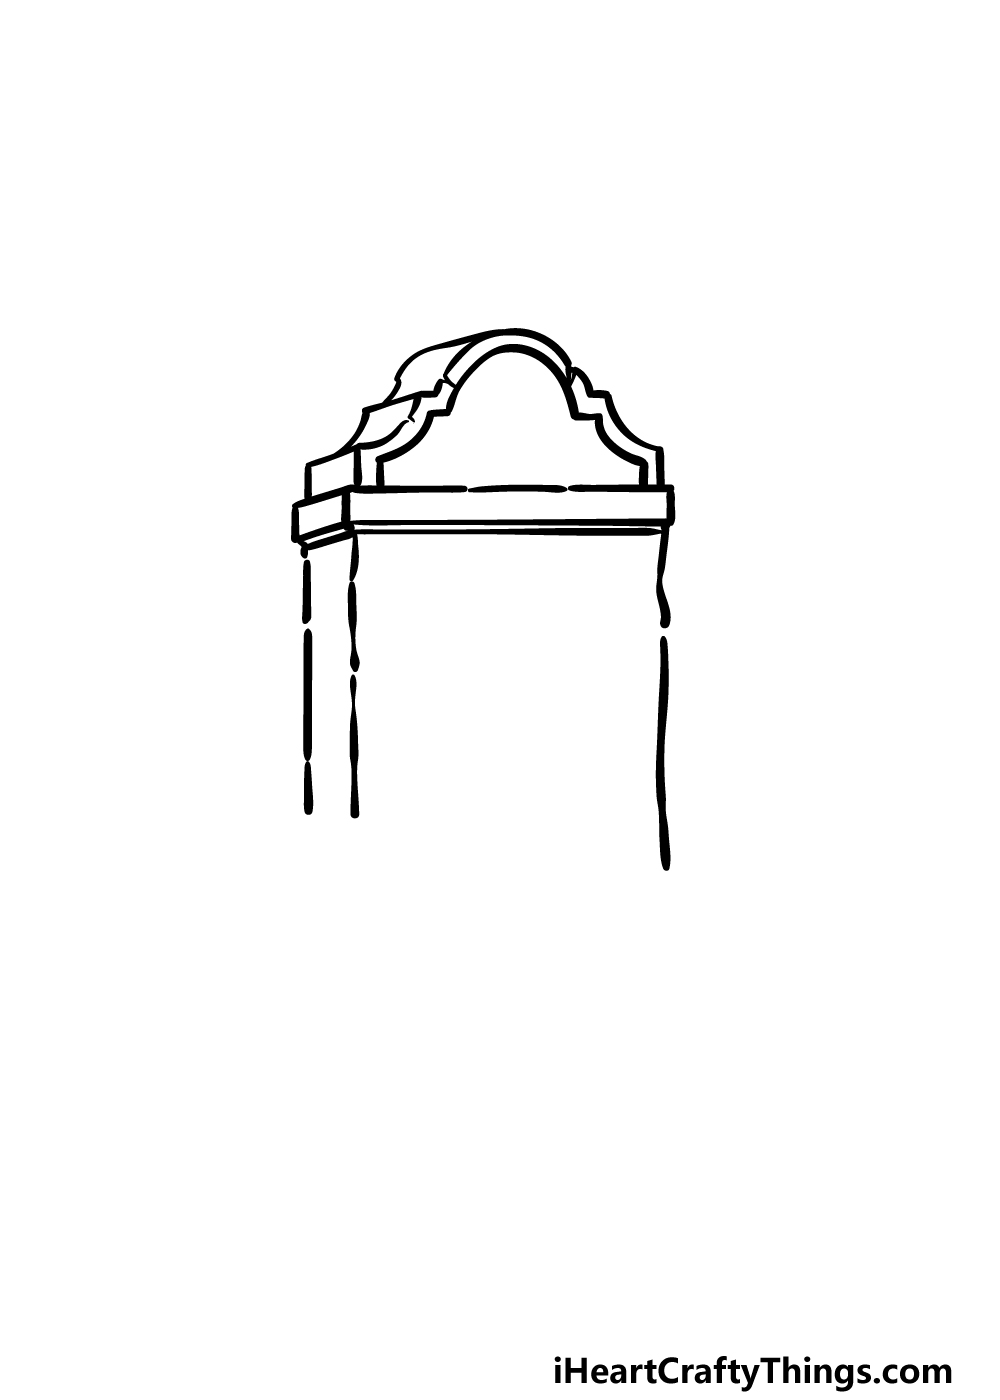
Now we will add some details and structure to your tombstone drawing in this next step. First, we will be drawing a little ridge near the top of the tombstone.
This ridge will go directly beneath where you stopped drawing in the last step. You can draw it by adding some thin rectangular shapes at the angles we show in the reference image.
Once that ridge is drawn, we will then draw another line inside the outline for the top tip of the tombstone, as shown in the reference picture.
Finally, we will draw some straight lines down from the top of the tombstone to create the sides. These lines would be better off drawn freehand, as we want to make it look like it’s made of rough stone.
Step 3 – Draw the base of the tombstone in this step

This picture is really starting to take shape now! In this third step of our guide on how to draw a tombstone, we will be drawing the base for it.
First, extend the lines that you drew for the sides of the tombstone down a little bit further. Then, once you have done that then you can use some more straight lines to create the base of the tombstone.
As you do this, try to copy the line angles that we used in our reference image. Then you will be ready to start adding some decorative elements in the next step!
Step 4 – Now, draw some more details for the tombstone
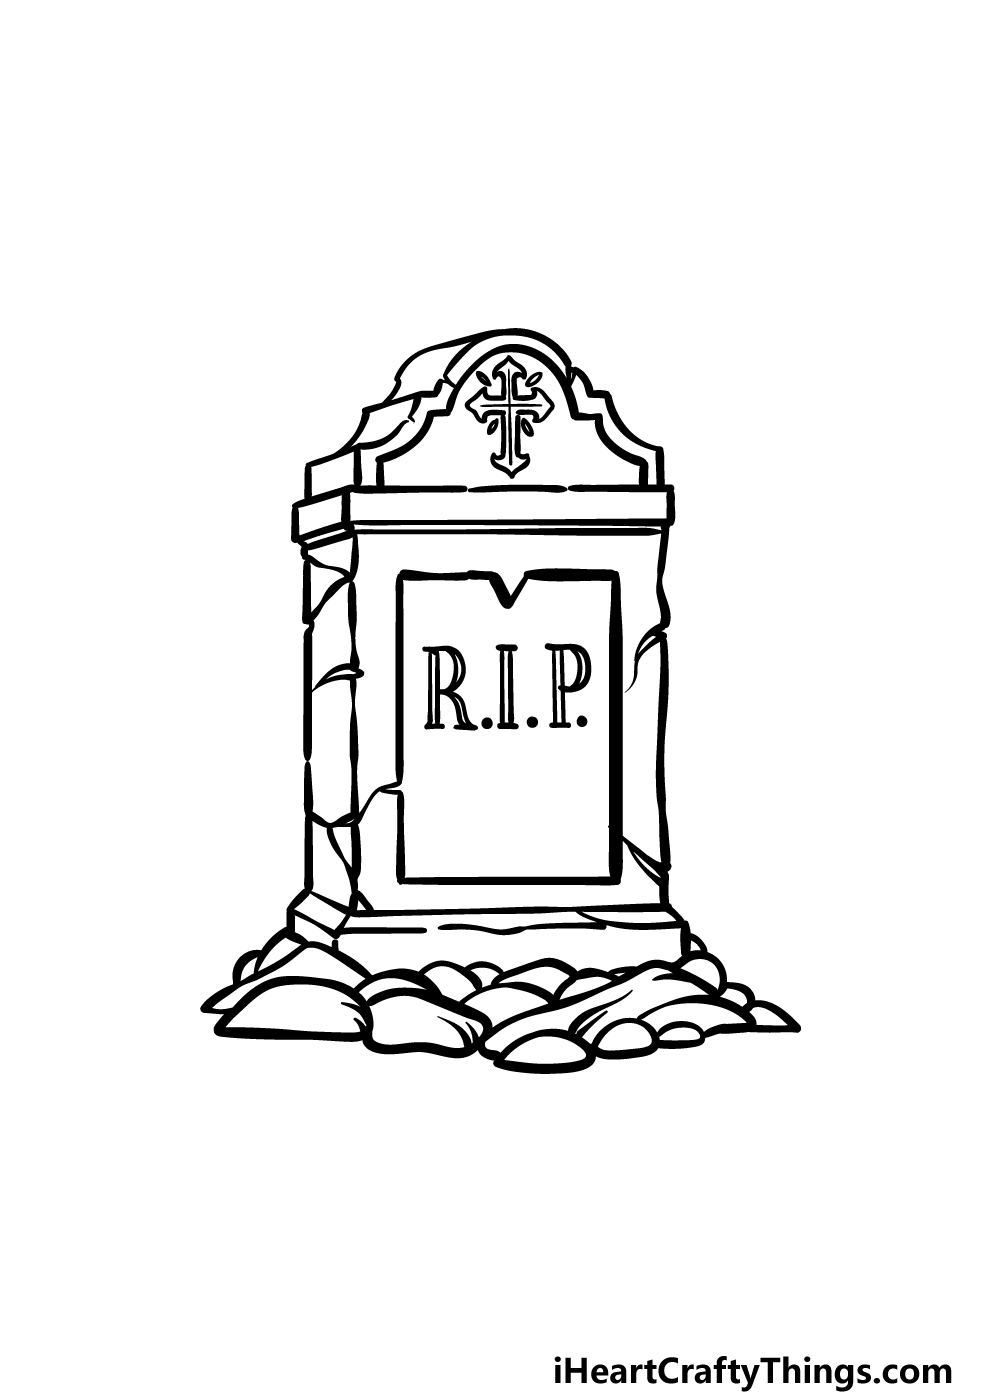
Now that you have the general outline of your tombstone drawing done, we can start to add some finer details in this step.
First, we will be drawing lots of rounded shapes near the base of the tombstone to create some clumps of earth and rock.
It wouldn’t be a spooky tombstone without RIP on it, so we will draw that onto the face of the tombstone now.
The RIP will be drawn in simple, sharp text that you can copy from the reference image. You could also use a different font or style, or even draw a name or more text information onto it.
Then, there will be an ornate cross drawn near the tip of the tombstone. You can finish off by drawing some large cracks onto the tombstone to make it look really old and weathered.
In the next step, you will start adding some final details and elements to finish it off nicely!
Step 5 – Add some final details to your tombstone drawing
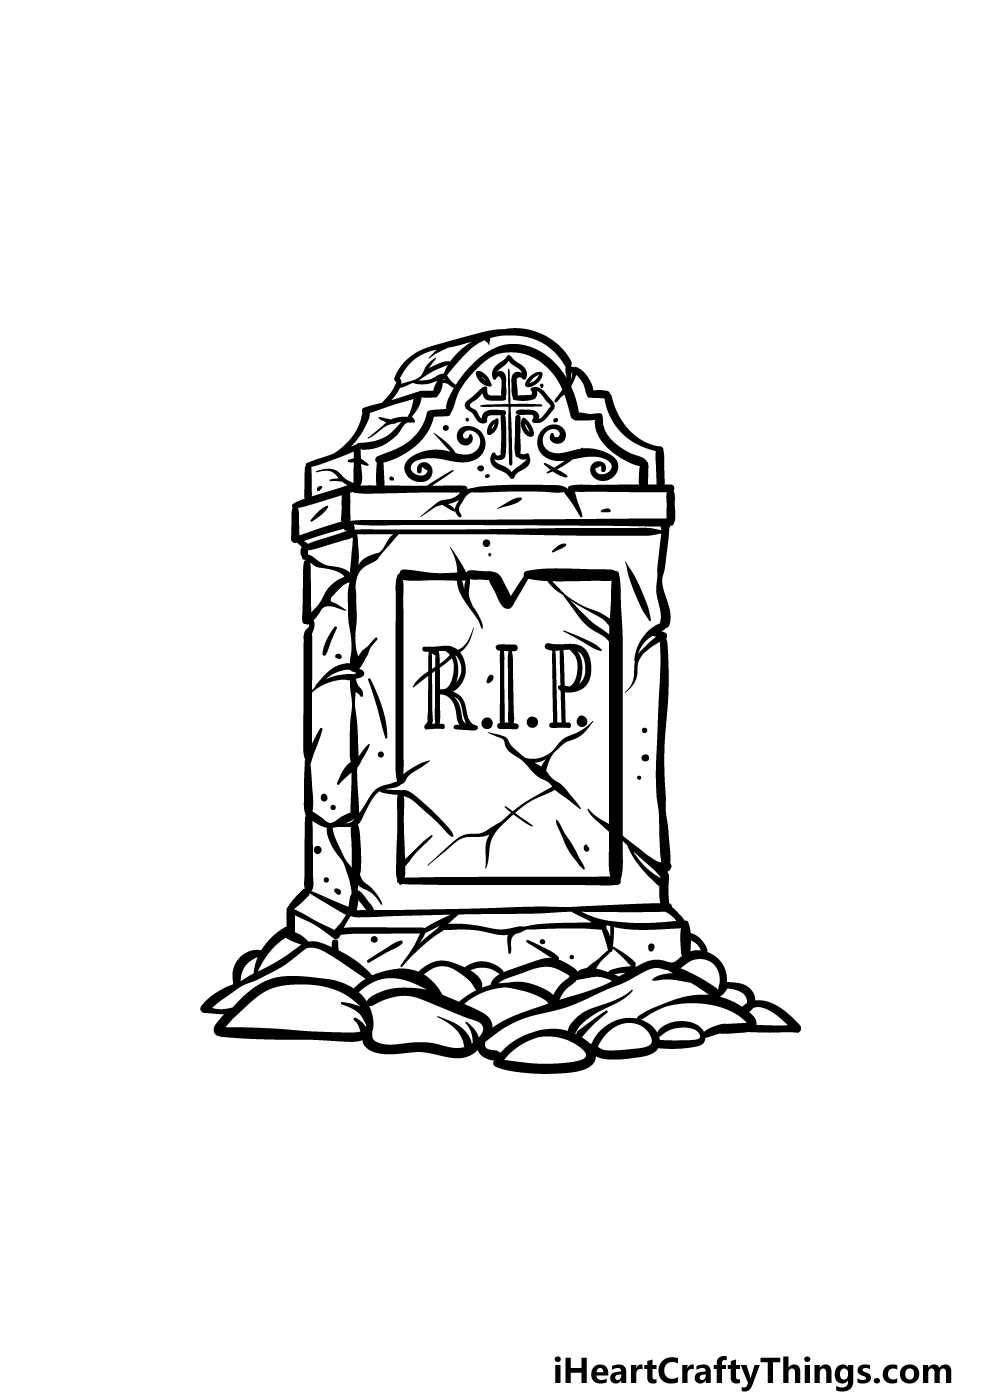
Before you bring some color to this image, we first have some final details and touches to add in this step of our guide on how to draw a tombstone.
The tombstone is already looking quite old and weathered, but with these final details we will make it look even more so!
We added a bunch of scratches, chips and cracks to make it look even older. You could add more or fewer of these details depending on how old you want it to look.
For an extra touch, you could draw something like a ghost or skeleton if you would like a Halloween feel for this picture.
Step 6 – Finish off your tombstone drawing with some color
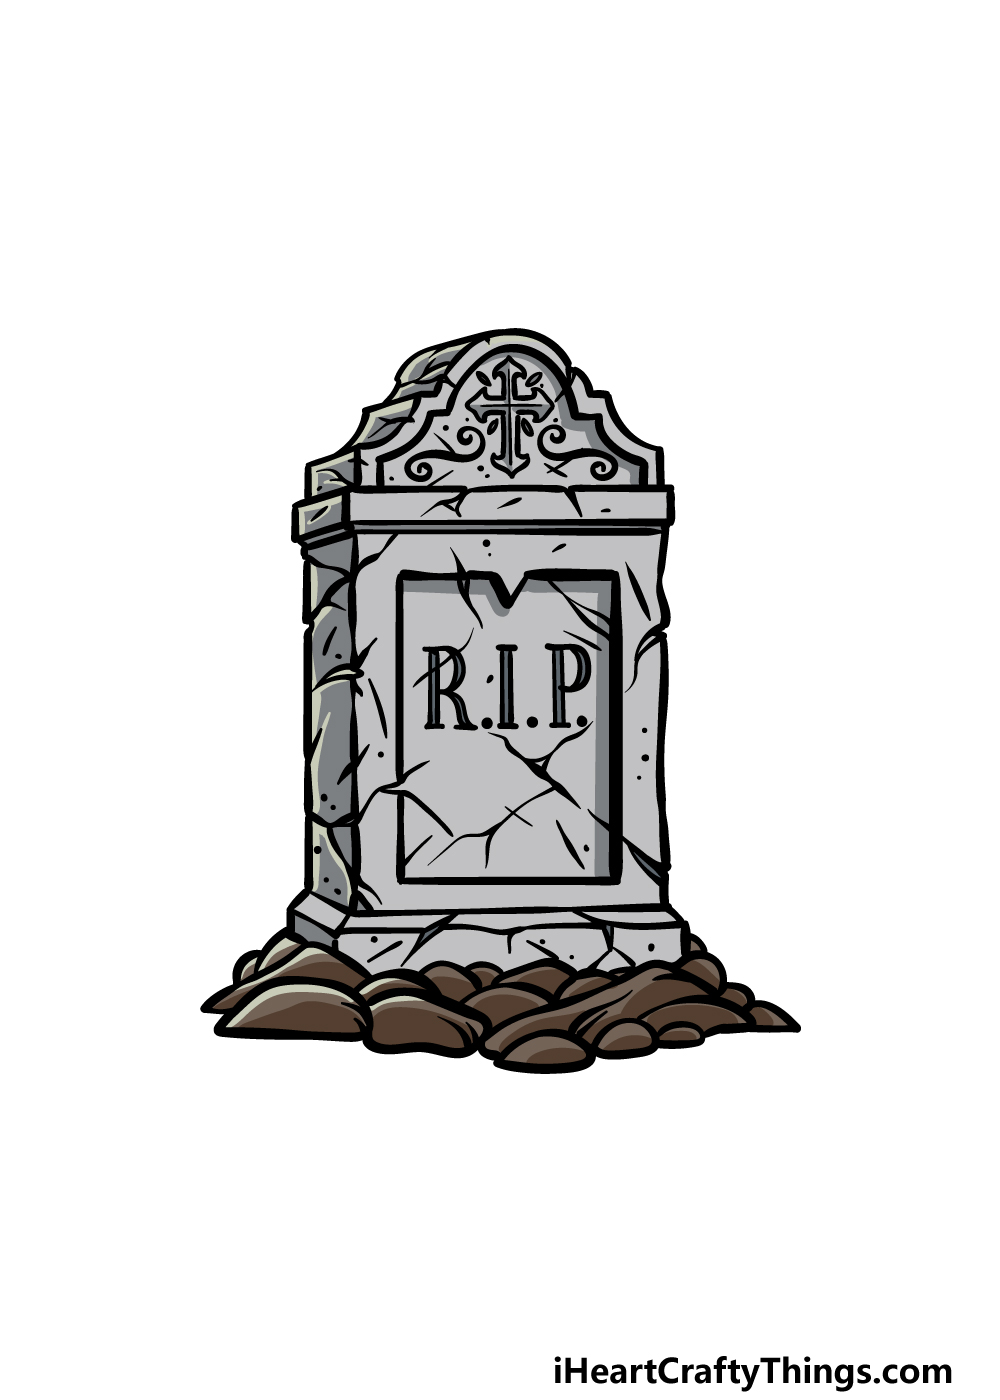
Seeing as they are made of stone, tombstones generally aren’t particularly colorful. In our example of this tombstone drawing, we used different shades of grey to create some shading and weathering effects for it.
You could also use some browns or other colors instead if you prefer!
If you would like an atmospheric feel for this picture, one idea would be to use a light, white wash of watercolor paint around the base of the tombstone.
This will make it look as if there is a blanket of mist around the tombstone.
This is just one idea, but what else can you think of to color this tombstone drawing?
Do this to take your tombstone drawing to the next level
Explore these 4 tips we have for making your tombstone sketch even better!
For this drawing of a tombstone we created, we can see the tombstone and some of the dirt it’s sitting in. You could make the image even more interesting by adding other smaller elements around it.
For example, you may want to add some blades of grass or even some flowers growing around it.
These kinds of details will help to give this scene more of a sense of place and will make it look more realistic.
What other details like these could you add?
Once you have customized the area around the tombstone, you could then add some detail to the stone itself. We have a R.I.P. on the tombstone, but you could take the design a bit further than that.
For example, you could add a name or a set of years to make it look more like a real tombstone. These are just a few of the details you could add to make the tombstone look even more authentic!
Tombstones are also frequently used in scary movies or Halloween decorations. You could add a spooky touch to this tombstone drawing by adding some horror elements.
For one idea, you could draw a skeleton arm plunging up from the ground. Or, you may have a scary ghost floating near the tombstone. Can you think of any other scary touches you could use to finish off the scene?
Finally, once you have added all your chosen details to your tombstone sketch, you could draw some more of the background.
How extensive this background is would be up to you, but it would make the drawing even more involved.
You might want to draw the rest of the graveyard, and this would mean you could draw many other tombstones. Or, it could be cool to draw a big haunted mansion in the background.
There are so many possibilities, and adding a background would allow you to make all kinds of fun scenes!
Your Tombstone Drawing is Complete!
Tombstones are either a symbol of a somber occasion or a prop in a horror movie or Halloween setup.
Despite this, we hope that this guide on how to draw a tombstone was a fun and easy experience for you. We aimed to take out all difficulty in this drawing by breaking it down into small steps.
We also wanted to leave it open enough for you to add your own details, so hopefully we succeeded in both these goals!
On our website, we have tons of drawing guides like this one for you to enjoy. We will be uploading more soon as well, so keep checking in to never miss out!
When you have completed this tombstone drawing, we hope that you will share it on our Facebook and Pinterest pages for us to admire!