Deer are some of the most recognizable animals in the animal kingdom.
They are common throughout the United States and many other places around the world, and these peaceful animals are always a welcome sight!
They can also be lots of fun to draw, but their complex antlers and faces can make it a bit tricky to learn how to draw a deer head.
It’s tricky unless you have the right guide, that is, and that guide happens to be in front of you now!
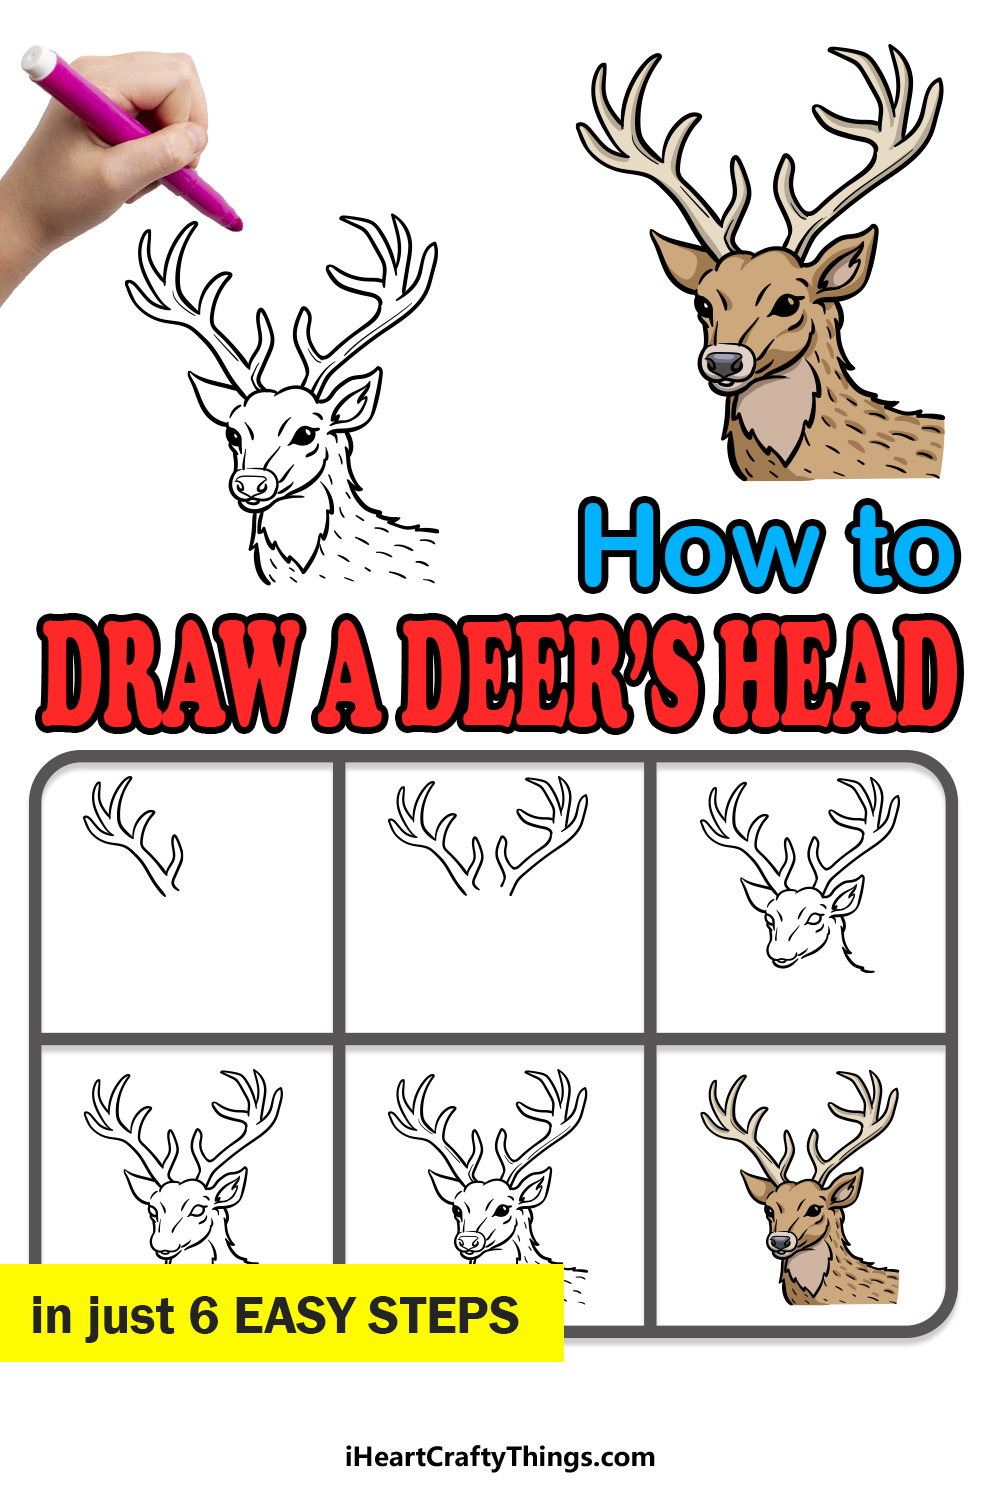
This step-by-step guide on how to draw a deer head in just 6 easy steps will have you recreating this amazing animal in no time.
How to Draw A Deer Head – Let’s get Started!
Step 1
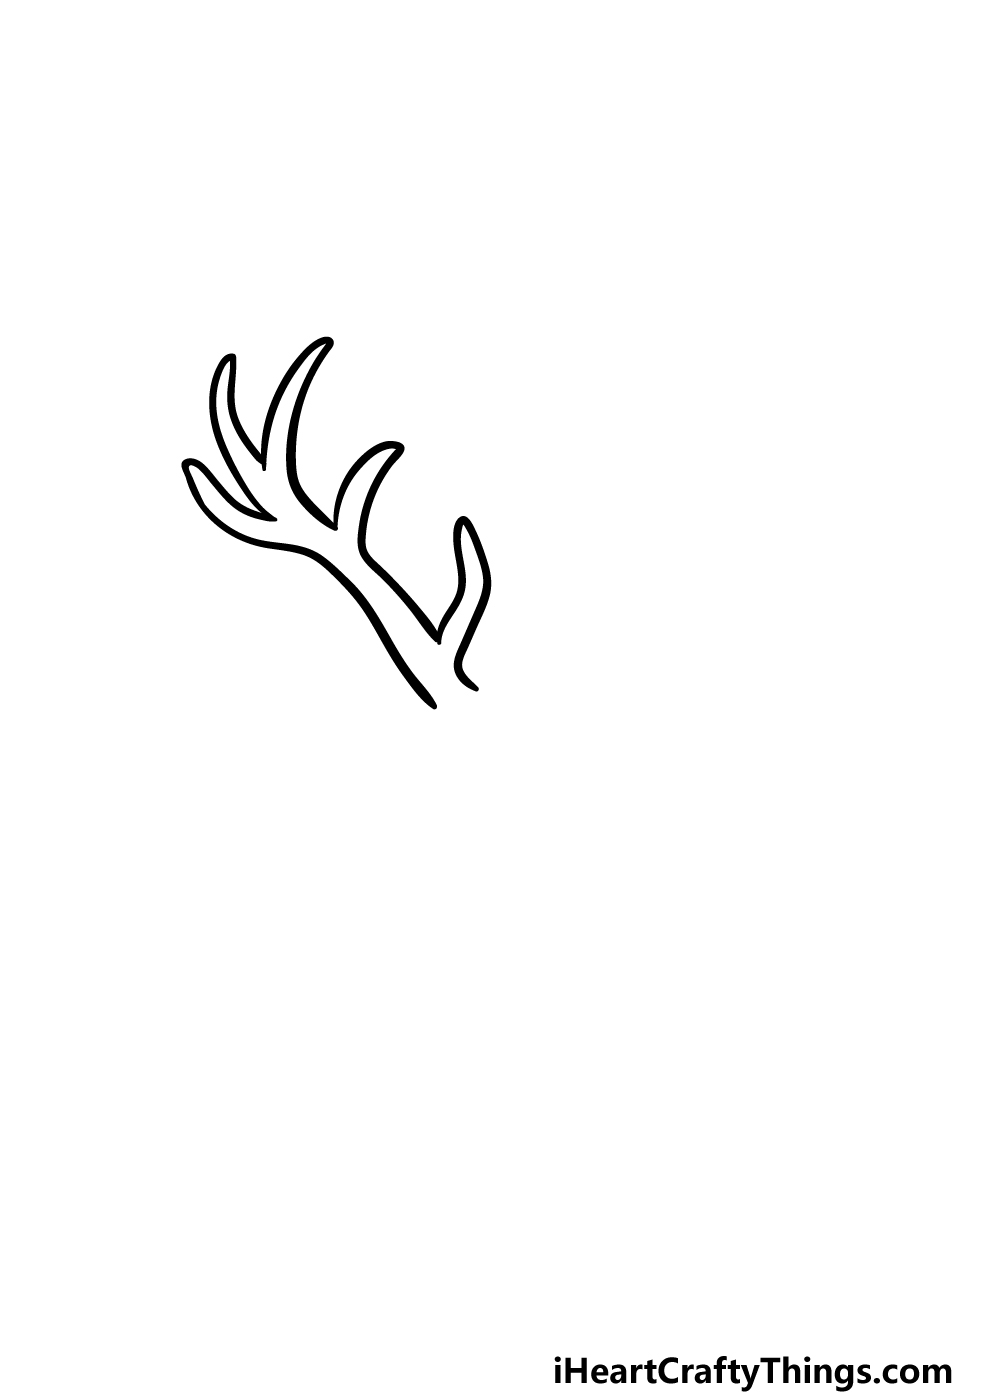
We mentioned in the introduction to this guide on how to draw a deer head that the antlers are one of the trickier parts to draw. That’s why we will start with one of these antlers for this step.
The antlers will have a central part to them with some sharp shapes branching off of them.
To draw this, we will be using some curved lines that end in sharp points for the parts protruding off the central part of the antler.
Step 2 – Next, draw another antler for the deer head
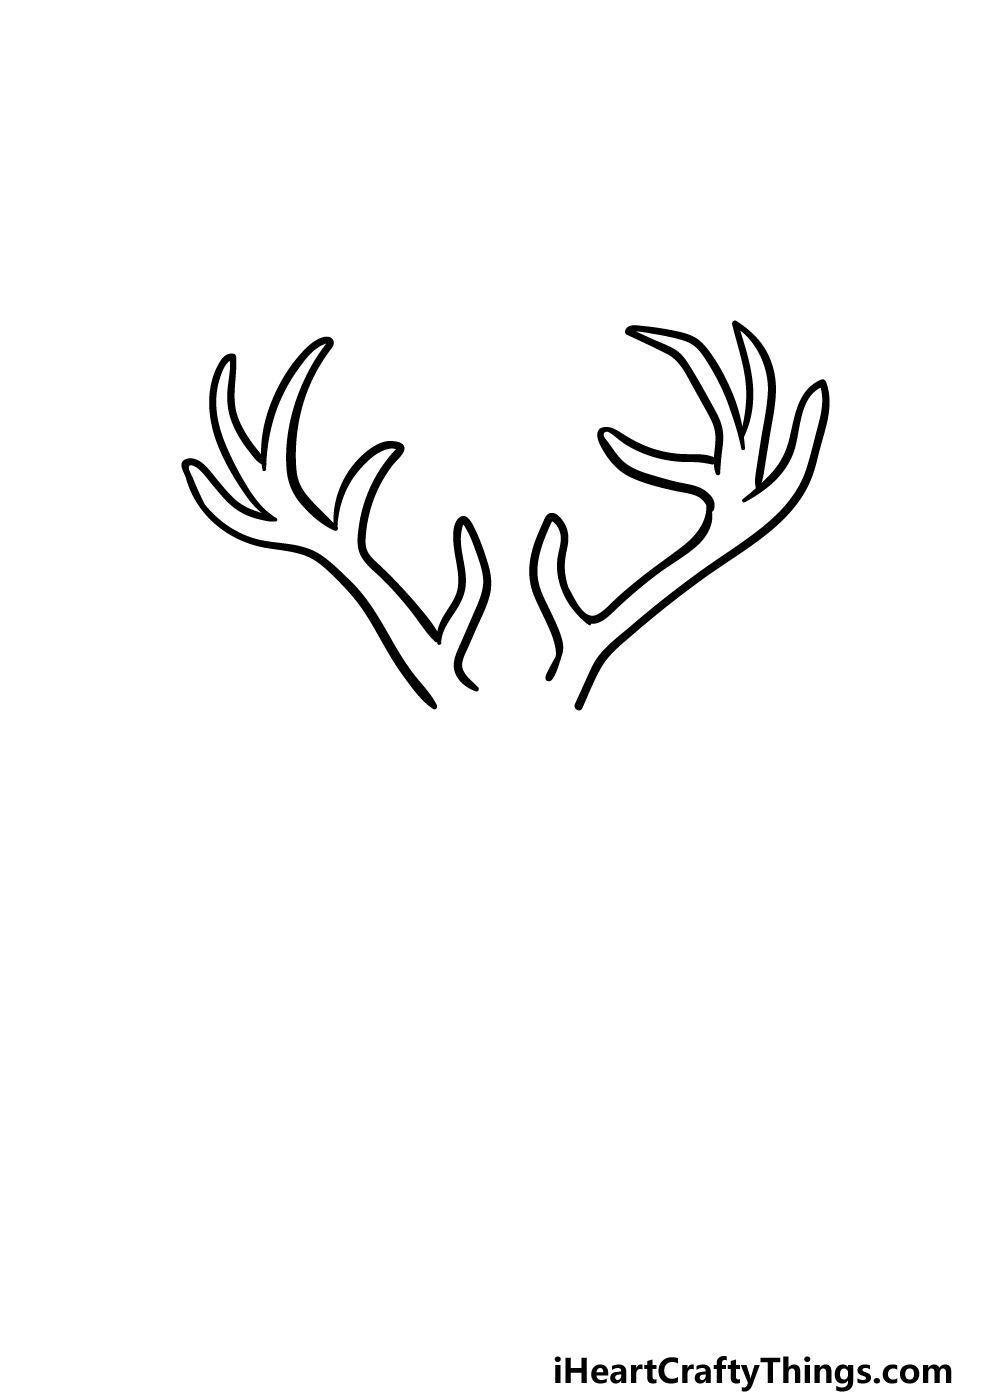
This second part of your deer head drawing will see you adding another antler for the head. This one will be an almost mirror image of the one that you drew previously.
There will be some slight differences, however, but it should have a fairly similar structure to the other one.
Once you have both antlers looking as they do in the reference image you’ll be ready to start drawing the head in the next few steps.
Step 3 – Now, draw the head outline for the deer head
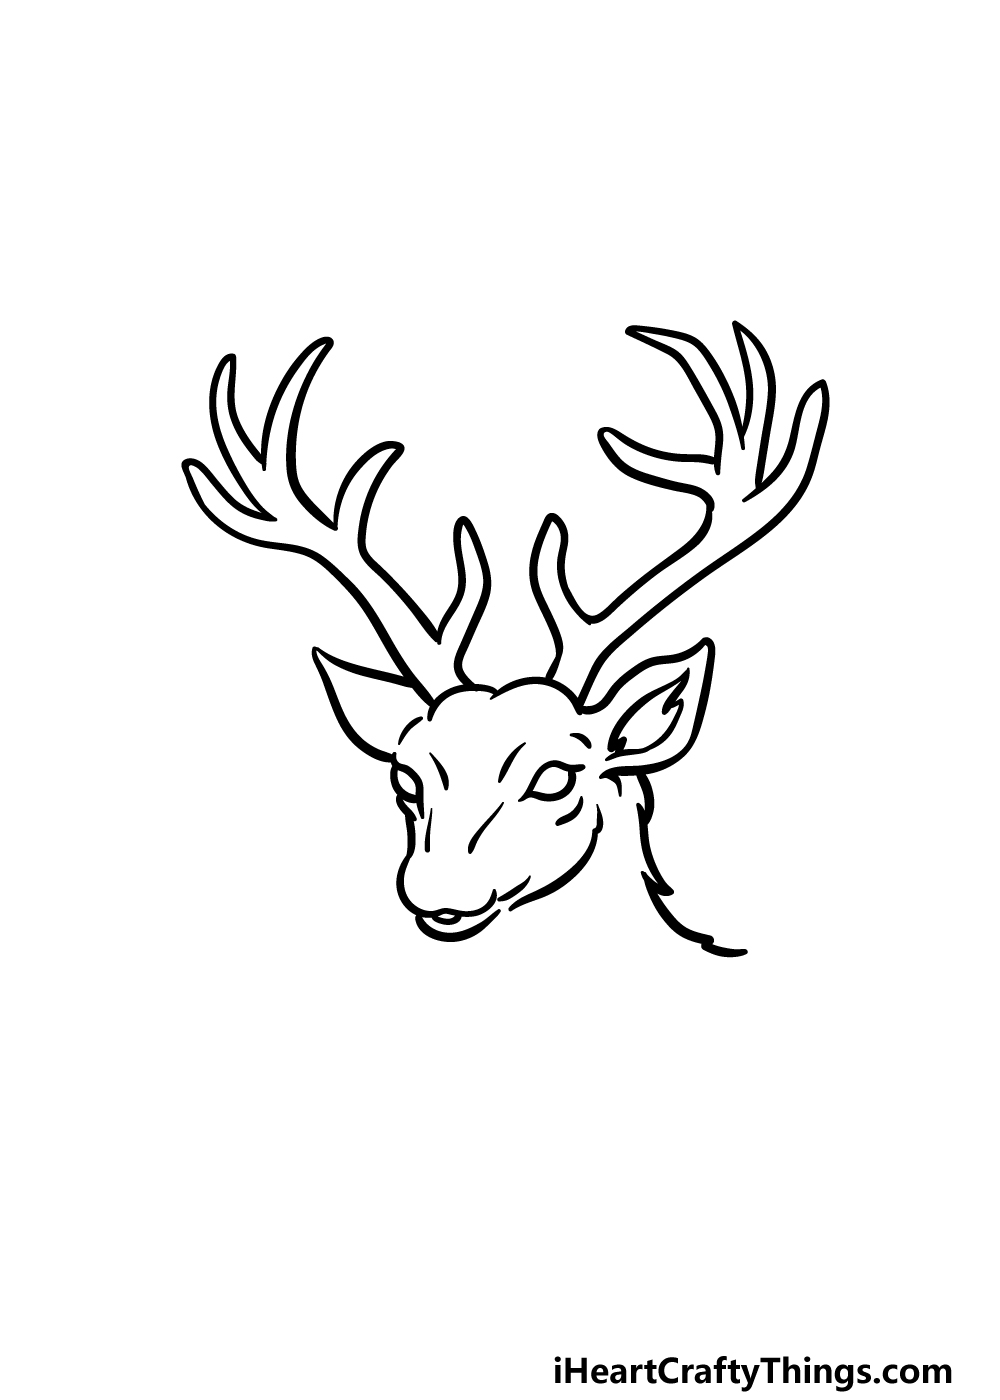
Now that the antlers are complete, we will start to draw the head outline in this step of our guide on how to draw a deer head.
First, there will be two curved lines between and under the two antlers. Then, we will use some more curved lines for the outlines of the ears, and then there will be a sharp shape inside of the ear on the right.
Then, we will continue using some more curved lines for the pointy face, and finally for the outline we will use a jagged line for the back of the neck.
We will be using that jagged line to make the neck look furrier. Finally, we will add some details for the interior of the face.
These will include some oval shapes for the eyes and some lines on the face to give it more bone structure.
Step 4 – Next, add some more details for the deer head
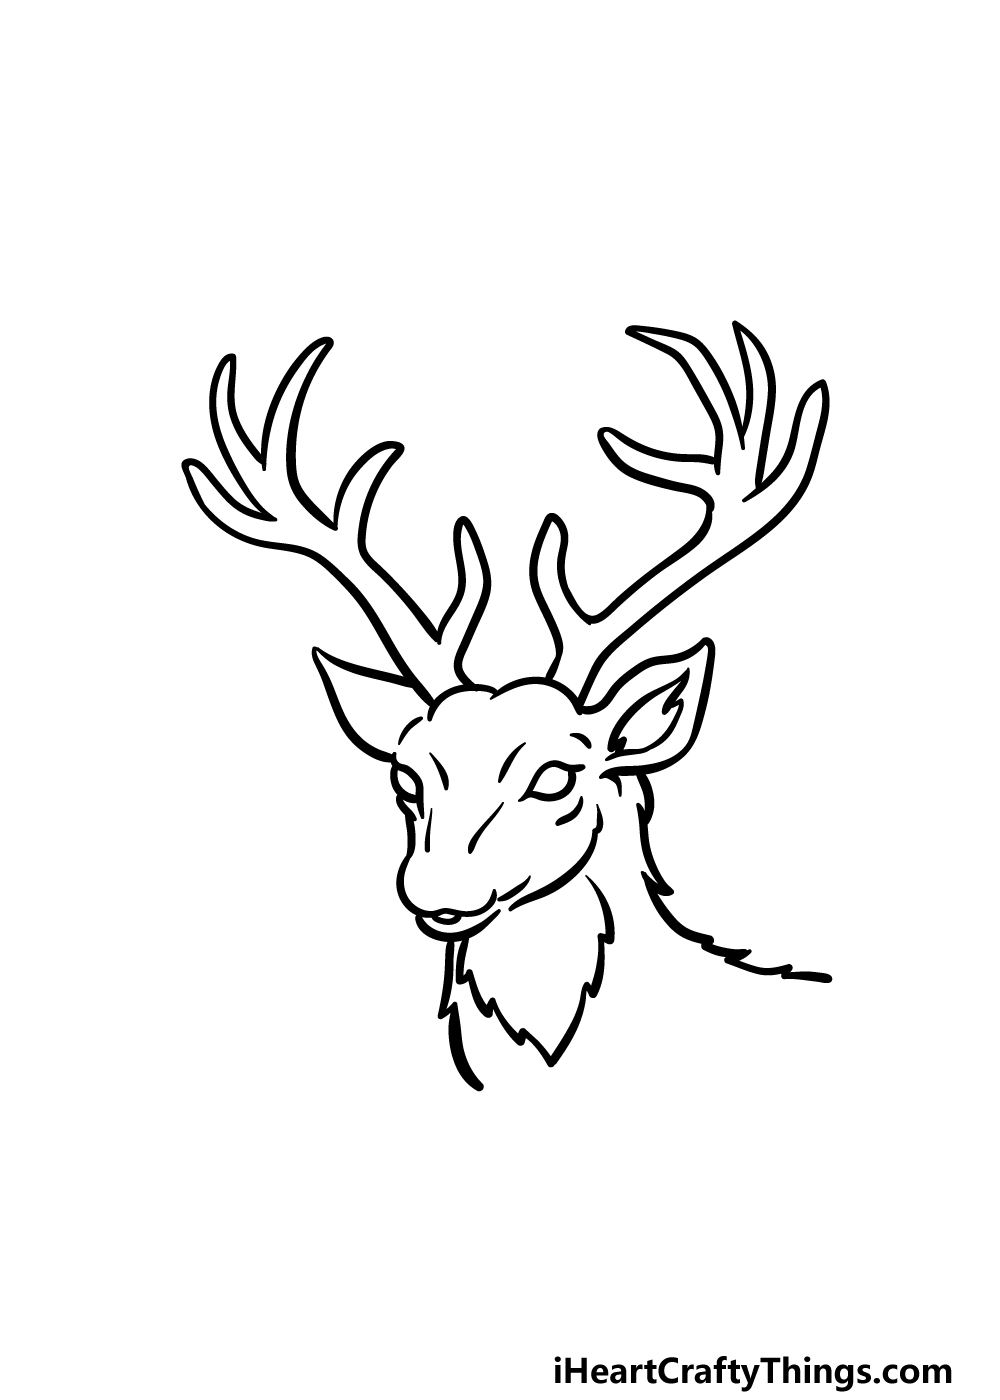
We will continue to add more to your deer head drawing in this next step. Primarily, we will be focusing on the neck and chest of the deer.
First, draw some more curved jagged lines down the front of the face and extend the one for the back a bit more. Once again, these will help to make the deer look nice and furry.
Then, we will be drawing a shape onto the chest of the deer to make it look like there is a tuft of fur there.
We will draw that using another jagged line that forms a pointy shape pointing down on the chest. Once you have drawn all of these aspects, we can start to add some final touches in the next step.
Step 5 – Now, you can finish off the final details of your deer head drawing
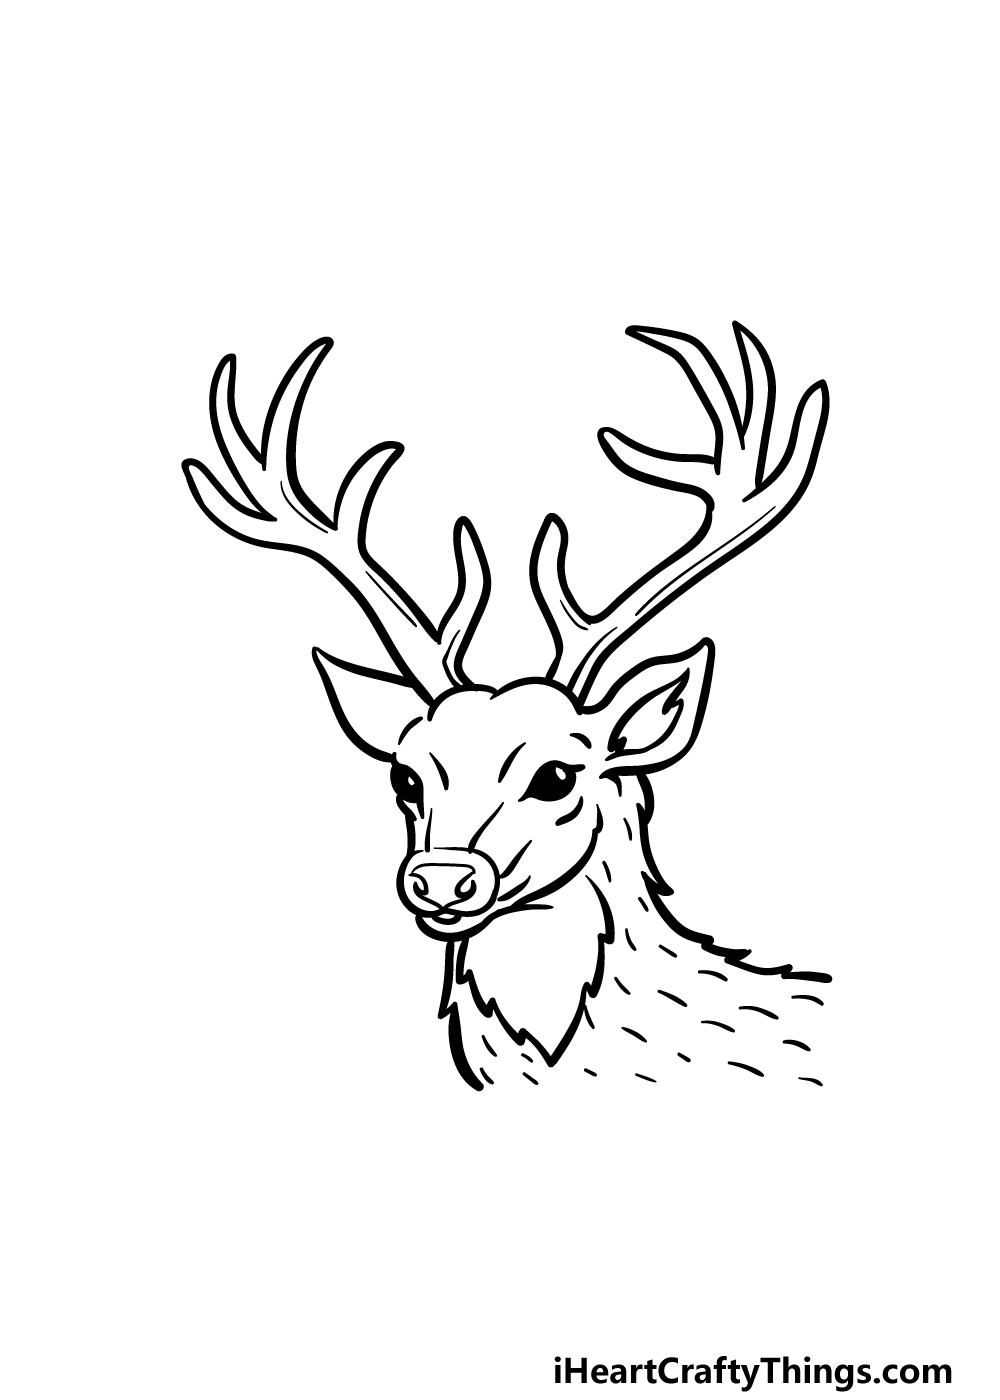
Your picture is already looking great, but we will make it look even better with some final details in this step of our guide on how to draw a deer head.
First, we shall start with the eyes. They look a bit creepy as is, so we shall fix this by filling the eyes in with some black.
Next for the face, you can draw some detail for the nose of the deer. You can also add some more lines around the nose for extra detail.
Then, we will add some line detail to the antlers to give them a bit more depth.
You can then finish off by drawing lots of small lines on the neck and back of the deer head to finish it off with some more hair detail.
These are the details that we chose for our image, but you could also add some of your own! You could draw the rest of the deer or create a cool background for a few ideas. We can’t wait to see what you decide to do!
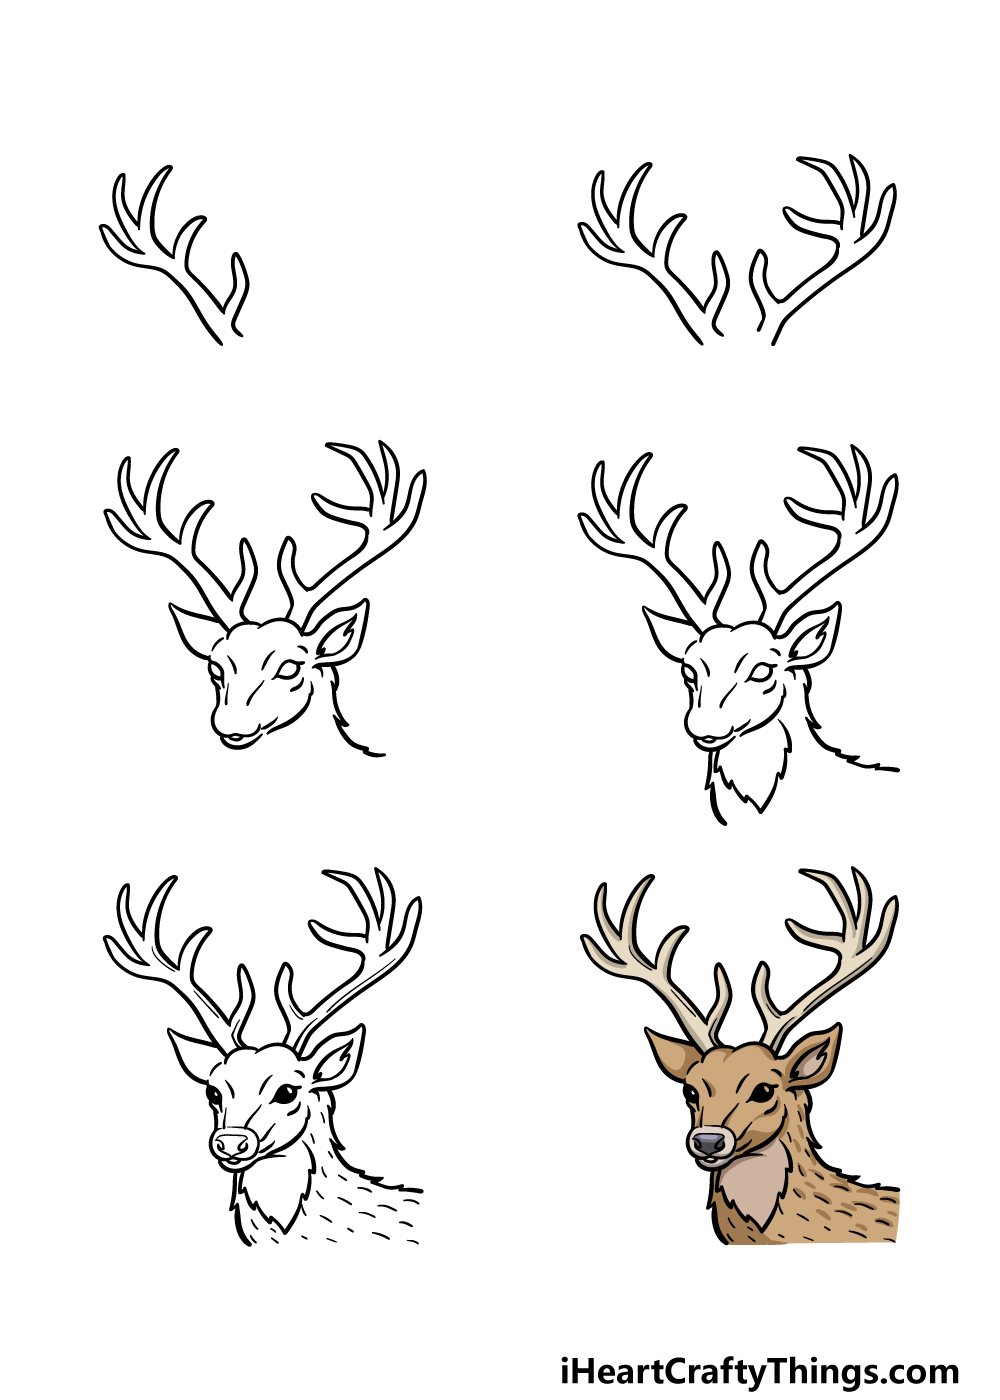
Step 6 – Finish off your deer head drawing with some color
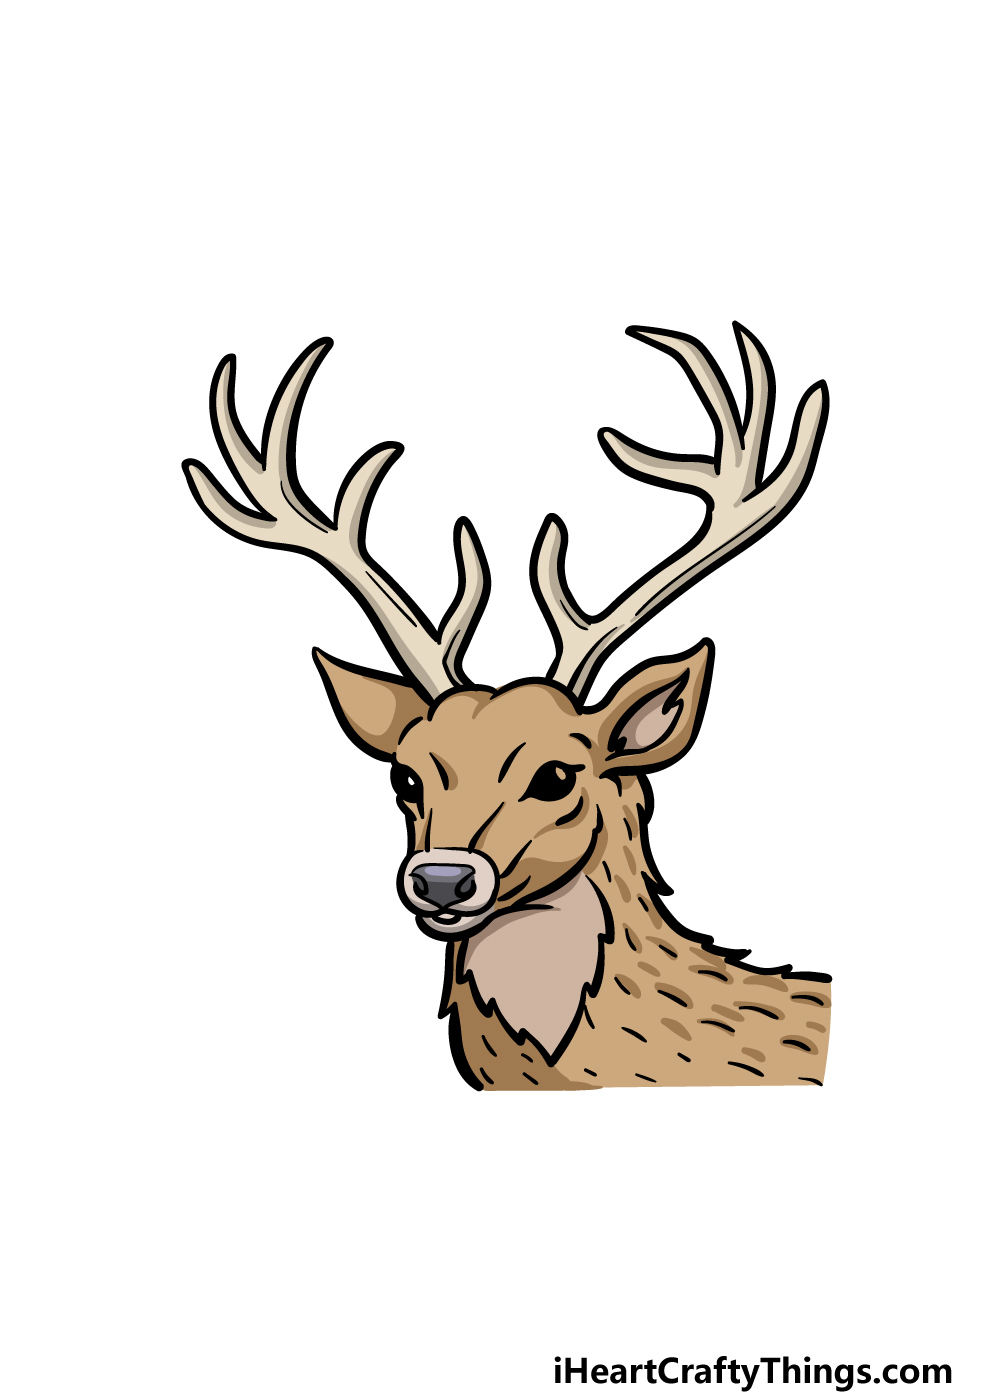
For this sixth and final step of your deer head drawing, we will be finishing it off with some amazing colors.
In our reference image, we used some subtle browns for the deer, but this is a step where you can really have fun being creative with your favorite colors as you draw!
As well as choosing your colors, you can experiment with various art mediums as well. Whether you use some painterly mediums such as acrylics and watercolors or go with colored pens or markers you will end up with an incredible image. Be sure to let your creativity flow and see what happens!
Do this to take your deer head drawing to the next level
Find out how you can make your amazing deer head sketch even more amazing!
With the image you created in this deer head drawing, you have a few ways that you could extend the design. One would be to draw the rest of the deer’s body.
This could be quite challenging, so you may want to check out some photos of real deer online. If you want to try this out, then be sure to leave enough space on the page around the head for the body.
That would be a great way to really take this drawing to new heights!
Deer heads will also often be turned into trophies, and you could do the same for this drawing of a deer head. To do this, you could draw a little less of the neck and then add a wooden plaque at the base.
Once again, this would be made much easier if you were to look up real pictures of trophies online.
Maybe you could design some other trophies to go alongside it as well!
Whatever you may decide to do to extend this deer head sketch, you could enhance it even further by adding a background. If you went with out first suggestion, then you could create a peaceful forest setting for one idea.
For the second suggestion, you could design the room it is being displayed in. These are just some of the ideas you could use for backgrounds, but you can really let your imagination run wild here!
Finally, you can use all sorts of interesting colors and mediums to make this drawing even more interesting to behold. For instance, you could create the look of fur on the deer using various tools and techniques.
A good way to do this would be to use a thin-tipped paintbrush and use lots of small strokes. You could also use colored pens or pencils as more examples.
What kinds of colors and art tools will you use to finish off your amazing drawing?
Your Deer Head Drawing is Complete!
That brings you to the end of this guide on how to draw a deer head! We hope that even though drawing antlers and a deer’s face can be challenging that you found it to be easier and more fun once you had some easy steps to follow.
Finishing this guide is just a part of the fun! You can also keep it going with your own details, elements and additions.
Whether you draw more of the deer’s body, add a background, draw some more animals or experiment with colors, we know it will look amazing!
When you’re ready to take on a new drawing, we have plenty of amazing guides for you to enjoy on our website! Be sure to visit often to never miss out on what we have in store for you.
This drawing you completed is one to be proud of! We would love it if you would share your deer head drawing on our Facebook and Pinterest pages for us to enjoy.