This post contains affiliate links for your convenience. Read our Disclosure Policy for more information.
Supplies you will need:
- red, yellow, orange and gold tissue paper (cut into squares)
- paper plate
- cardboard
- brown paint
- small paper plate
- school glue
- stapler
Directions:
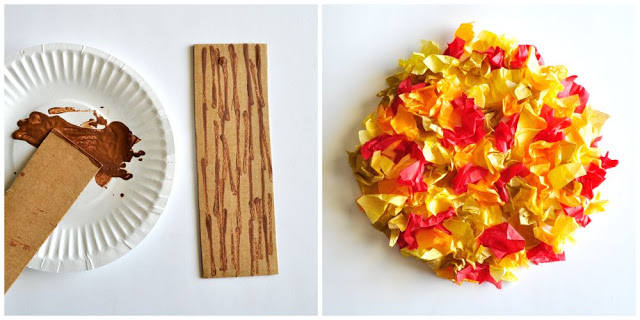
1. Cut out tree trunk and paint brown lines on it
Start by cutting a rectangle out of your cardboard for your tree trunk. Cut another small section out to use as a stamp to make texture onto your tree trunk. Pour a small amount of brown paint onto a paper plate and using the end of the extra cardboard piece, dip it into the brown paint and then onto your cardboard trunk. Make lines up and down your trunk. (As an alternative and to save time, you could also use a brown marker to make the lines on the tree trunk.)

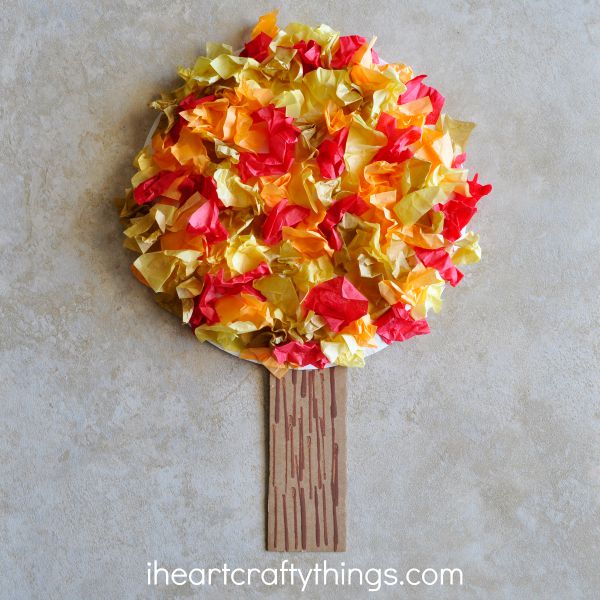
2. Glue tissue paper bits onto back of paper plate until it is full
Add school glue onto one section on the back of a paper plate and then scrunch and add tissue paper onto the paper plate. Continue adding glue and tissue paper to different sections until it is full.
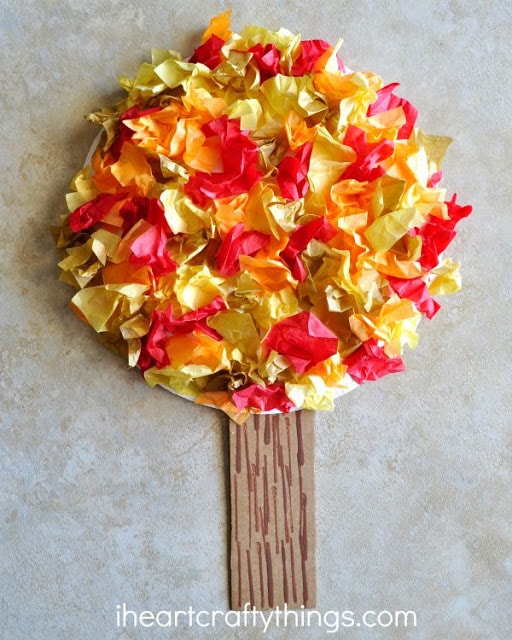
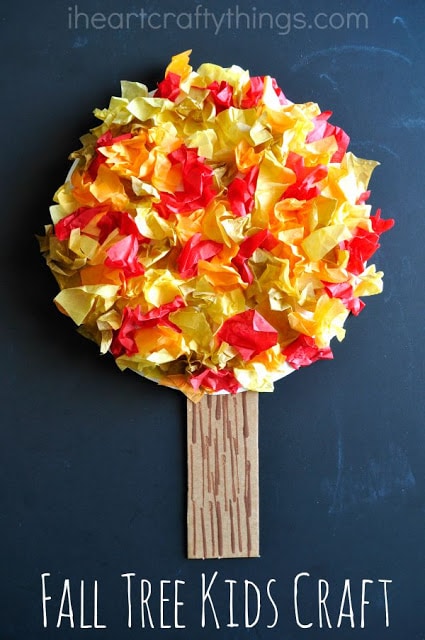
3. Staple tree trunk onto paper plate
Staple your tree trunk onto the bottom of your paper plate.


