There are many professions that play an important role in our society. Of all these professions, doctors have to be one of the most important.
Dating back centuries, doctors and healers have worked tirelessly to save lives and help to cure ailments.
Medical practice has come a long way since the days of leeches and crazy cures, and doctors are better equipped than ever to help the sick and the hurt.
It can be great to show our appreciation for these men and women, and learning how to draw a doctor can be a great way to do that.
This is the guide you want to use if you would like to do that!
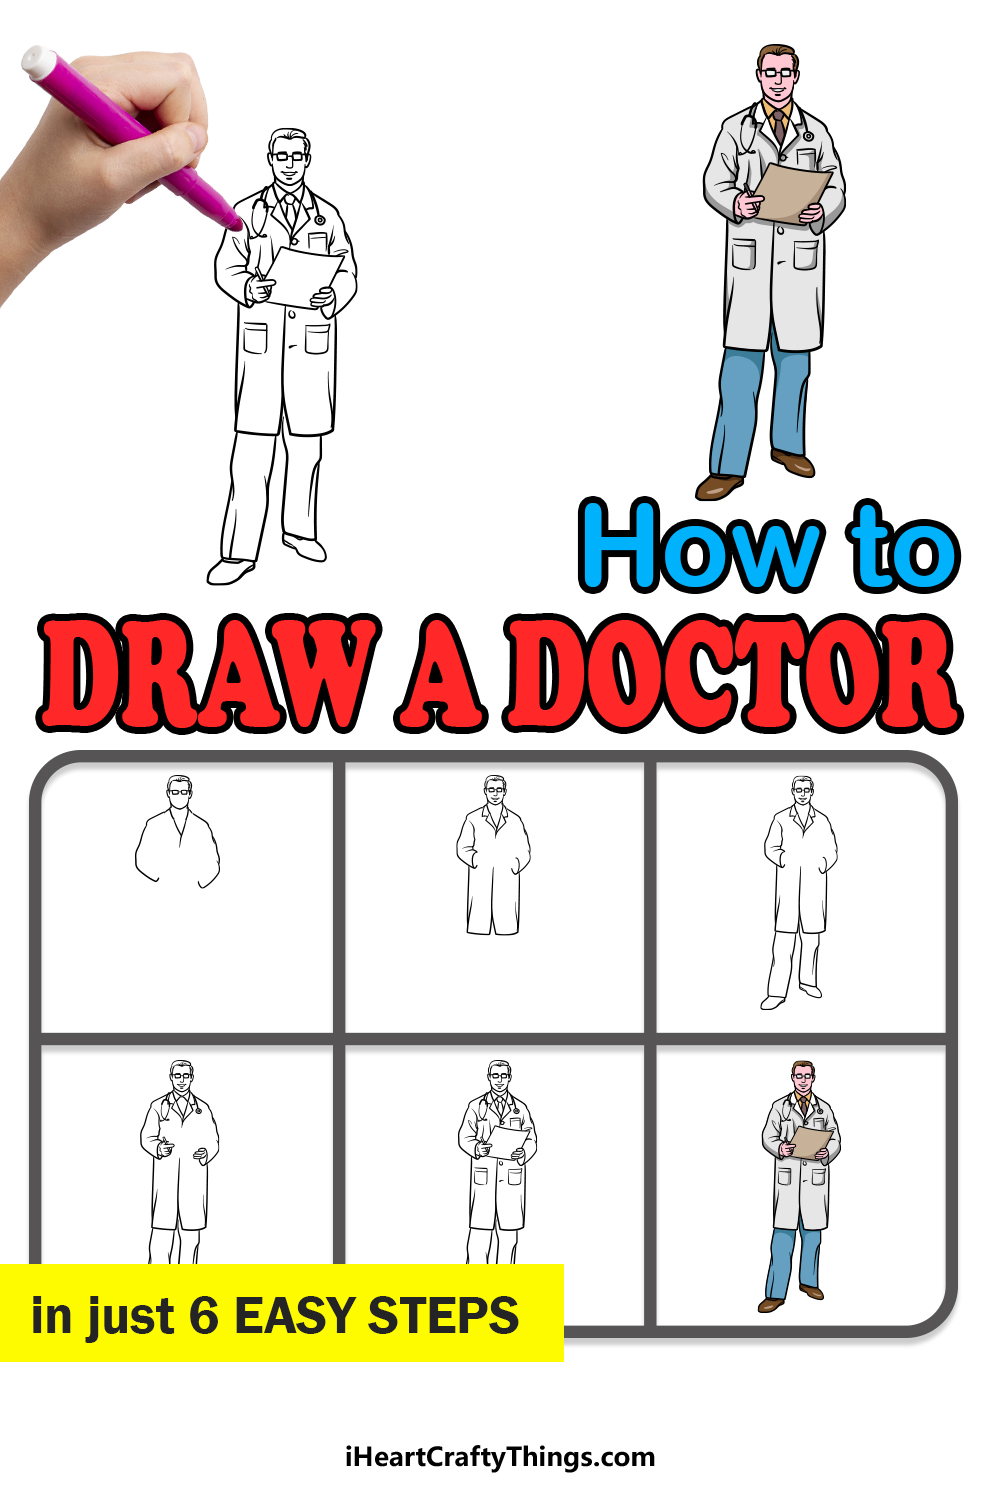
Our step-by-step guide on how to draw a doctor will show you how you can draw one with ease.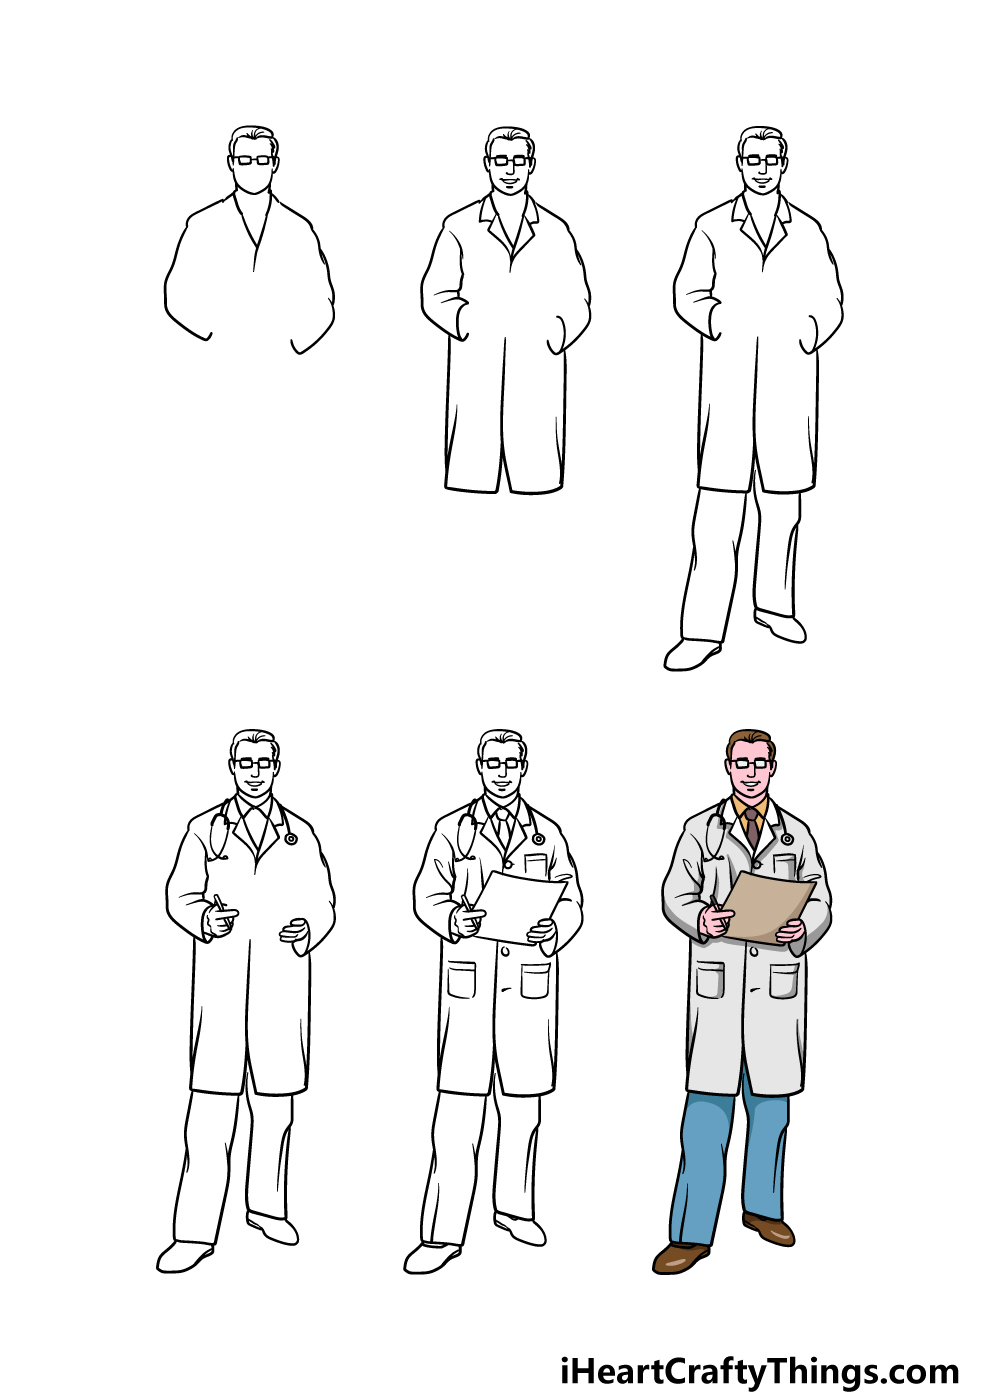
How to Draw A Doctor – Let’s get Started!
Step 1
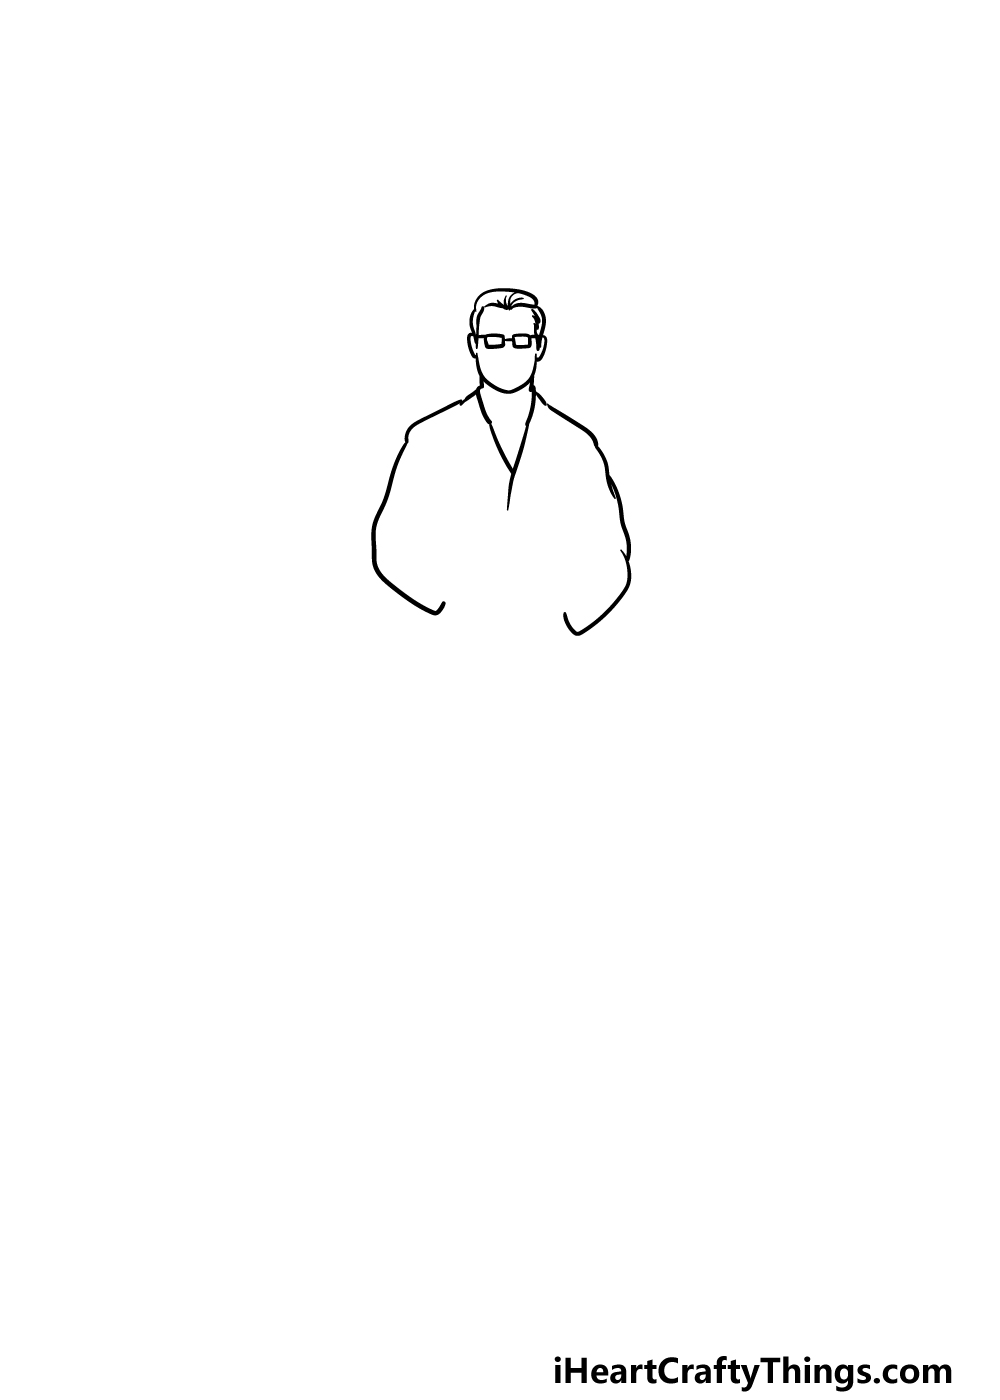
Drawing a full human can be tricky in the best of times, so we shall take it slowly in this guide on how to draw a doctor.
If you have a hard time with it then you could use a pencil to start with and then use a pen when you’re happy with how it looks.
For now, we will be using some curved lines to create his face and hair outline. Then, we will be drawing his glasses onto his face.
Once the head outline is complete, we will be using some more curved lines for the shoulders and collar of his white coat.
Then, once you have these lines we will be ready to move on to the next step!
Step 2 – Next, draw some details for his coat and face
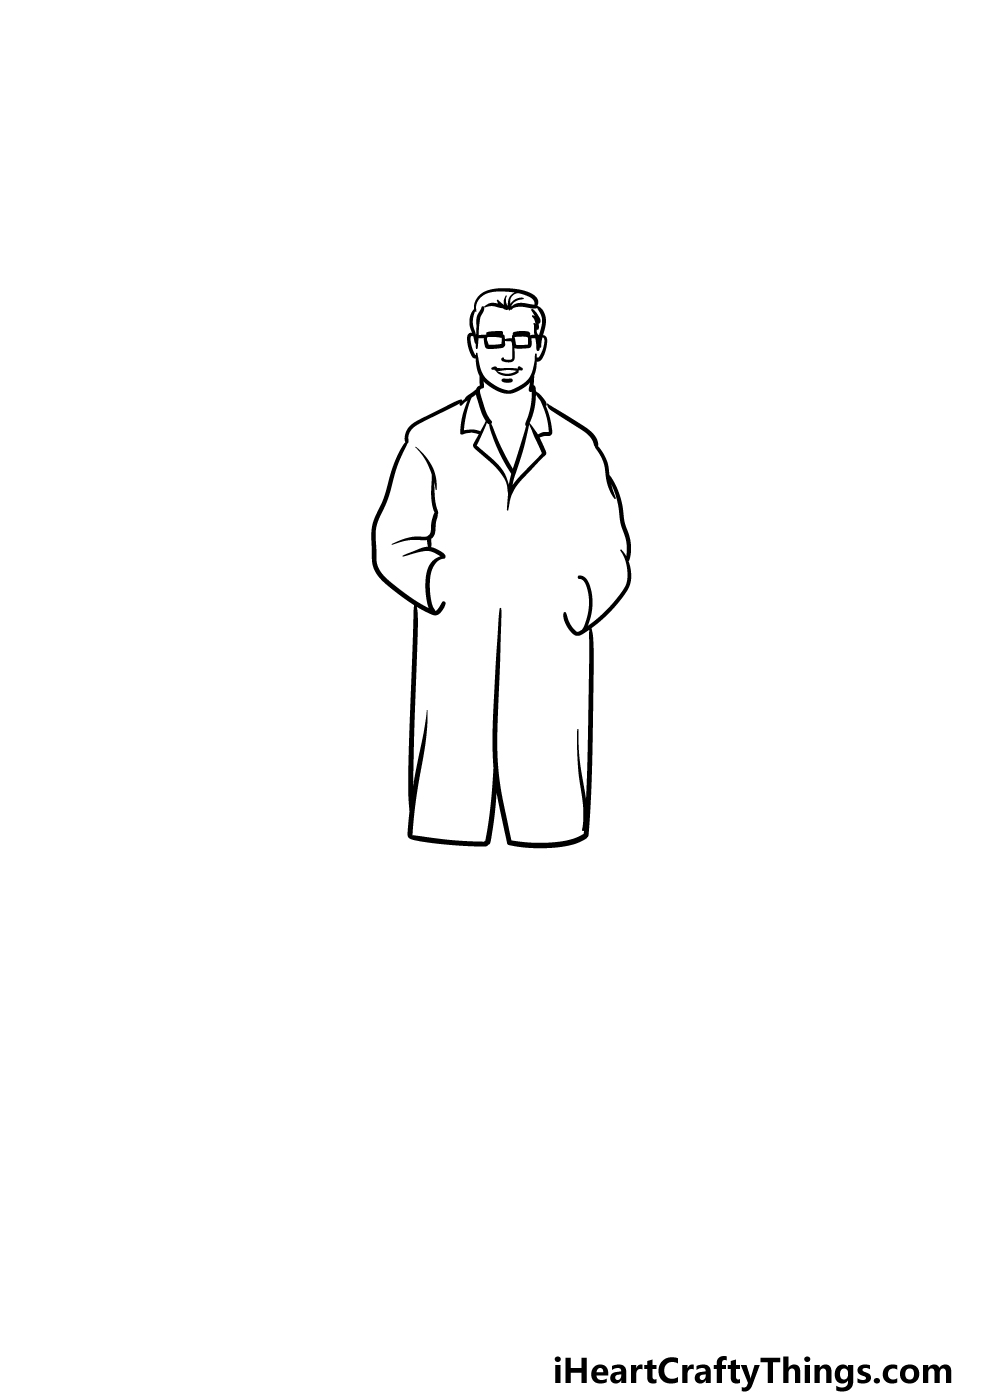
This second step of your doctor drawing will see you adding some finer details to him. We will start with the face, and for this we will be using some simple lines for his nose, smiling mouth and eyebrows.
Once the facial details are drawn, you can then use some curved lines for the collar of his coat where we will be adding some more detail.
To finish off this step, you can then draw some more of the sleeve on the left arm, and then finish off by drawing the bottom half of his coat hanging down.
Step 3 – Now, draw his legs in this step
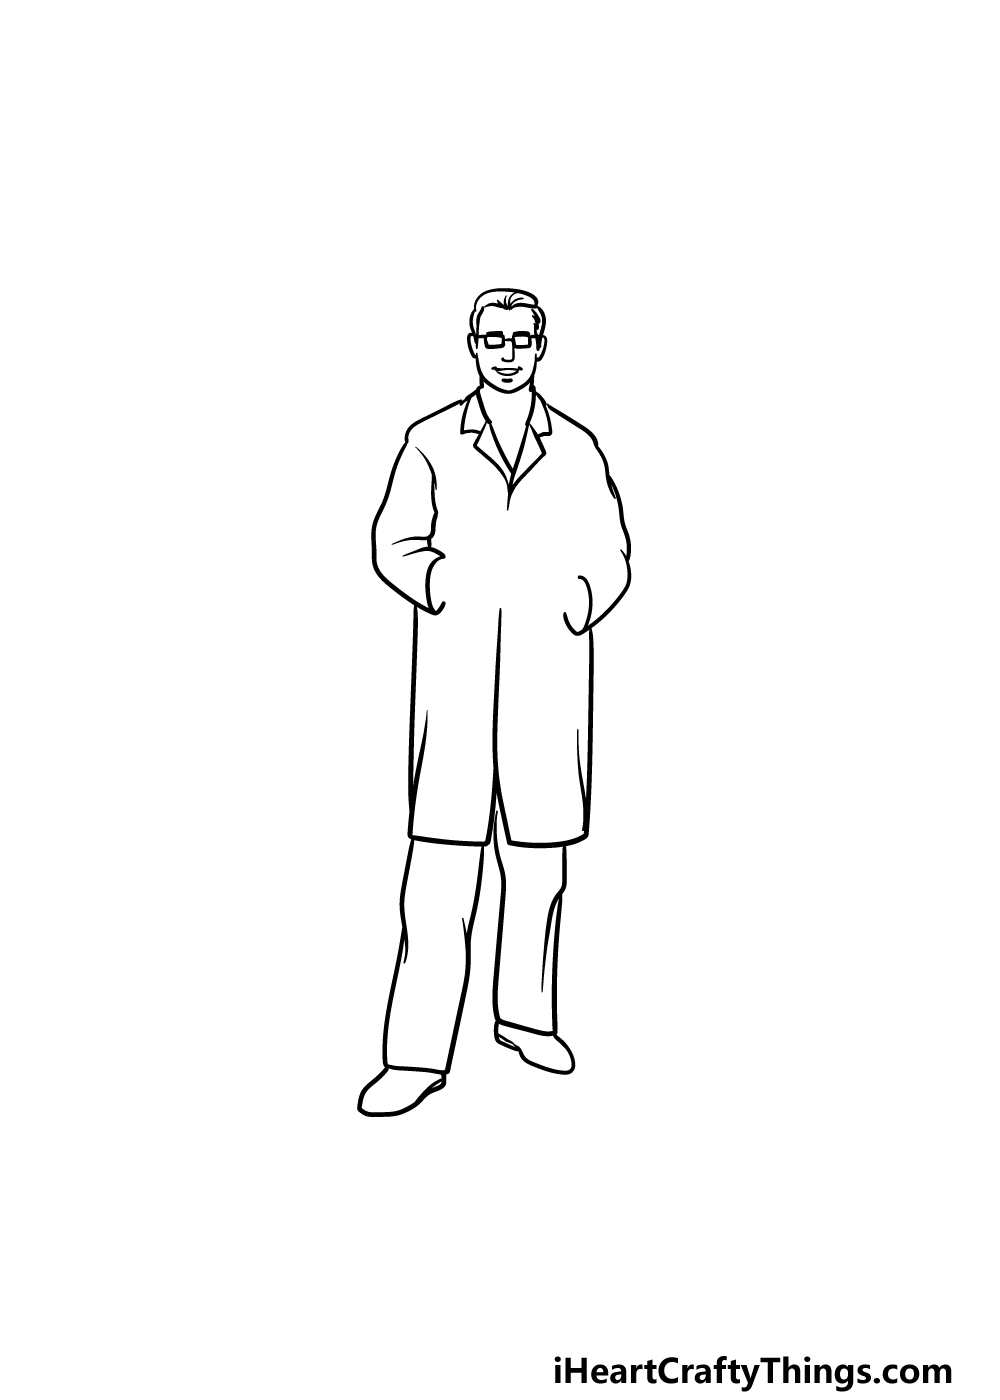
We will now focus on the legs for this step of our guide on how to draw a doctor.
To do this, we will be using some slightly curved lines coming down from the bottom of his coat to show his trousers sitting slightly baggily on his legs.
Once you have drawn his pants, you can then finish off by drawing his shoes at the base of them.
Step 4 – Next, draw his hands and stethoscope
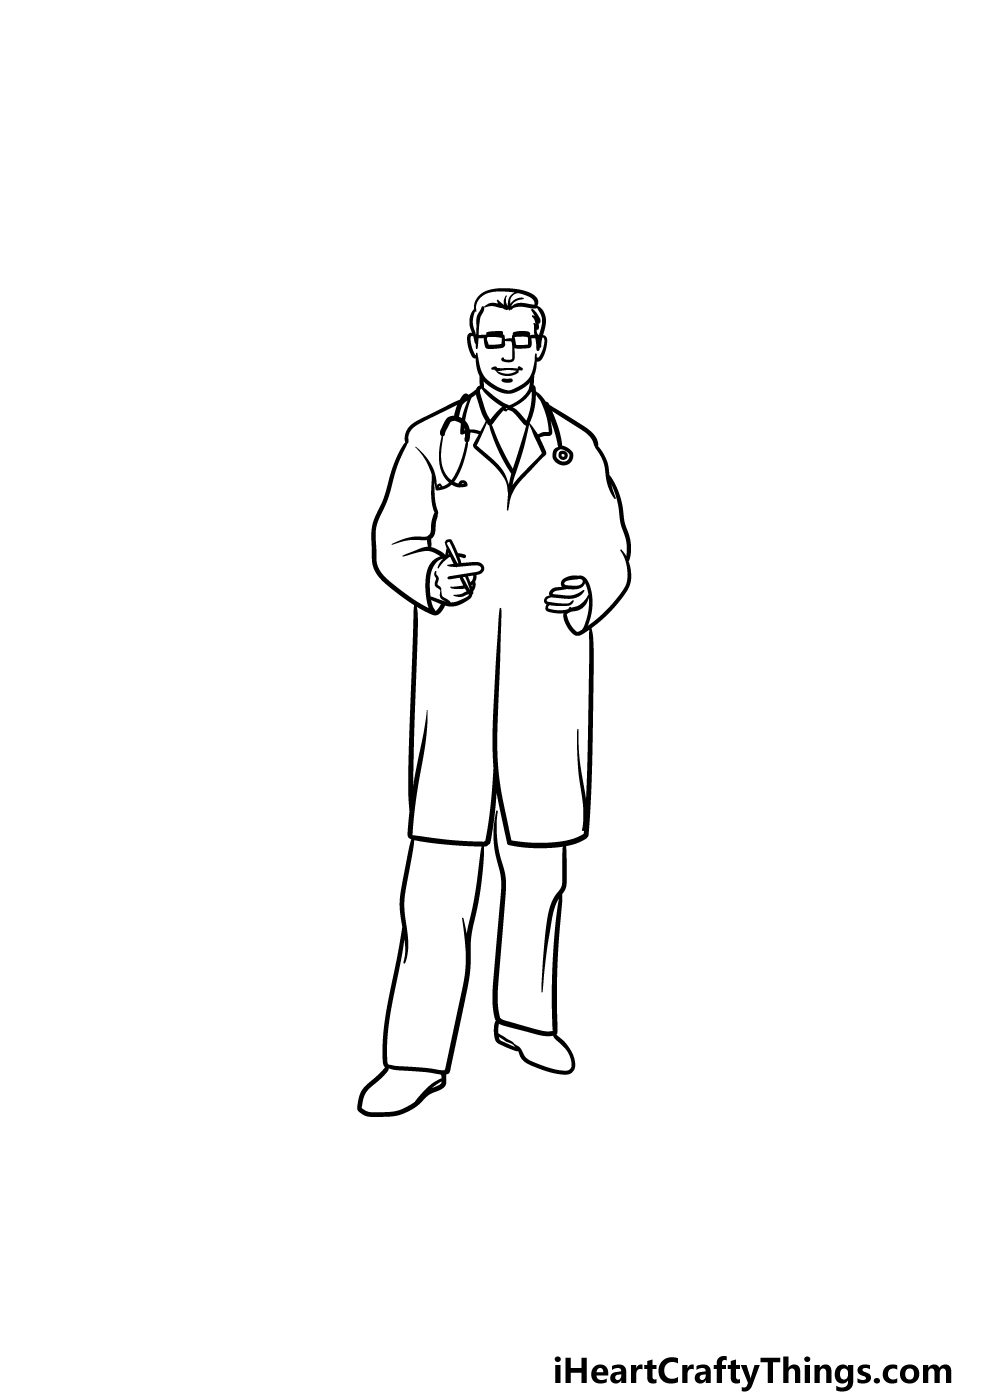
When one thinks of a doctor, an image of a stethoscope around the neck will almost certainly come to mind. For that reason, we will be adding one in this part of your doctor drawing.
The stethoscope will be drawn with some thin, curved lines, with the two sections that go into the ear on the left. Then, you can draw a small circle on the other shoulder for the part that goes on your chest.
Once you have drawn that, we can then use some triangular shapes to finish off the collar. Then we will be drawing the hands, and this is a part where you may want to closely copy the reference image.
Human hands are notoriously difficult to draw, so the reference picture will show you how you can do it easily.
The hand on the left will be clutching a pen, and the other one will be posed to hold a clipboard that we will draw in the next step.
Once you have drawn all these aspects, we’re ready for some final details in the next step!
Step 5 – Now, you can finish off the final details of your doctor drawing
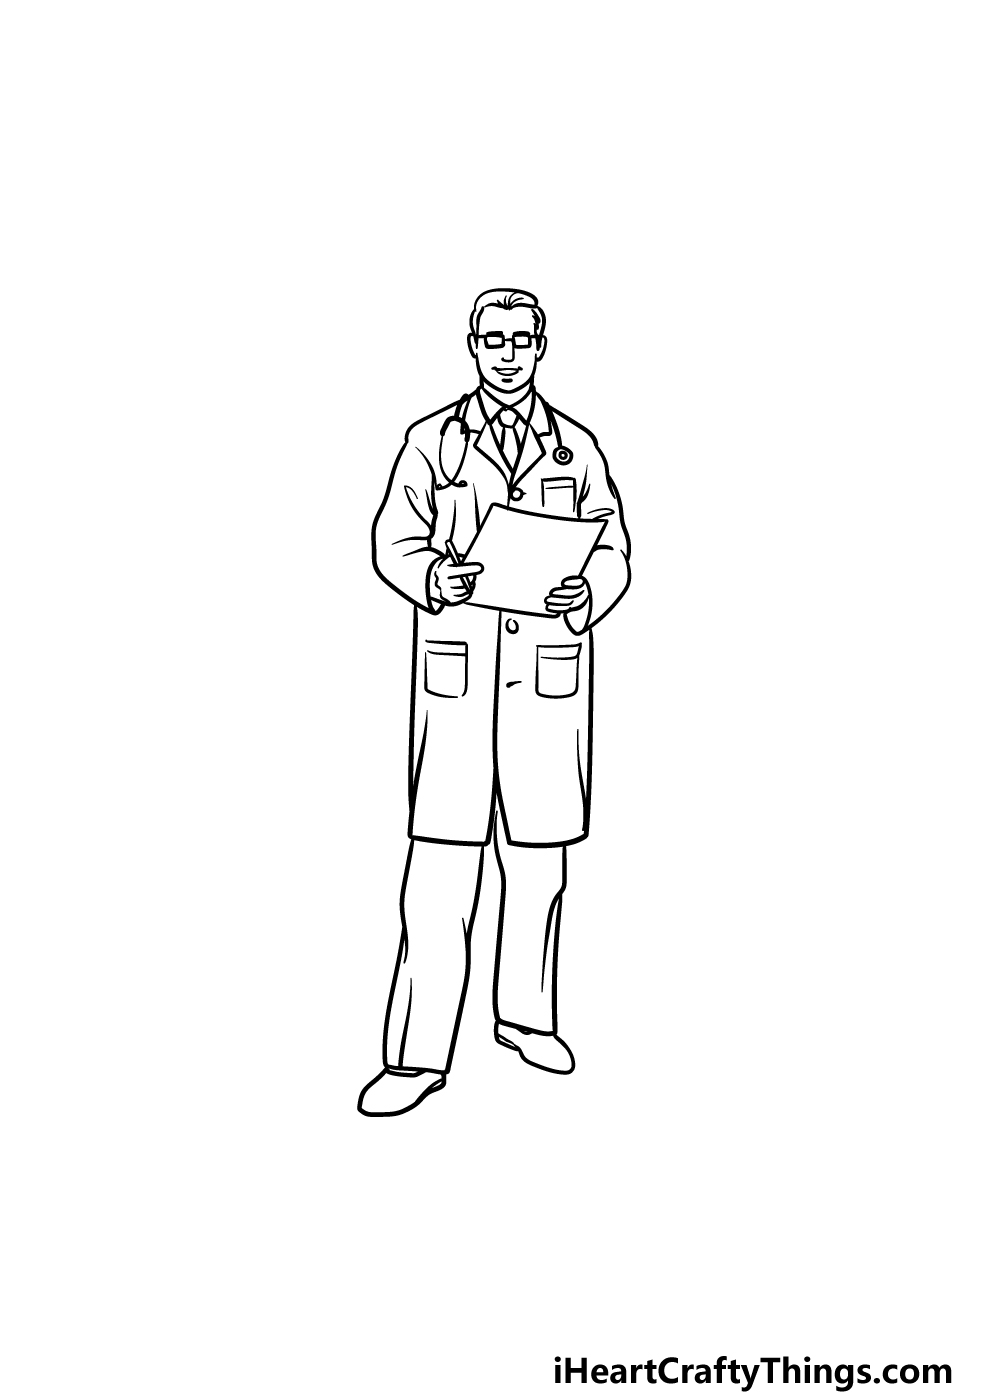
In this step of our guide on how to draw a doctor, we will finish off with some final details. First, use some straight lines to draw his tie coming down from his collar.
Then, using some more straight lines you can draw the chart that he is holding in his hands. We will then use some square shapes onto his coat for the pockets there, and then some simple line details onto his coat and pants for some extra detail.
That will finish off the details in this guide, but you should feel free to add some of your own as well!
Maybe you could draw a background or show some happy patients standing with him. How will you finish off this doctor drawing before you color him in?
Step 6 – Finish off your doctor drawing with some color
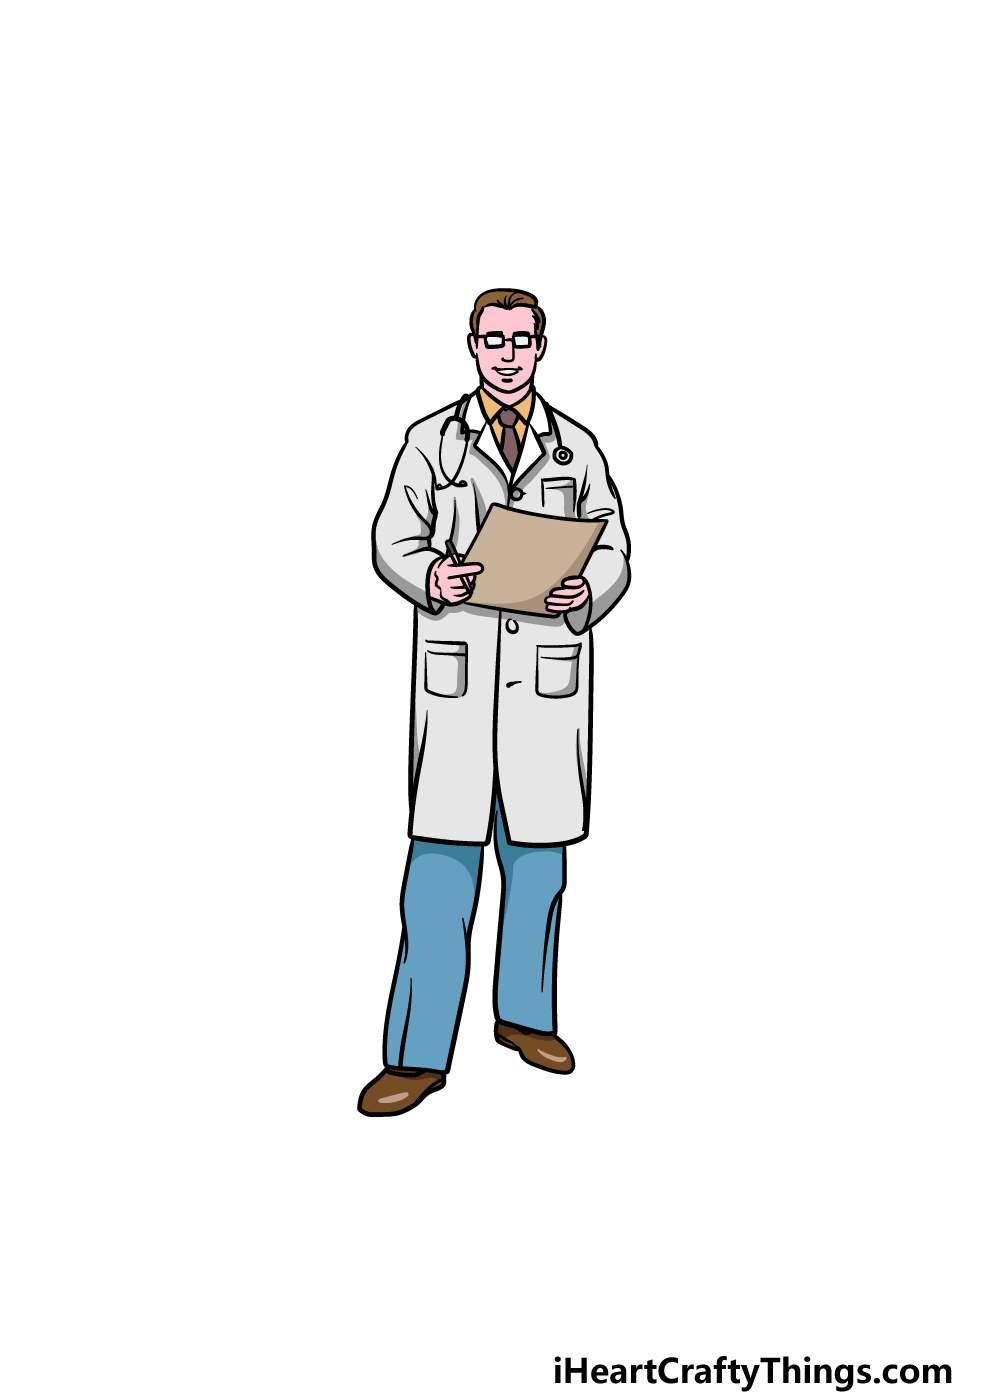
That brings you to the final step of this doctor drawing, and in this step you will be bringing some amazing color to your artwork!
We showed you how we would color in this picture, and you could use this as an example for yourself, or you could use any of your favorite colors to finish it off.
Then, you can choose which art mediums you will use to bring your color choices to life!
There are bright mediums like acrylics and colored pens as well as some more subtle ones like watercolors and colored pencils.
These are just a few of the art tools at your disposal, so be sure to get creative and have fun with it!
Do this to take your doctor drawing to the next level
These 4 tips we have for your doctor sketch will be just what the doctor ordered!
Doctors are very important people in any society, but they can’t do what they do on their own! For that reason, it could be a good idea to add a nurse to this drawing of a doctor.
If you need some help, you could look up some pictures of nurses online and then use them to help you draw one in a similar style to the doctor.
Adding some nurses would make this depiction of a medical team feel a lot more complete!
Bringing the focus back to the doctor, you could customize him with some more details. For example, you could draw him wearing a face mask or a different kind of coat.
Or, instead of holding a clipboard you could maybe draw him holding a syringe instead. These are just a few ideas, but there are loads more you could go for.
Maybe you could use your own family doctor as inspiration as you change the look of this one!
Another way you could populate this doctor drawing would be by adding a patient for him to interact with. If you were to do this, you could use someone you know as a model for the patient.
You may even want to use yourself! Visiting a doctor is never a fun time, but you could make this a positive image by having the patient smiling in a similar way to the doctor.
Lastly, you could finish off this doctor sketch by adding a background. This is something you could do whether you added more characters or left the doctor on his own.
Once again, you could get inspiration from real life and use a hospital setting you have seen to help you. If it’s been a while since you’ve seen a hospital, then once again you could use pictures online to help you out.
If you go with this idea, why not make it a cheerful hospital setting with some fun decorations?
Your Doctor Drawing is Complete!
This guide on how to draw a doctor has reached its end, and you have an incredible drawing to show for it!
Drawing human subjects is always a bit tricky, so we hope that this guide broke it down into a fun and easy experience for you.
You should definitely be very proud of your amazing drawing, and we can’t wait to see the creative extra details and colors you have chosen for it!
If you enjoyed this guide, we have many more like it on our website that cover a wide variety of different subjects. We upload new ones often, so be sure to visit frequently!
We would really love to see your doctor drawing, so please remember to share it on our Facebook and Pinterest pages when it’s done. We can’t wait to see your artwork!