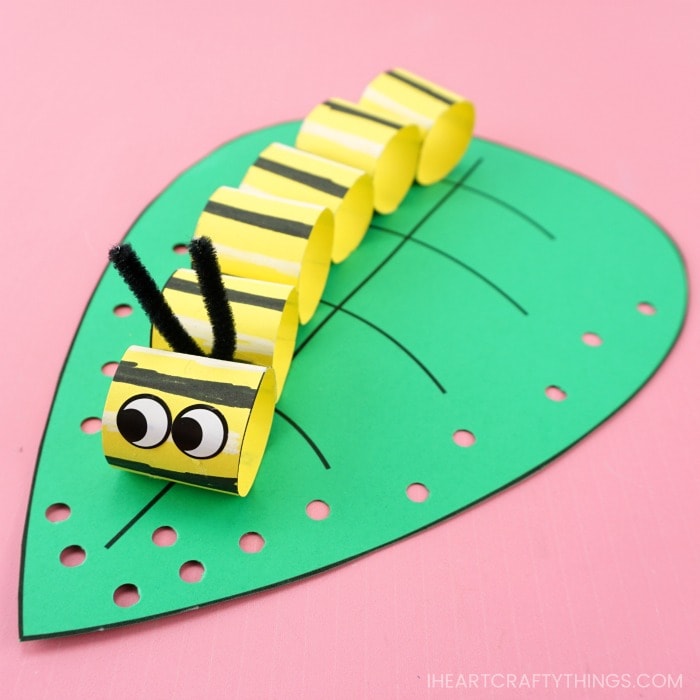
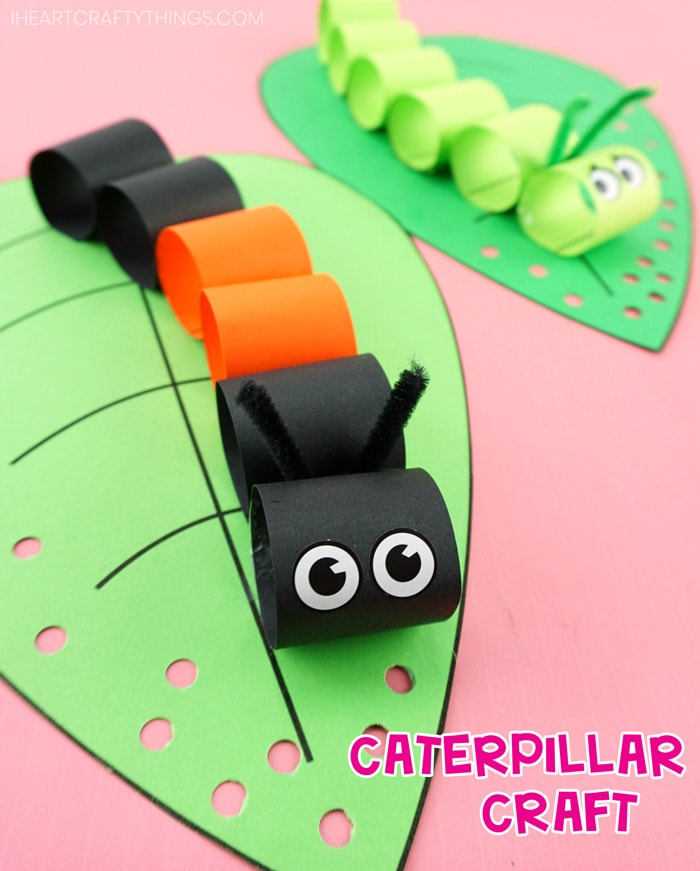
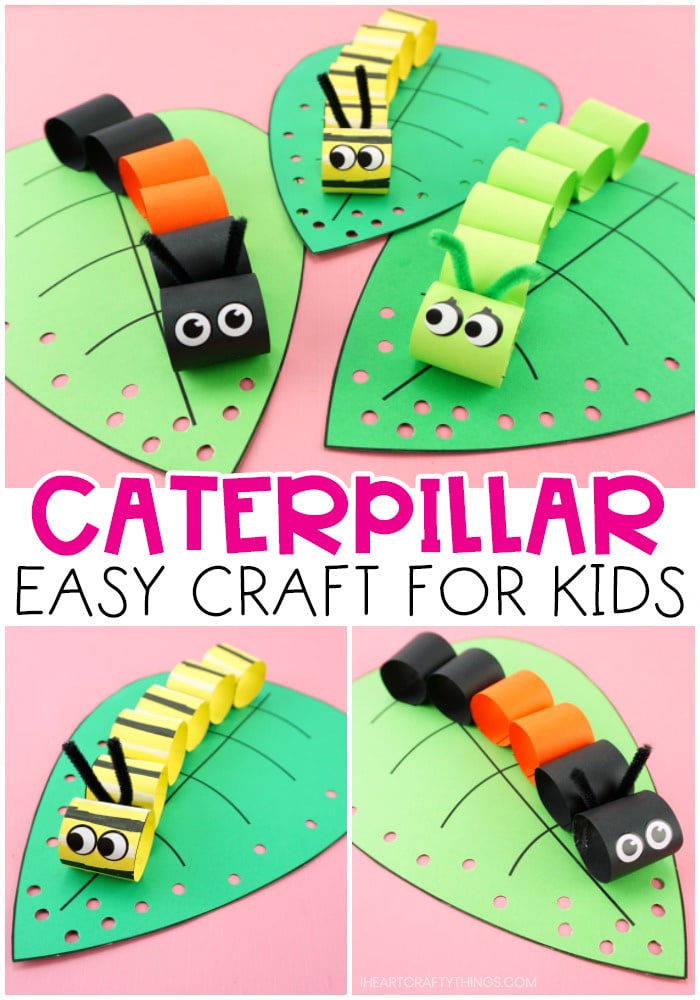
This easy caterpillar craft for kids is a fun and simple craft for preschoolers and kids of all ages to make in spring or when learning about caterpillars.
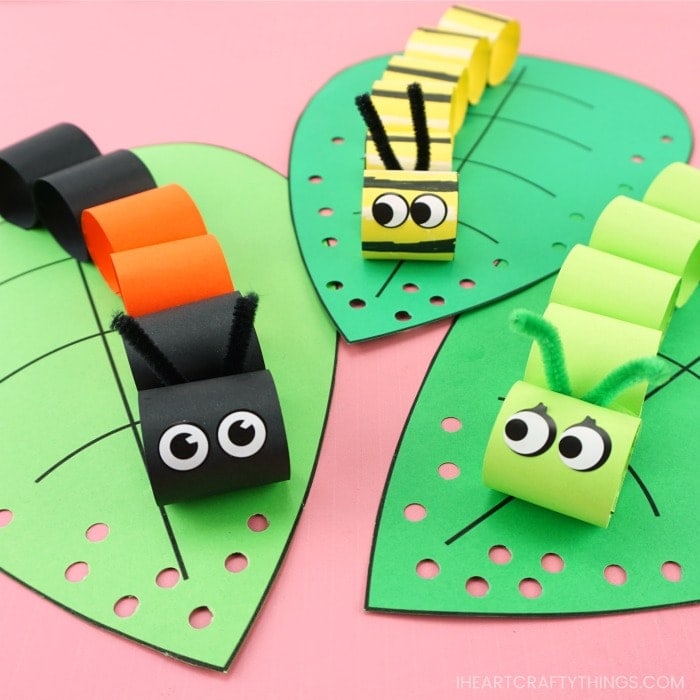
Not only does the paper circles in this craft add a fun 3D effect to your caterpillar, but making them is also a great way for children to use and strengthen the fine motor muscles in the hands.
Paper is a craft supply easily kept on hand so that makes this a simple and easy craft for kids to make any time of the year. Download our craft template, grab some of your favorite colors of paper and rest assured, you won’t run out of fun making this cute caterpillar craft.
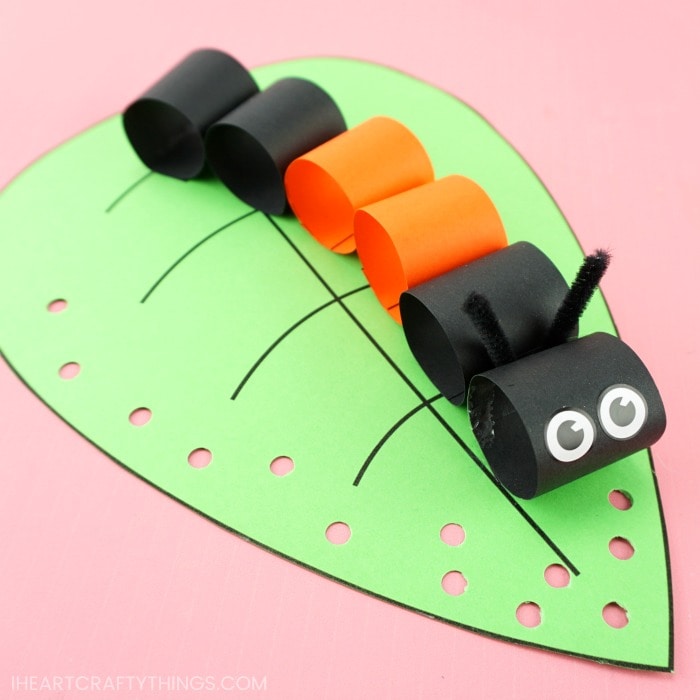
How to Make a Caterpillar Craft
Read our easy tutorial below for how to make this cute caterpillar paper craft. You’ll also find watching our step-by-step video tutorial inside this post to be helpful too before you get started.
Supplies needed to make your paper caterpillar craft
This post contains affiliate links to the products mentioned. Read our disclosure policy for more information.
- Caterpillar template <—– Get the craft template HERE
- green cardstock
- colored cardstock or paper (color of your choice)
- sticker googly eyes
- pipe cleaner
- scissors
- markers or crayons (optional)
- extra strength glue stick
- hole punch
- tape
Instructions for making this 3D Caterpillar Insect Craft
1. Download and print the caterpillar craft template
Start by downloading and printing out the caterpillar craft template. Print the leaf template out on green cardstock paper. Then print out the caterpillar pieces page of the template on the color you want to make your caterpillar.
2. Add designs to the caterpillar template
If you want to add designs on your caterpillar such as stripes, use markers, crayons or colored pencils to draw the designs on your template before cutting out the pieces. Another fun way to add designs is with chalk markers.
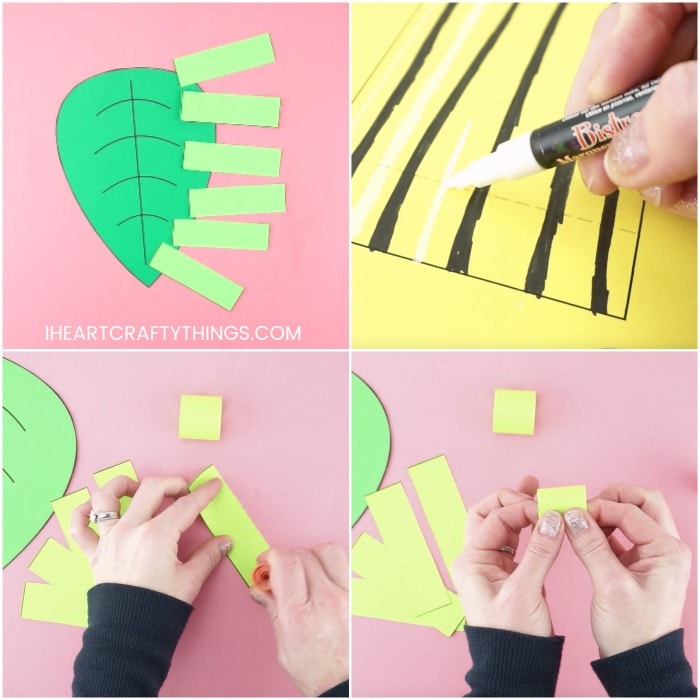
3. Cut out and assemble the caterpillar body pieces
Cut out each of the pieces from the template. Assemble the body pieces of the caterpillar. To do this, use your glue stick to add glue at the end of one of the rectangles. Bend the rectangle into a circle so the two ends are glued together.
4. Attach the head, eyes, and antennae to the leaf
Glue the first paper roll piece of the caterpillar near the end of the leaf for the caterpillar head. Place two googly eye stickers at the front of the piece for eyes. Bend a section of a pipe cleaner into a V to make antennae. Use tape to adhere the antennae to the back of the caterpillar head.
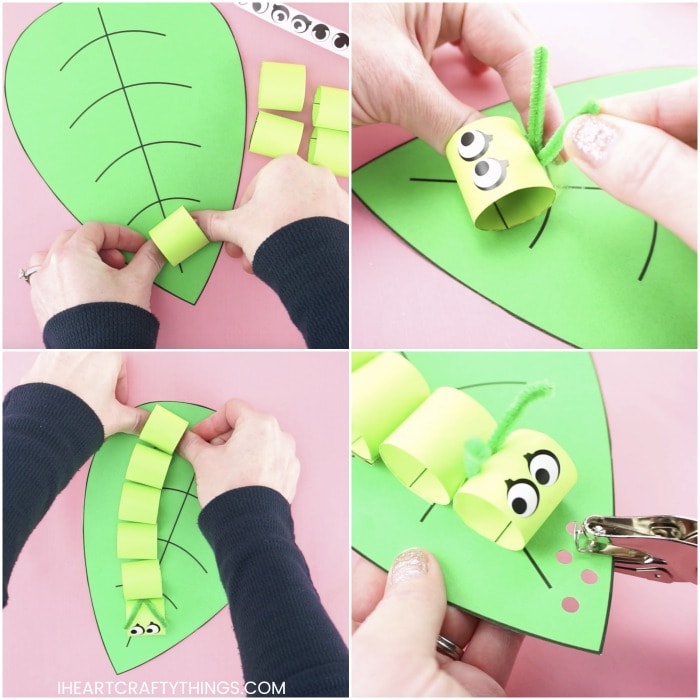
5. Glue the body pieces along the leaf
Continue adding glue on the bottom of each of the caterpillar body pieces and glue them down along the leaf.
6. Punch holes in the leaf for a “Hungry Caterpillar” effect
Use a hole punch to punch holes around the front and sides of the leaf to look like your hungry caterpillar has been eating away at the leaf.
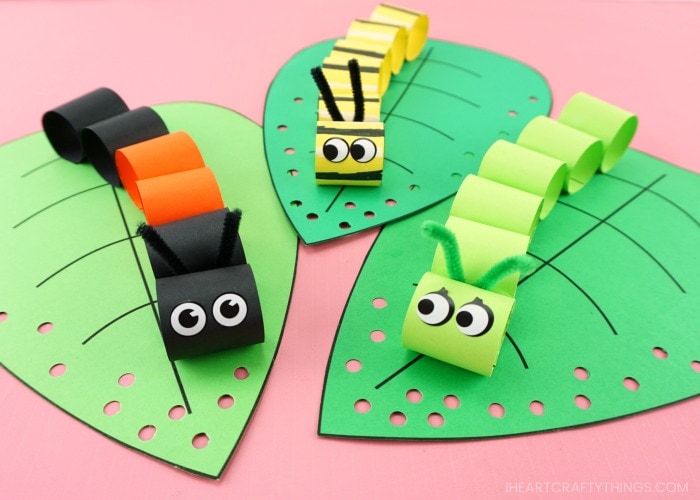
As you can see below, we added some black and white stripes onto our yellow caterpillar body to make it look like a monarch butterfly.
You can also use two different colors to design your caterpillar. We used black and orange with one of our caterpillars to make it look like a Woolly Bear caterpillar, which is one of my favorites!
