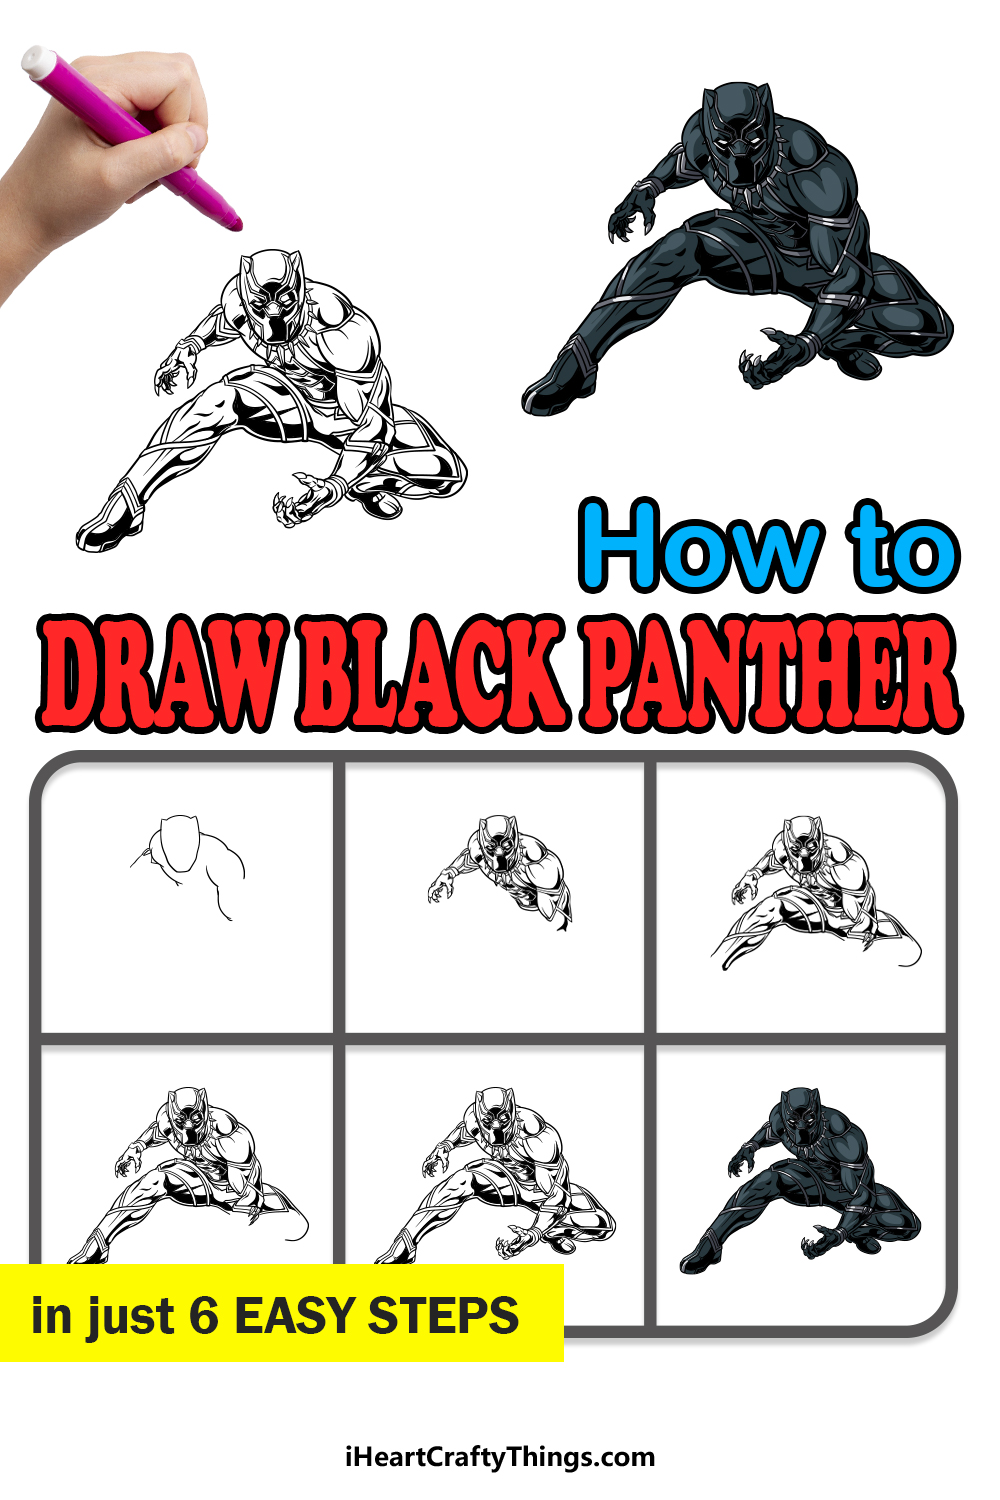
The superhero Black Panther has been around for many decades in various incarnations. While he has always been a popular character, recent film appearances have catapulted him into superstardom and won this character fans around the globe.
Learning how to draw Black Panther can be a great way to show appreciation for this character, but it can also be harder than expected.
When you have a guide to break it down into smaller steps, it can be made much easier to do. This is the perfect guide for just that purpose!
We hope you enjoy this step-by-step guide on how to draw Black Panther in just 6 easy steps.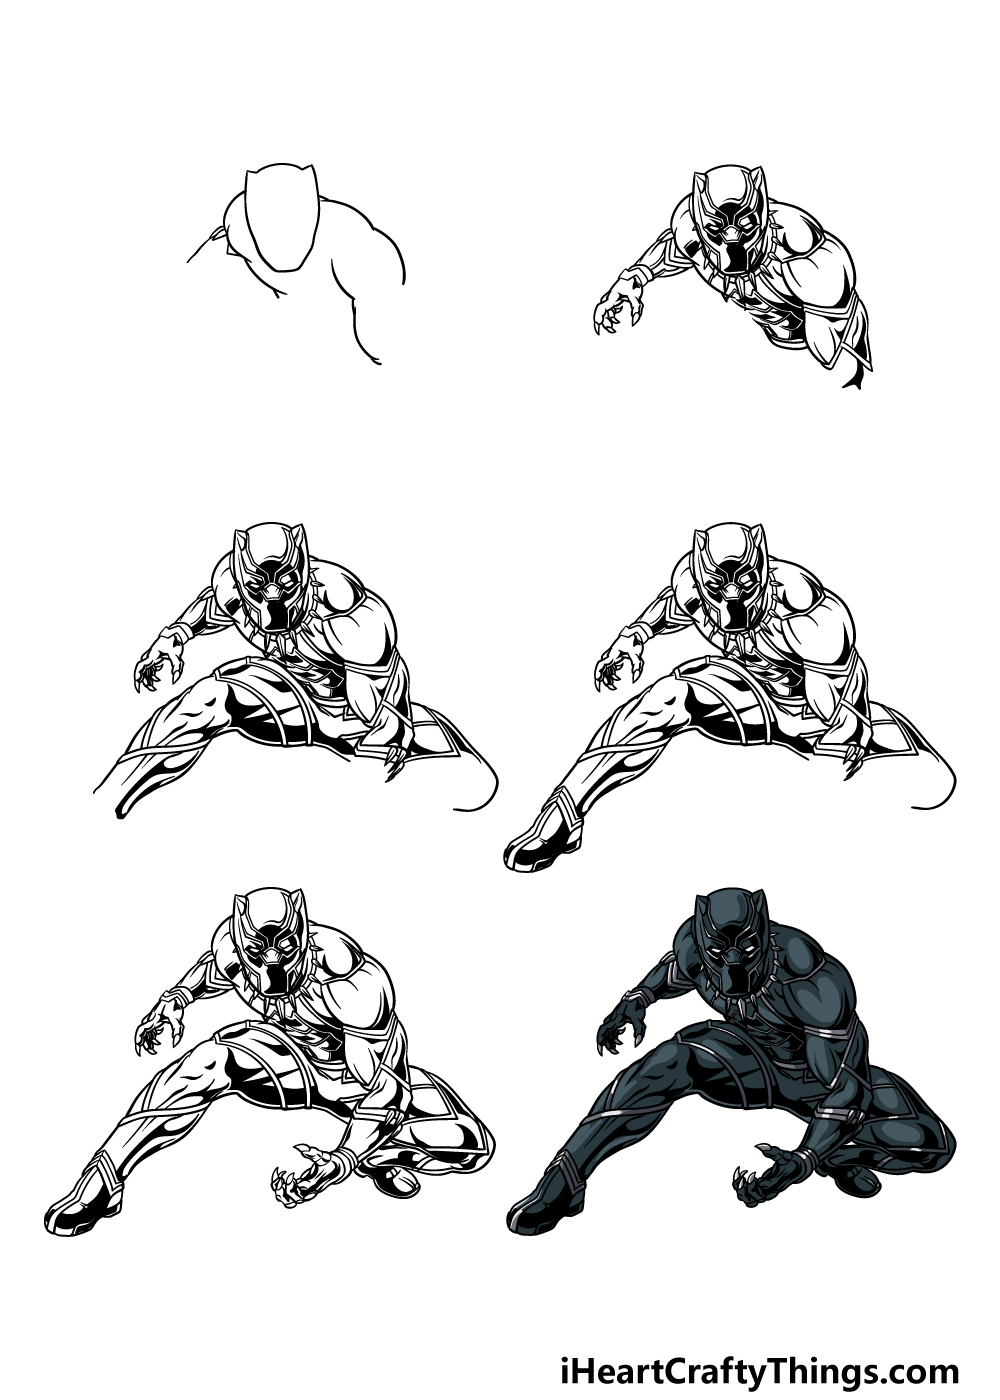
How to Draw Black Panther – Let’s Get Started!
Step 1
Drawing a character like Black Panther can be harder than one may think because of a few factors.
There are lots of details to add, but there are also realistic human body proportions to get right. We will take it slowly and go step by step to make sure that it doesn’t get too difficult to do.
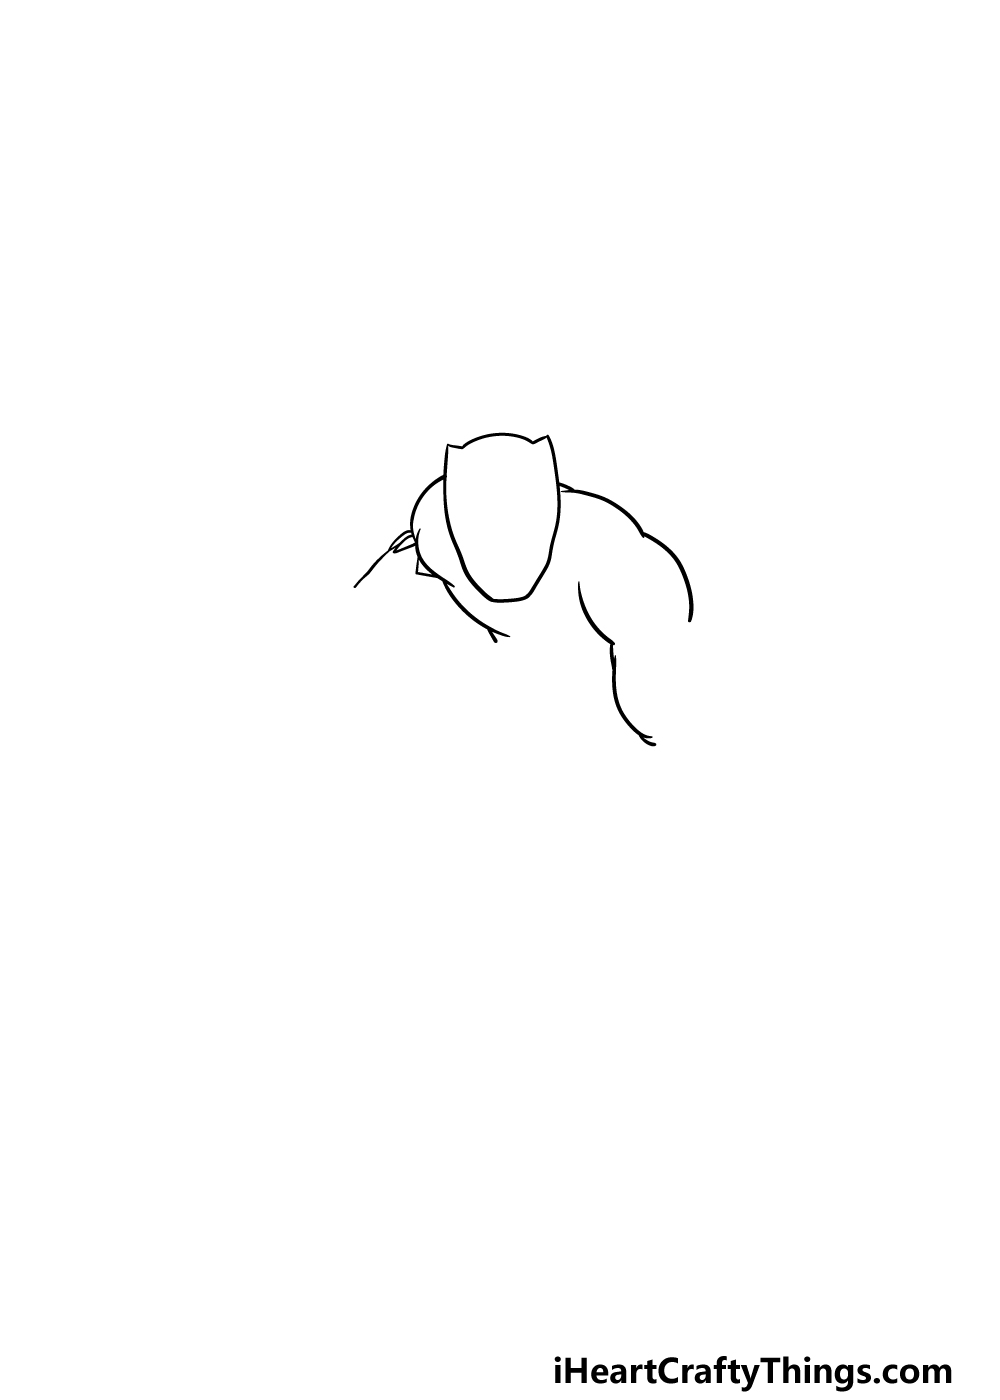
For this first step, we will be focusing on the outline for his head and the start of his arms. Using the reference image as your guide, you can draw his had and face outline, making sure to have the two pointy ears on top of it.
Then we will be using some more rounded lines to start the outlines for his shoulders and arms, which we will add some detail to in future steps.
Step 2 – Next, draw some more of his arms and details
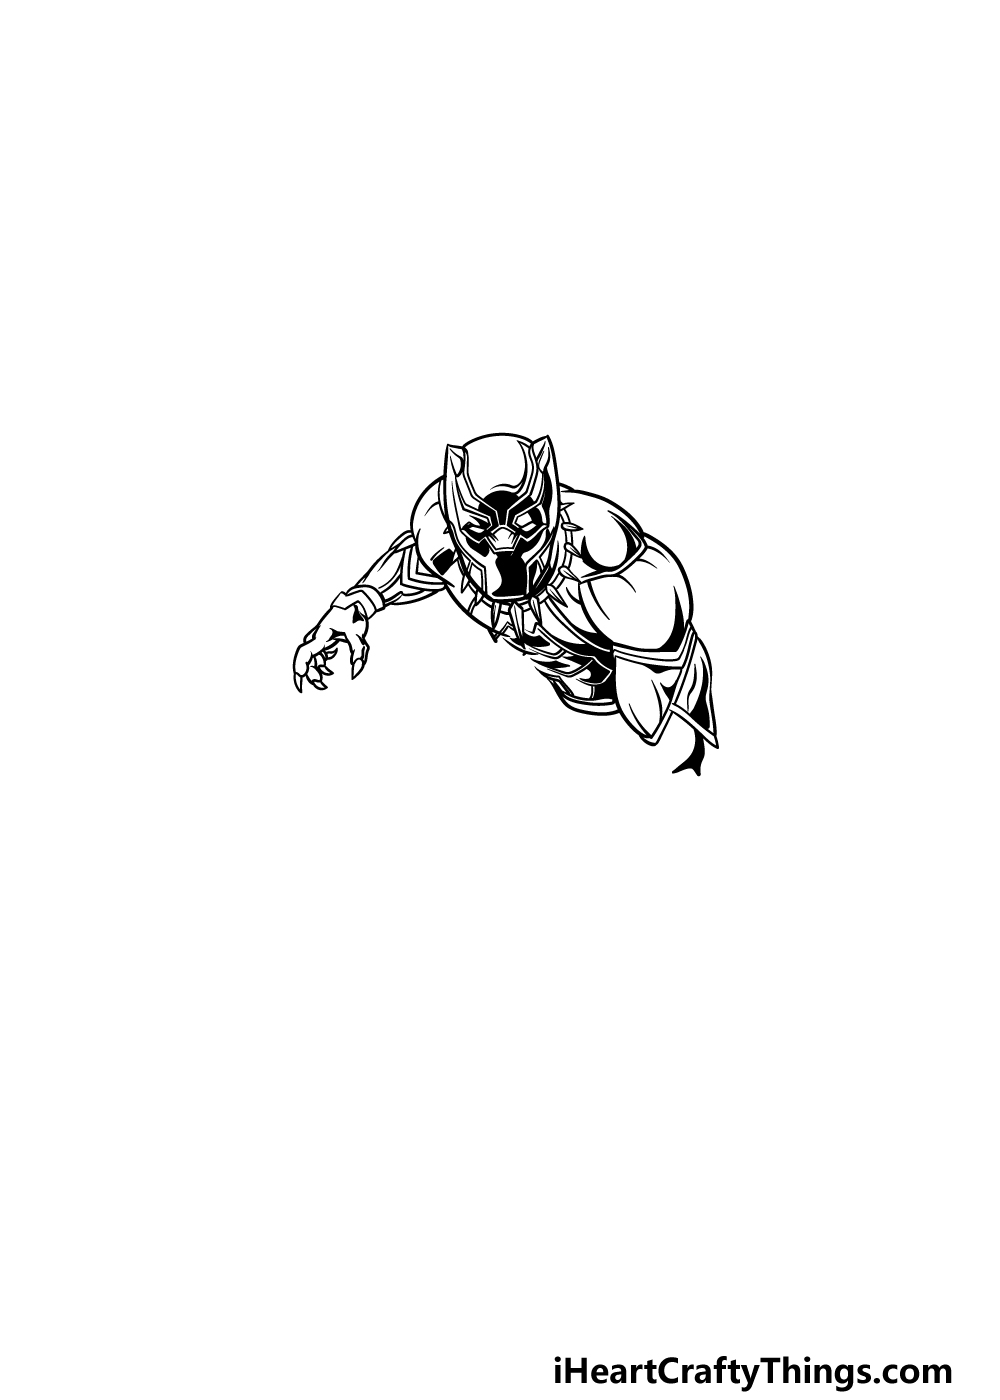
Continuing on with your Black Panther drawing, we will be adding some more to the arms along with some detailing for his head and body.
First, finish off the arm on the left. This arm will end in a hand with some claws at the end of the fingers.
Then we will be adding some detailing to the picture, and this is where it can get a bit tricky. Black Panther’s outfit has a lot of line detail going throughout it, and you can use the reference image to help you as you add these elements.
We will also be adding his eyes as well as his sharp necklace before we move on.
Step 3 – Draw the start of his legs in this step
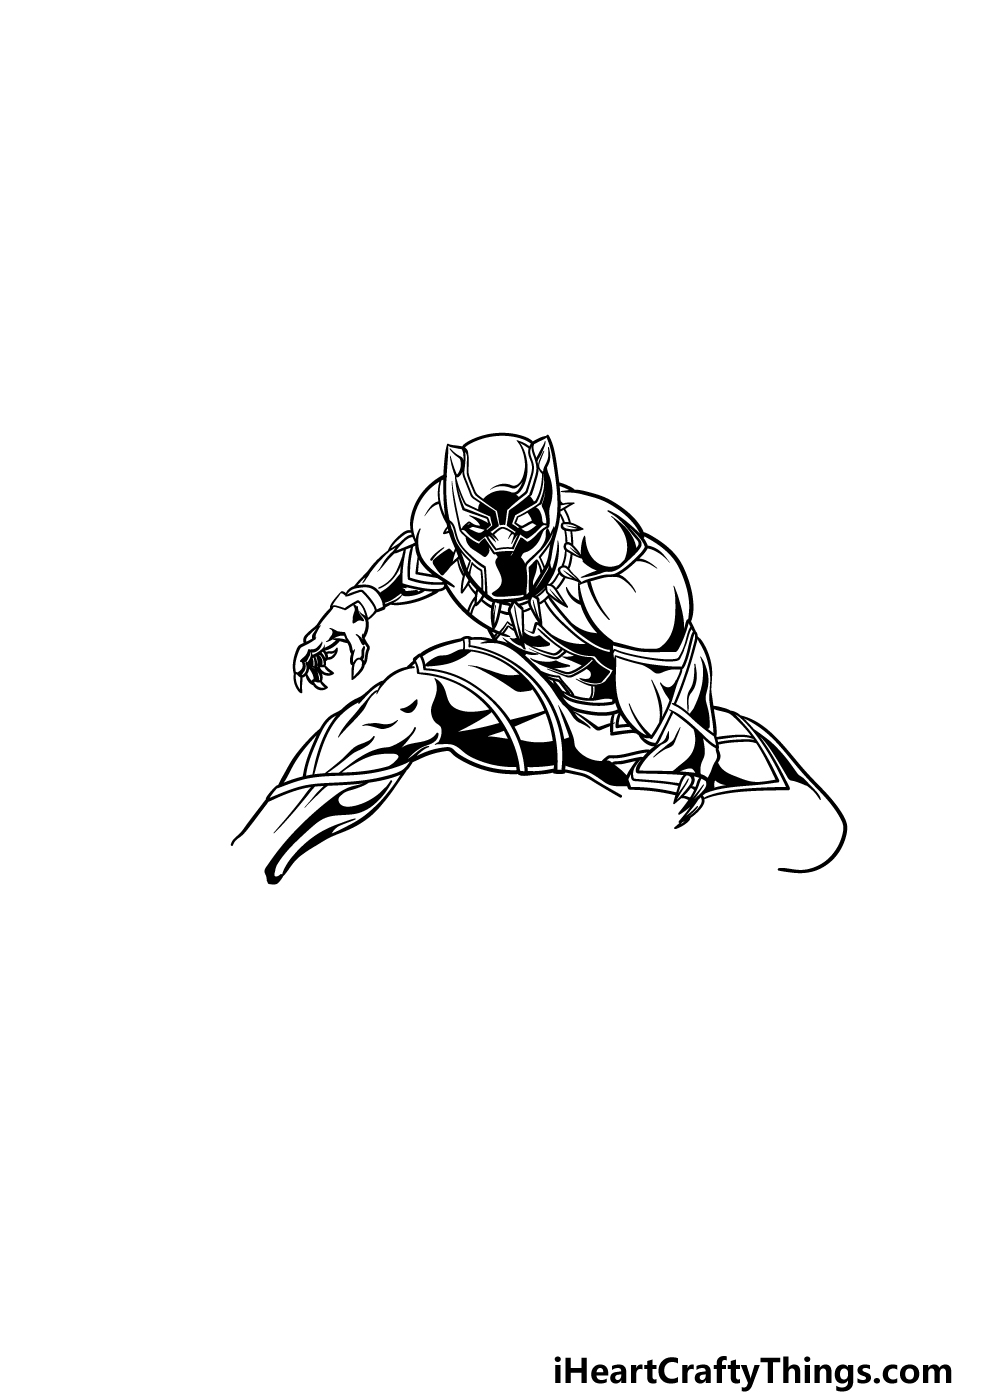
Now that you have the top of the drawing done, we can start to focus on the lower half of the body for this step of our guide on how to draw Black Panther.
We will mainly focus on the start of his legs in this part.
You can start this by drawing his leg outlines, and then once those outlines are drawn we will add similar line and outline details as you added in step 2.
Step 4 – Now, draw his first foot
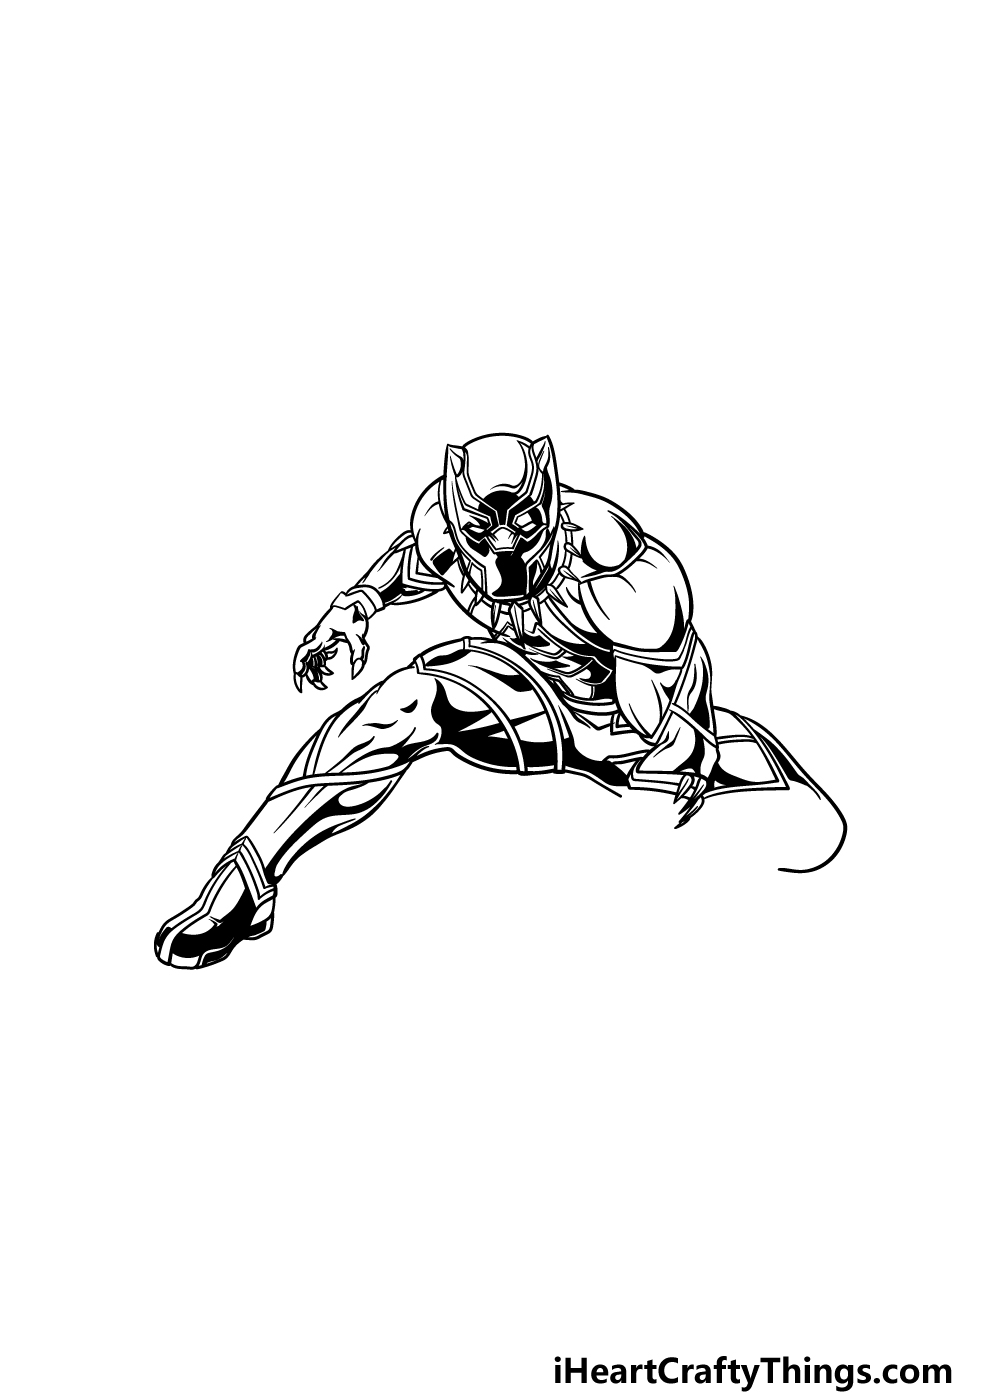
This part of your Black Panther drawing will be all about finishing off the first leg. All you need to do for this step is use some curved lines to draw his boot.
Once that is drawn, we will be adding some similar line detailing on top and center of it, as shown in the reference image.
Once again, these details will be very similar to the detailing we’ve been adding throughout the image.
Then we have just a few final finishing touches to add in the next step, so let’s move on to that aspect!
Step 5 – Finish off the final details of the Black Panther drawing
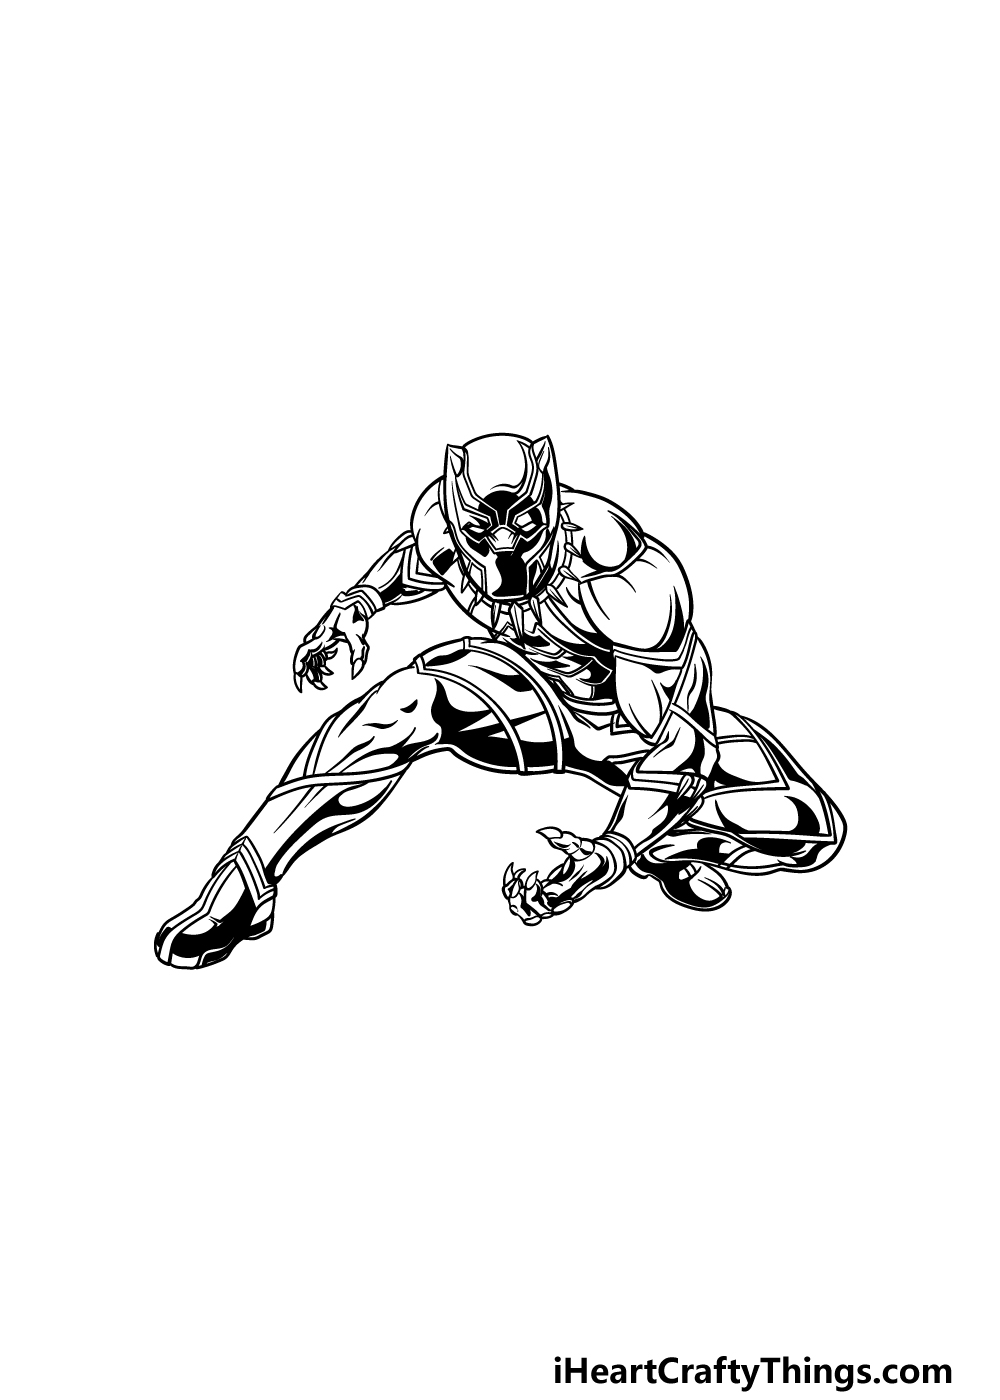
Your drawing is nearly complete, and there are only a few empty spaces to add in this step of our guide on how to draw Black Panther.
These will be the rest of his arm and leg that are on the right-hand side of the drawing. You can add these using the same outline, detailing and shading methods that you’ve been using in the rest of the image.
Then, once you have made sure that all the details are present and accounted for, you have pretty much finished your drawing! We will fill in the colors in the next part, but first you can add some final details of your own to finish it off.
There are lots of details that you could add, and this is where you can get creative and have fun with it.
You could draw a background to finish off the theme of the image, or you could draw some more of your favorite superheroes to go with him.
These are just a few ideas you could try, but what else can you think of to finish off the picture?
Step 6 – Finish off your Black Panther drawing with some color
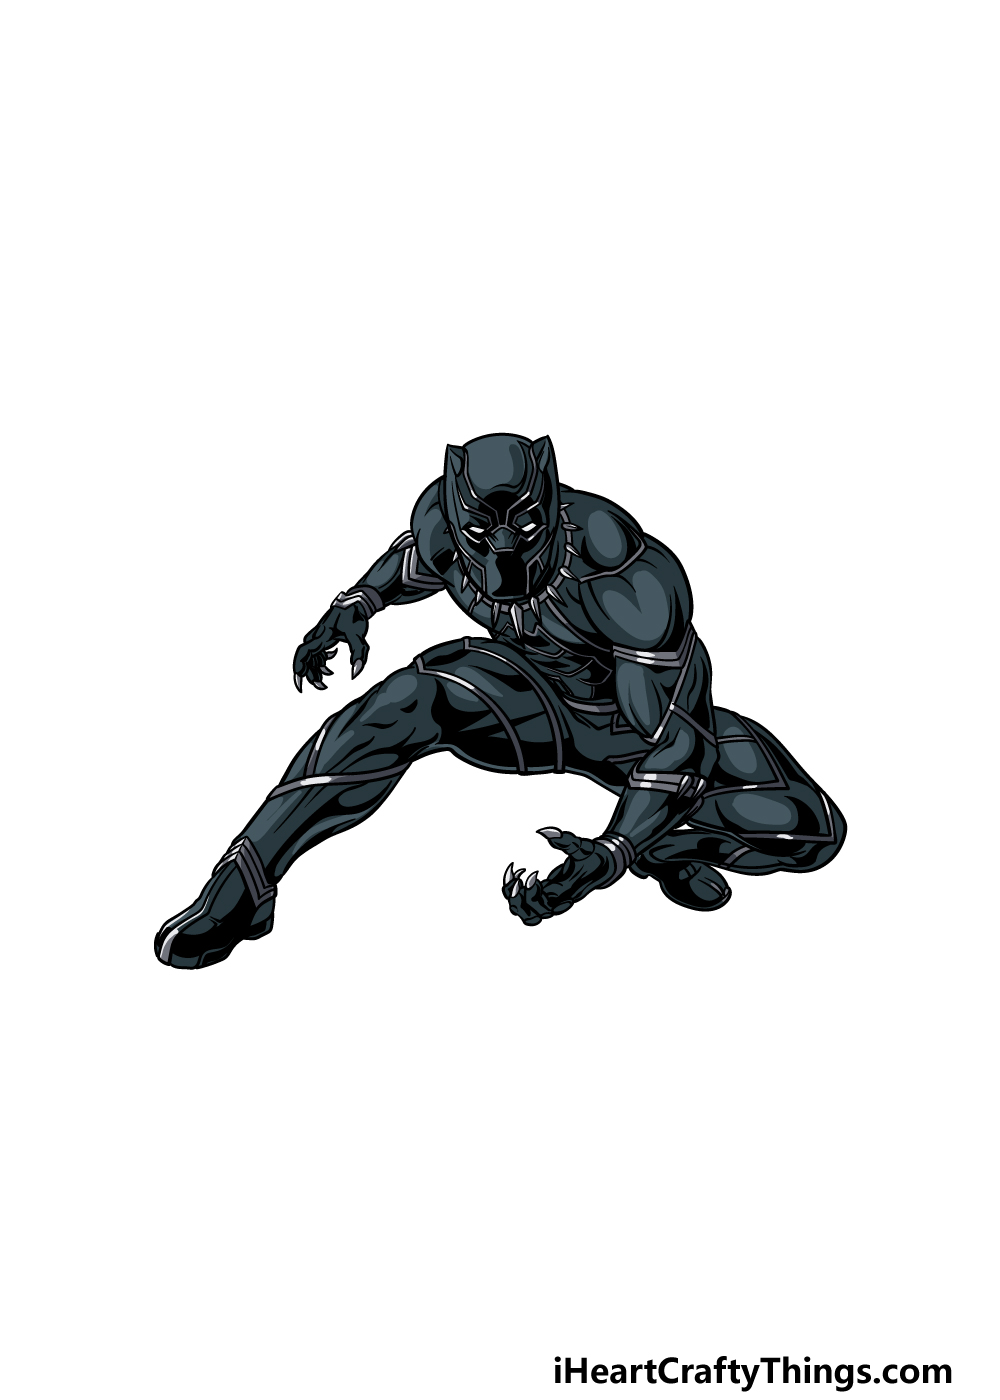
This is the final step of this Black Panther drawing, and this one is where you can have fun adding some amazing colors to your picture.
Black Panther isn’t the most vibrantly colored character ever, but you can still use some shades of black and grey for his outfit and details.
Even if you stick to his more muted color scheme, you can incorporate some brighter colors into the background or with any additional details and elements that you may have added.
What colors, art mediums and techniques do you think would finish off this awesome Black Panther image of yours?
4 More Ways To Make Your Black Panther Drawing Unique
Save the day with these tips to make your Black Panther sketch even better.
This drawing of Black Panther shows him in his classic outfit inspired by the comics and films.
He has appeared in different styles throughout his history though, so you could represent some of these.
If you have a favorite Black Panther appearance from the comics or other media, then you could adapt it to the pose we created in this image.
This could come from any source you like, and it would help to personalize it to your tastes.
What iteration would you choose?
In the comics and movies, Black Panther has faced off against many threats. Some of these could be added to the drawing to make it even more action-packed.
There are many villains to choose from just with the ones that Black Panther has faced, but you could choose any Marvel villains you like.
This could be a great way to imagine what it would be like if Black Panther went toe to toe with your favorite bad guys!
Of course, Black Panther has also been joined by many heroes in his adventures. In the comics and films he is often a part of the Avengers, and these could also be added to your Black Panther drawing.
This could include characters like Iron Man, Captain America or Black Widow to name a few. What are some other characters you would like Black Panther to fight alongside with?
Once you have decided which tips you would or would not like to use, you could finish off your Black Panther sketch with a background.
There would be so many locations to choose from if you look at the various media Black Panther has appeared in.
This could include his home of Wakanda, or you could go for New York City, a common place featured in Marvel stories. These are two options, but you could also take him to some new places.
Where would you like to see Black Panther on an adventure?
Your Black Panther Drawing is Complete!
This was not an easy picture to draw, so you should be very proud of completing this guide on how to draw Black Panther!
When you take on a drawing that has so many details and proportions to get right, it can be a frustrating endeavor to take on.
Our goal with this guide was to show you that it can be easy and lots of fun to recreate this awesome and iconic character!
Finishing this guide doesn’t have to be the end of the drawing fun! You can keep it going by adding your own background details and elements, and you can also experiment with different art mediums and color combinations.
Another way to keep the fun going is to check out the many drawing guides that we have on our website! Be sure to visit often, as we upload new guides frequently.
Once your Black Panther drawing is complete, be sure to share it on our Facebook and Pinterest pages! We always love to see your incredible creative artworks.