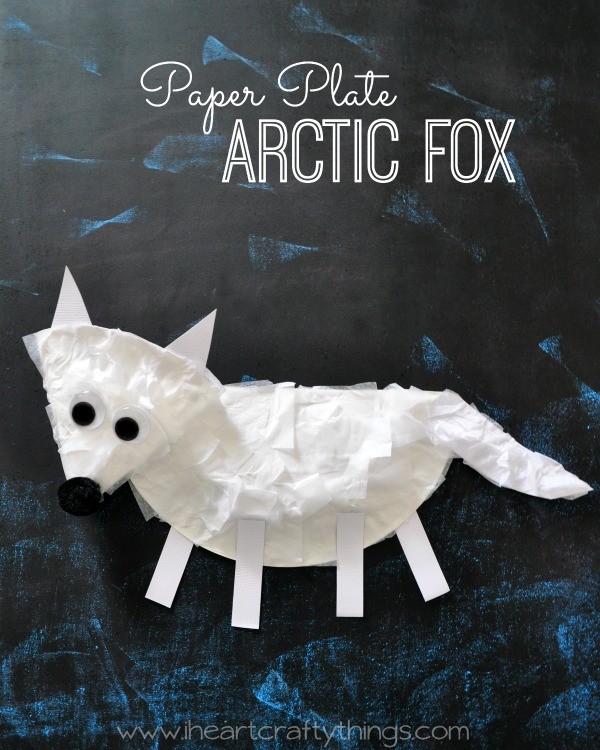
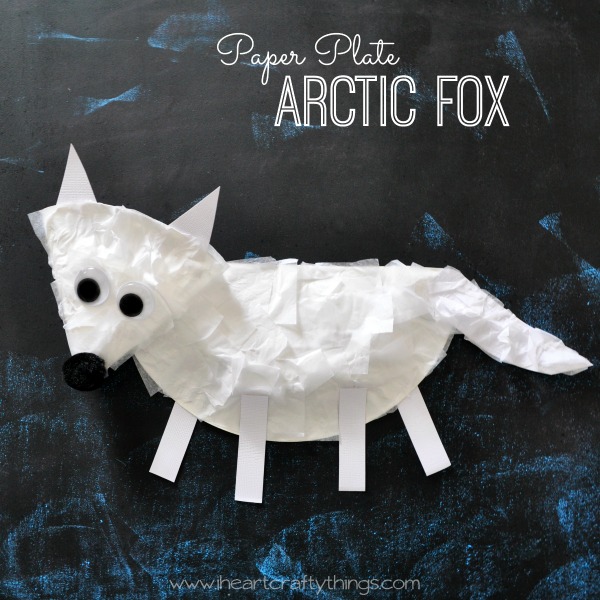
We recently watched a show about arctic animals and my kids thought the Arctic Fox was adorable. We decided it would be fun to make one as a craft so we put together this Paper Plate Arctic Fox Craft.
This post contains affiliate links to the products mentioned. I Heart Crafty Things is a participant in the Amazon Services LLC Associates Program, an affiliate advertising program designed to provide a means for sites to earn advertising fees by advertising and linking to amazon.com.
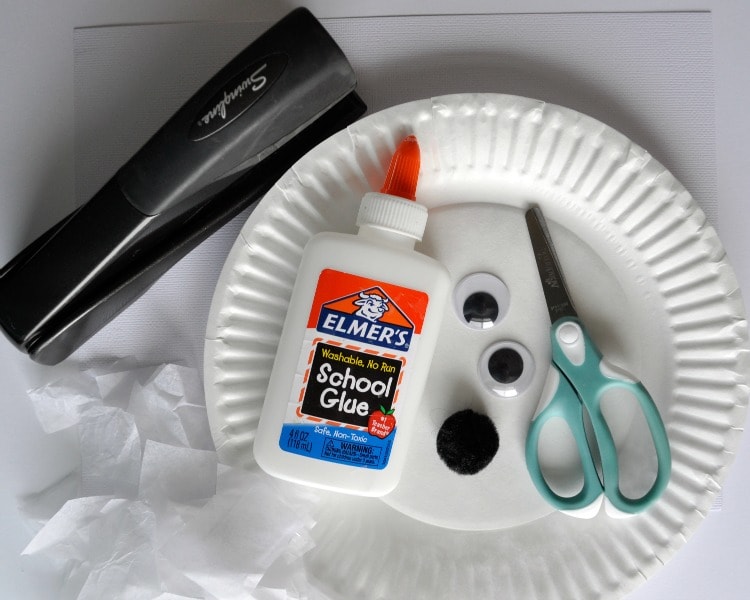
Supplies needed:
Watch the full tutorial of us making the paper plate Arctic Fox craft before you get started.
Instructions:
1. Prepare paper plates
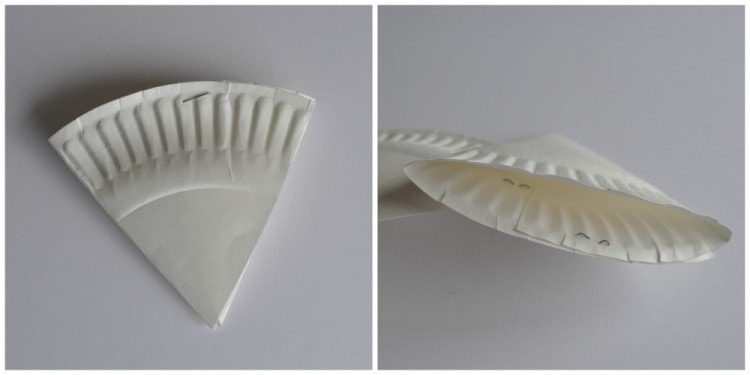
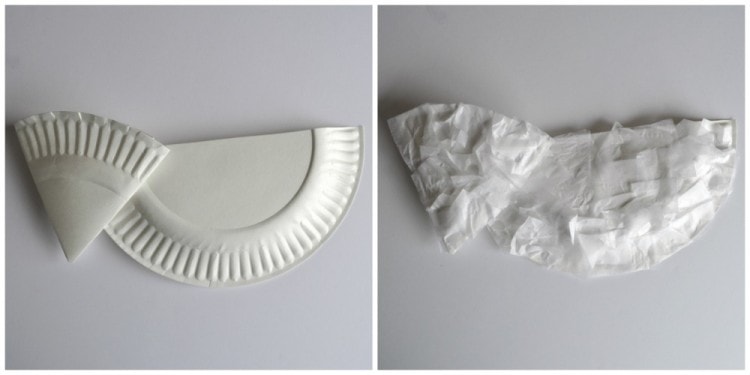
Start by cutting your paper plate in half. Fold the corners of one of the paper plate halves inward towards the center of the plate to create a triangle shape. Staple the pieces shut in the back.
2. Connect triangle to the paper plate
Put your stapler inside the triangle shape and staple it onto your other paper plate. (see picture below)
3. Cover plate with tissue paper
Add some glue onto your paper plates and cover them with tissue paper. Trim off any pieces that hang off the ends.
4. Glue eyes & black pom
Glue your large googly eyes and black pom onto your fox face.
5. Glue ears, tail & legs
Cut two triangle ears, four legs and a tail out of your white cardstock paper. Glue them onto your paper plate arctic fox craft. (Optional: Add tissue paper onto the tail to give it more texture.)
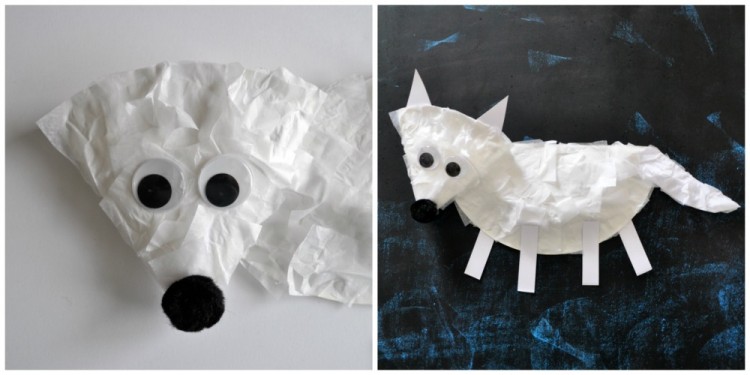 He turned out really cute! You could also turn this into a regular fox craft by adding orange tissue paper to the fox instead of the white. Check out our Cupcake Liner Fox Craft for more inspiration.
