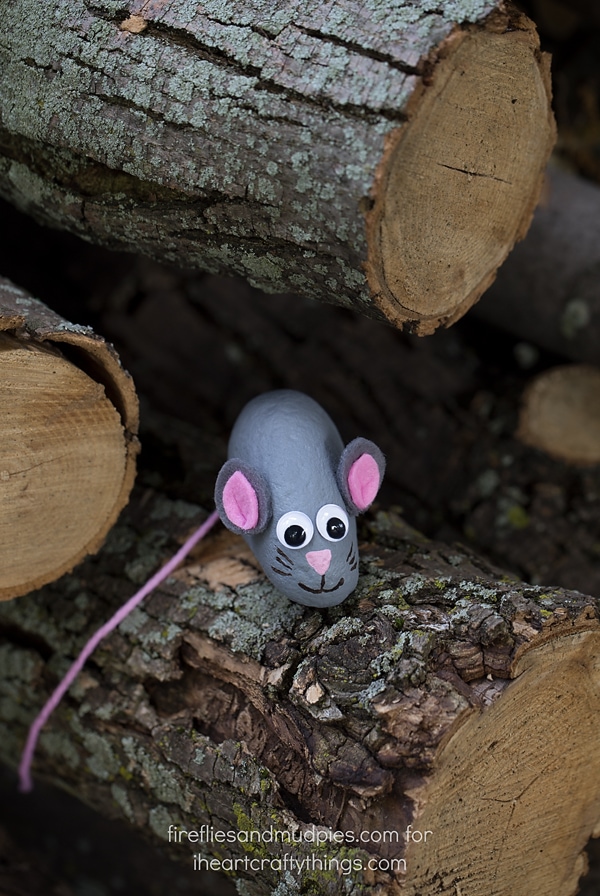
Summer is the perfect season for rock hunting! In this post, learn how to make sweet little Painted Mouse Rocks, perfect for kids of all ages.
Rock hunting groups are popping up faster than movie theater popcorn in cities around the country, and for good reason. Rock hunting is a fun way to get outside into nature, spend time with family, spread kindness, and unite communities.
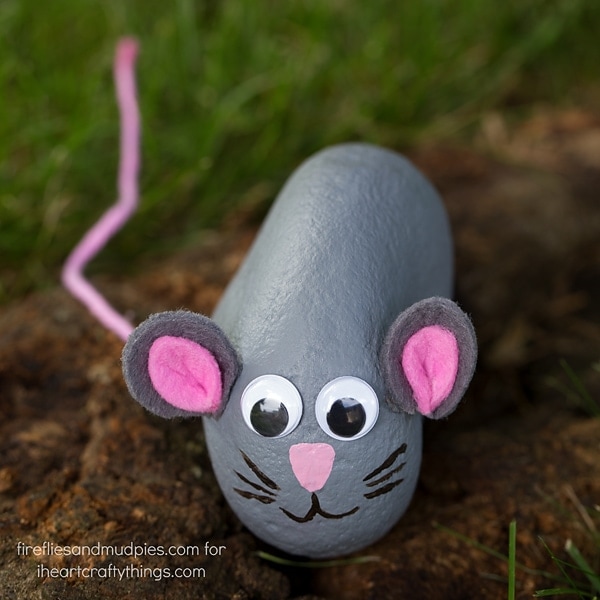
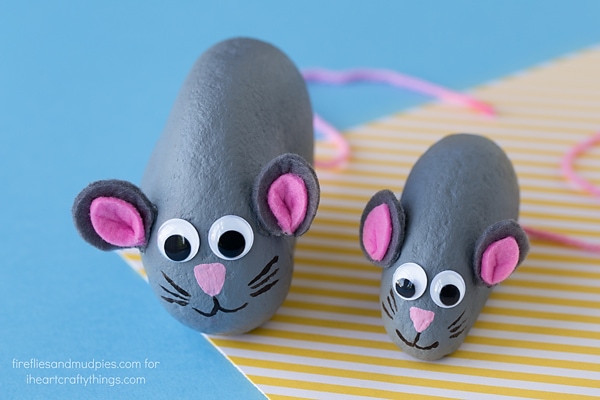
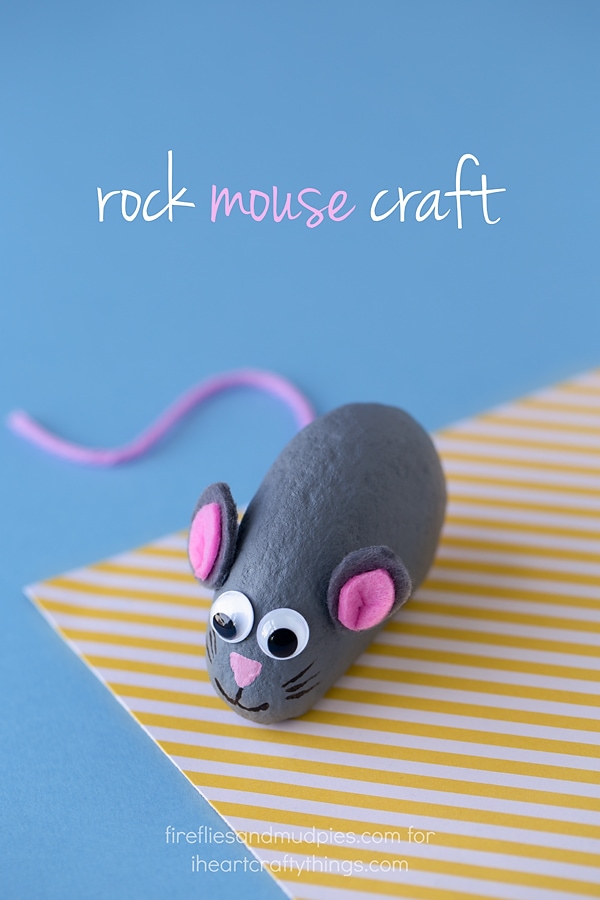
If you like painting and hunting for rocks, then you will love our adorable Painted Mouse Rocks. They are fun to hide in fields, wood piles, or around the base of trees. With soft felt ears and whimsical wiggly eyes, they are perfect for kids of all ages.
Just don’t hide them in your mother’s kitchen cabinet!
This post contains affiliate links to the products mentioned. Read our disclosure policy for more information.
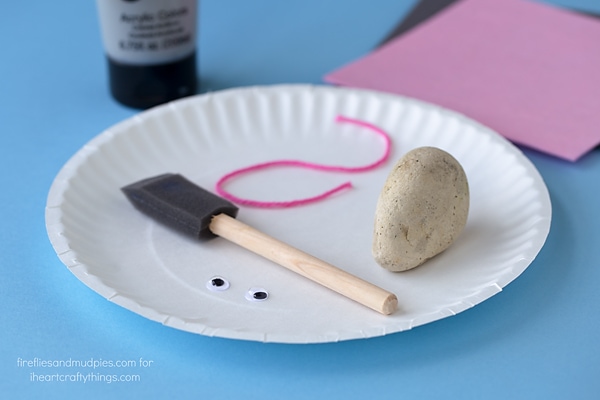
Supplies Needed:
- grey, pink, and black acrylic paint
- grey and pink felt
- paint brush
- hot glue and a hot glue gun
- small wiggly eyes
- pink yarn
- scissors
Instructions:
1. Prepare supplies
Find the rock that has a flat bottom and round top, similar to the shape of a mouse’s body.
2. Paint a rock
Now paint the rocks grey and let the paint dry.
3. Make ears
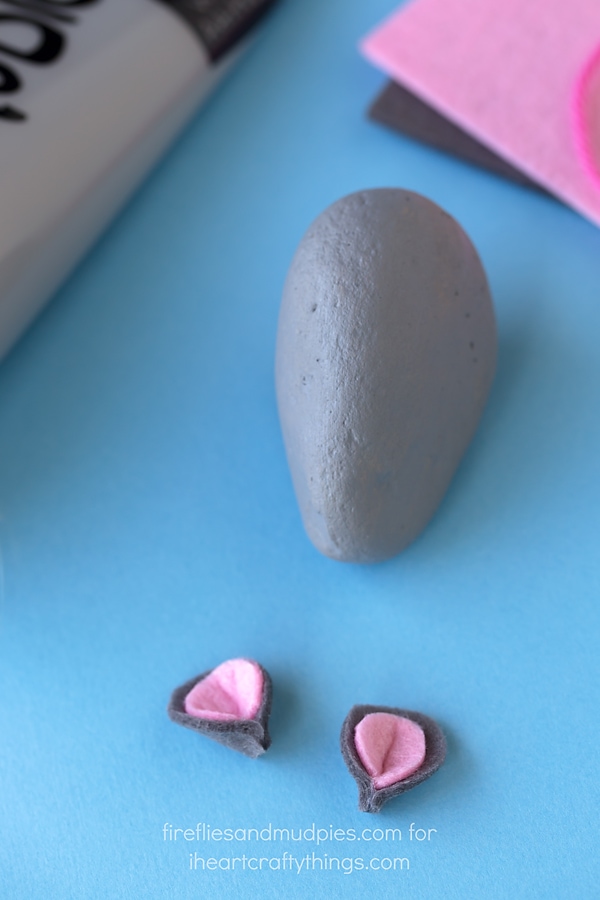
Now it’s time to make the mouse’s ears by cutting 2 grey ovals and 2 smaller pink ovals.
4. Make ears
Now it’s time to make the mouse’s ears by cutting 2 grey ovals and 2 smaller pink ovals.
5. Attach ears to the rock
Glue the pink ovals to the grey ovals, then fold the bottom and secure with hot glue. Glue the ears to the sides of the rocks.
6. Glue eyes to the rock
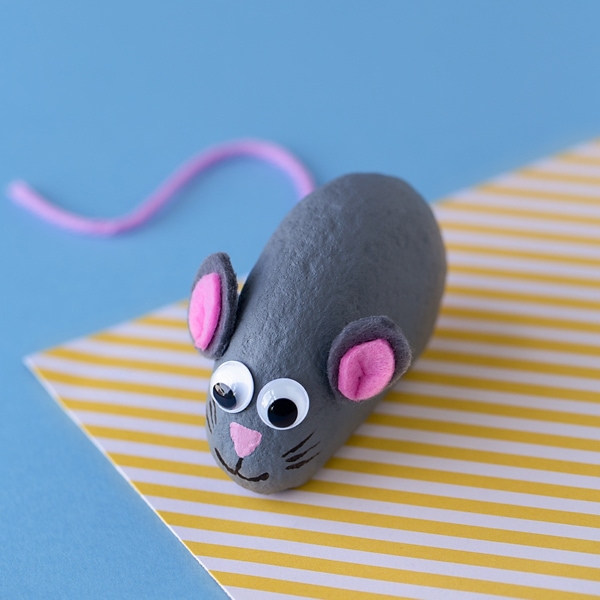
Next glue two wiggly eyes to the front of the rock.
7. Draw a nose, whiskers & mouth
Use black and pink paint to give your mouse a nose, whiskers, and a mouth. If your paintbrush isn’t thin enough to paint whiskers, try using a toothpick instead.
8. Glue a strand of yarn
Last, glue a strand of pink yarn to the back of the mouse to make a tail.
Label your rock with your family’s hashtag and the URL of your local rock hunting group.
Hide and enjoy!
