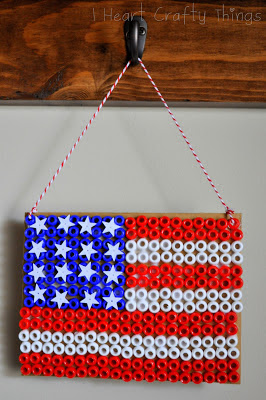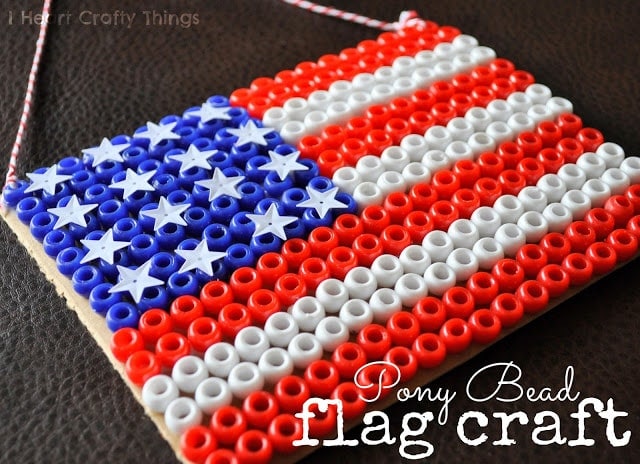
Instructions on how to create pony bead flag craft
1. Cut out a piece of cardboard
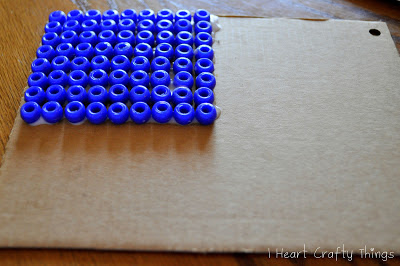
The craft is pretty straightforward, but I started by cutting out a piece of cardboard about 5″ x 7″.
We used a left over pizza box from dinner last night. I punched a hole at each end at the top with a hole punch so we could hang it after we were finished.
2. Glue the beads
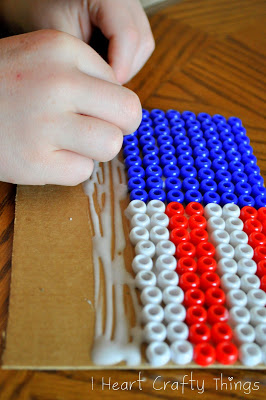
Then continue gluing with your red and white stripes down the flag. We decided to do rows of 2, but afterwards I thought “why didn’t we just cut the cardboard at the right size to get 13 single stripes like the real flag?” :-/
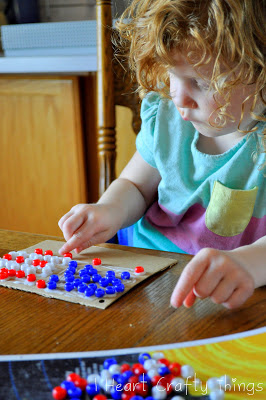
Your toddlers don’t have to sit out on this one either. This is a great activity for color recognition and hand-to-eye coordination. I put a section of glue down and told her which color bead to put on the glue. She is Miss Crafty lately so she loved this!
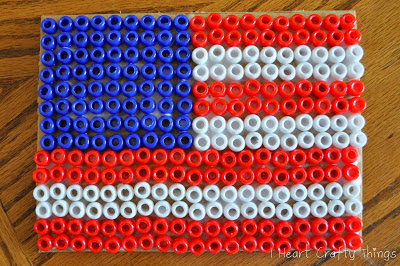
3. Add the stars
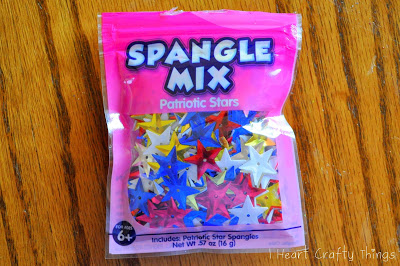
For the stars we used this Patriotic Stars Spangle Mix also from the online shop. This little pack is so fun! We used them for another project too that I’ll show you in a couple days.
Pull some white stars out of the pack and glue them down on your flag.
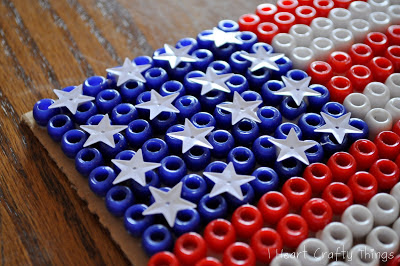
4. Add the string
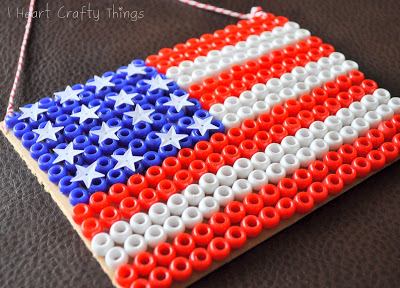
Look how cute my toddler’s flag turned out!
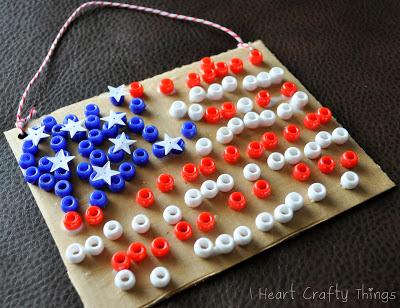
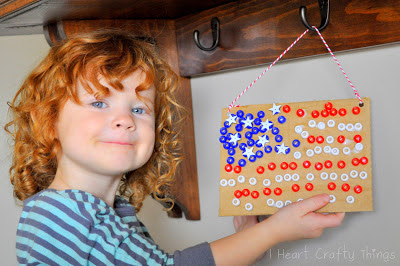
Find a fun place to hang up your new flag in your house and you have perfect 4th of July decor!
