Are you mad for plaid this holiday season? If so, you are going to love these little plaid Christmas trees. In this post learn how to make this gorgeous plaid Christmas tree craft with our helpful template, step-by-step tutorial and video.
Last year we added our simple buffalo plaid ornaments to our Christmas tree and I loved the rustic feel they gave to our holiday decor. So this year I’ve been anxious to add more plaid to our holiday decor. The best thing about this plaid Christmas tree craft is that kids can help you make them with our handy template.
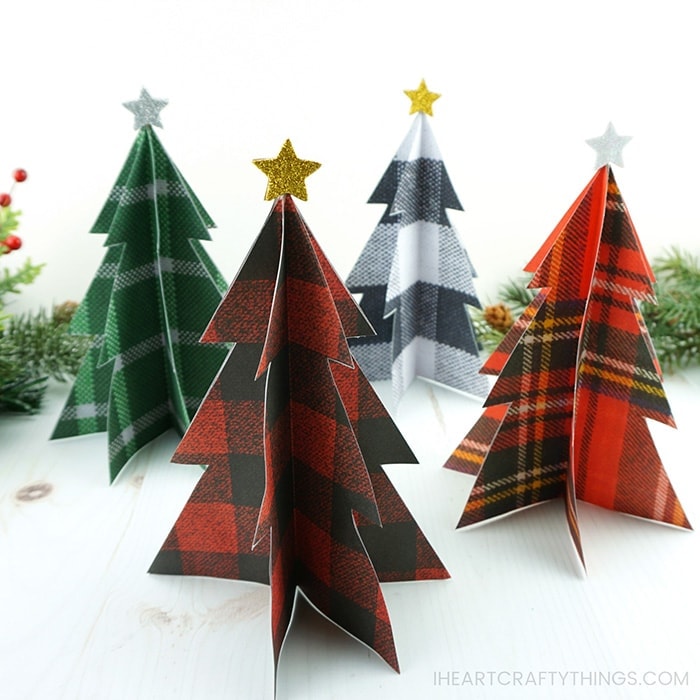
How to Make a Plaid Christmas Tree Craft
This post contains affiliate links to the products mentioned. I Heart Crafty Things is a participant in the Amazon Services LLC Associates Program, an affiliate advertising program designed to provide a means for sites to earn advertising fees by advertising and linking to amazon.com.
Supplies:
- 3D Christmas tree template <—- Get the Template HERE
- plaid scrapbook paper
- glitter stars foam stickers
- toothpick
- scissors
- extra strength glue stick
- Tacky Glue
- pencil
- embellishments (optional: We love these iridescent gemstone stickers that we received from our friends at Craftprojectideas. You can find them at Walmart on the craft supply aisle.)
Instructions:
1. Begin by downloading and printing out our 3D Christmas tree template. Cut out one of the Christmas trees in the template.
2. Choose which style of plaid paper you want to use for your plaid Christmas tree. I was excited to find this Mad for Plaid paper pack at Walmart because it has so many different variations of plaid. I also have it linked in the supplies list above from Amazon.
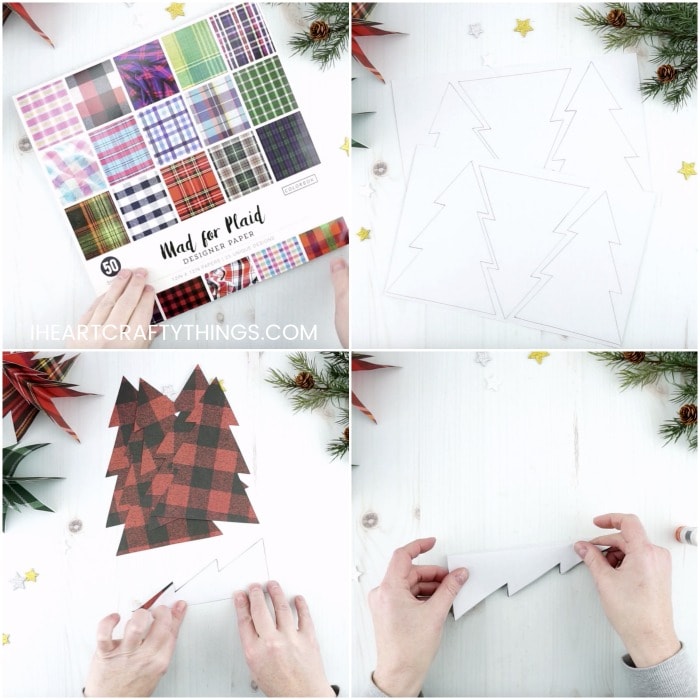
3. Trace the Christmas tree template on the back of your plaid scrapbook paper six times. Cut each of the Christmas trees out.
4. Fold each of your Christmas trees in half with the back side facing out.
5. Use an extra strength glue stick to add glue to one of the folded halves of the Christmas tree. Line up and adhere another one of the folded Christmas trees on the glue. Continue adding glue and the remaining Christmas trees.
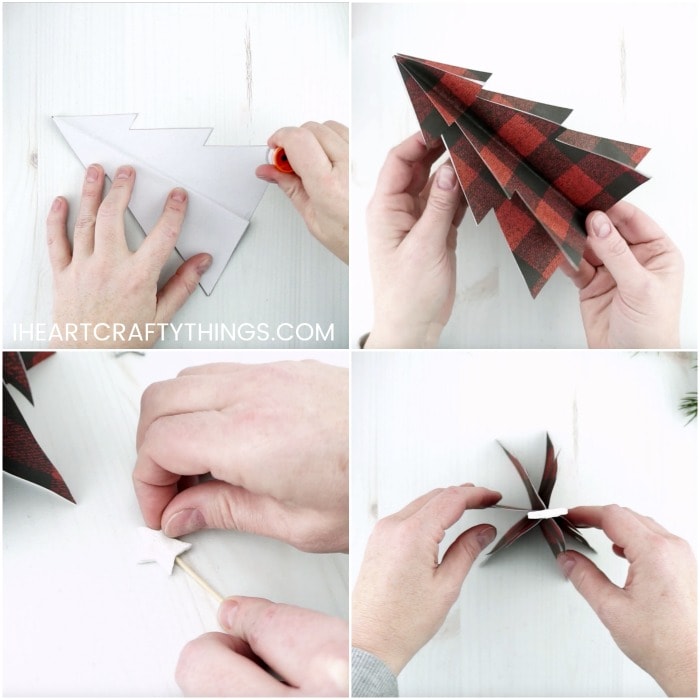
6. After gluing on the last Christmas tree, glue the two end pieces together to seal the Christmas tree closed. Open up the sections of the Christmas tree to reveal your plaid Christmas tree.
7. Now it’s time to make the star for your tree. Peel the backing off a glitter star foam sticker. Place a toothpick in the middle of the star. Then peel the backing off another star sticker and place it on top to sandwich in and seal the star shut.
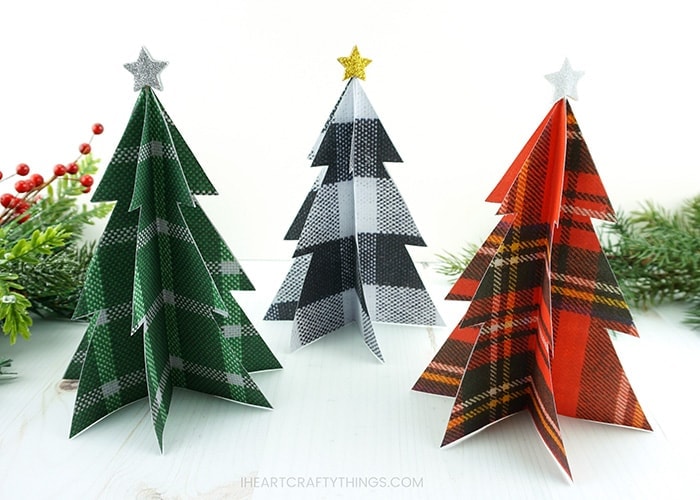
8. Add some tacky glue on the bottom of the toothpick and insert it into the top of the plaid Christmas tree.
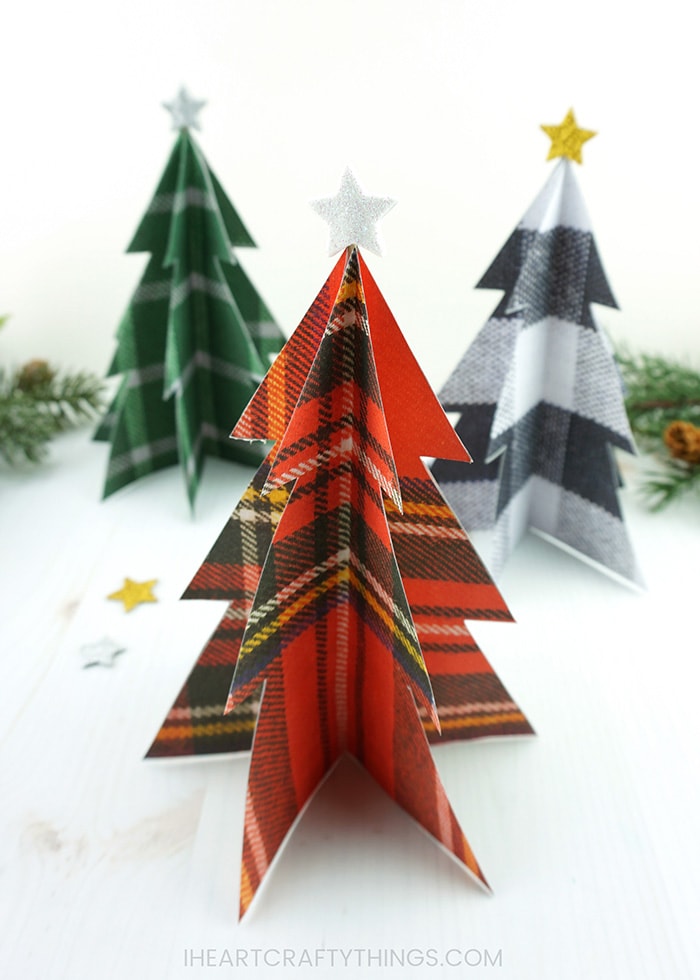
Your Plaid Christmas tree is complete!
Twirl the plaid Christmas tree around to enjoy the 3D effect of the tree and fun sparkle of the glitter star on top.
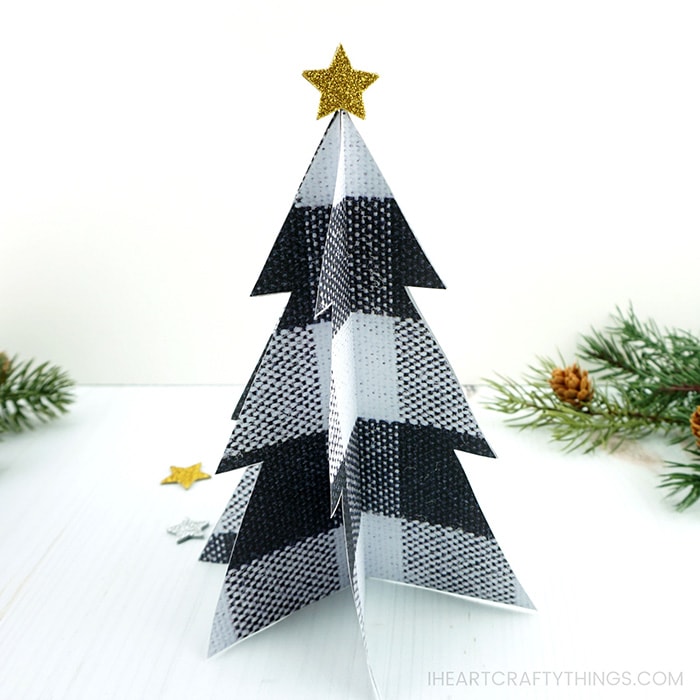
Remember, you don’t have to stop at just making one plaid tree. Group several together on a mantle or shelf with some greenery behind it to add to the rustic appeal of your holiday decor.
Plaid Christmas Tree Video Tutorial
Watch the video below to be guided through each step of this craft. You can view more easy kids craft tutorials on our Facebook page, or right here on our website.
More Gorgeous Christmas Crafts
If you loved our plaid Christmas trees, you’ll also love these easy buffalo plaid ornaments. You can swap out the plaid for whatever pattern you like.
Here is another variation of these pretty 3D Christmas trees with more traditional colors. You can customize the trees with all sorts of different embellishments.
Keep the kids busy this holiday season with several of these awesome Christmas arts and crafts ideas. It’s hard to choose a favorite there are so many fun ideas!
Plaid Christmas Tree Craft

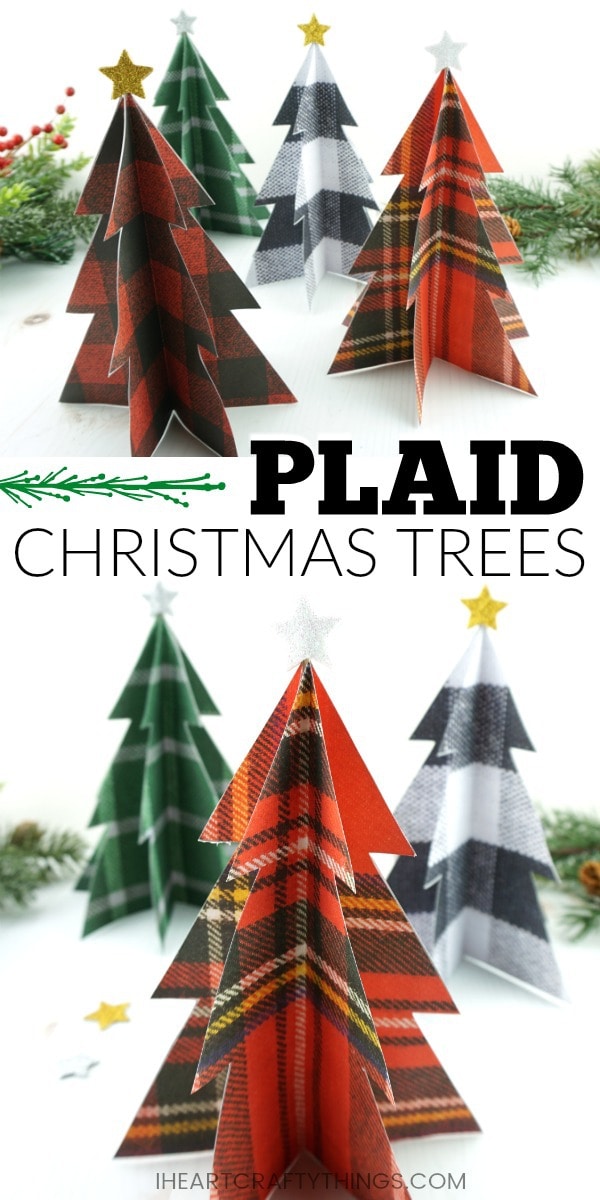
Are you mad for plaid this holiday season? You’ll love creating these festive plaid Christmas trees to add to your rustic Christmas decor.
- 3D Christmas tree template
- plaid scrapbook paper
- glitter stars foam stickers
- toothpick
- scissors
- extra strength glue stick
- Tacky Glue
- pencil
- embellishments (optional)
- Begin by downloading and printing out our 3D Christmas tree template. Cut out one of the Christmas trees in the template.
- Trace the Christmas tree template on the back of your plaid scrapbook paper six times. Cut each of the Christmas trees out.
- Fold each of your Christmas trees in half with the back side facing out.
- Use an extra strength glue stick to add glue to one of the folded halves of the Christmas tree. Line up and adhere another one of the folded Christmas trees on the glue. Continue adding glue and the remaining Christmas trees.
- After gluing on the last Christmas tree, glue the two end pieces together to seal the Christmas tree closed. Open up all the sections of the Christmas tree to reveal your plaid Christmas tree.
- Now it’s time to make the star for your tree. Peel the backing off a glitter star foam sticker. Place a toothpick in the middle of the star. Then peel the backing off another star sticker and place it on top to sandwich in and seal the star shut.
- Add some tacky glue on the bottom of the toothpick and insert it into the top of the plaid Christmas tree.


