Pinterest inspires me pretty much on a daily basis…I repinned THIS pin and knew I had to find a way to recreate the Hippo Masterpiece. The pin comes from beautiful artwork by Melanie Mikecz and her shop on etsy is definitely worth checking out.
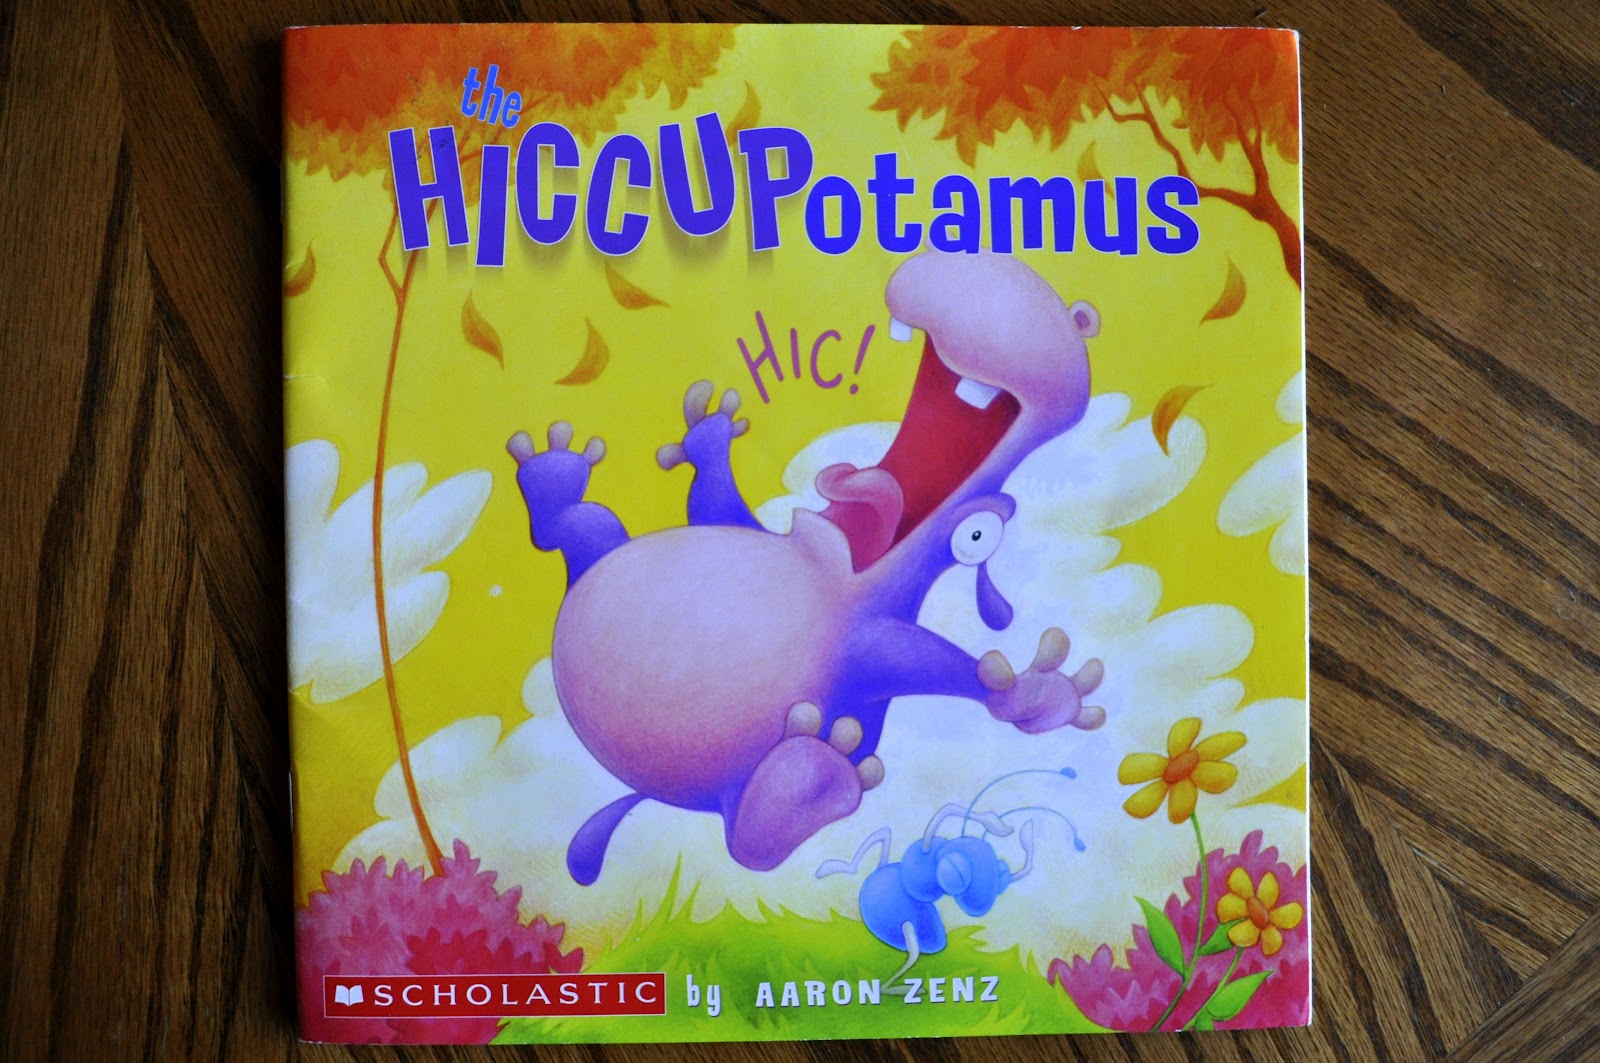
“There was a Hippopotamus who hiccupped quite-a-lotamus and every time he got’emus he’d fall upon his bottomus.” Pretty much one of the most hilarious read aloud stories EVER! After a Hippo gets the hiccupps his friends try to find a way to cure him. They end up successful, only to find that they themselves all have the hiccupps now. It is a hoot!
I have to first start out by saying that I haven’t done this craft with my kids yet. It was one of those “I need to try it first to see if it works how I thought it would” crafts and I’m just so excited about how it turned out that I simply can’t wait to share it with you so here we go…
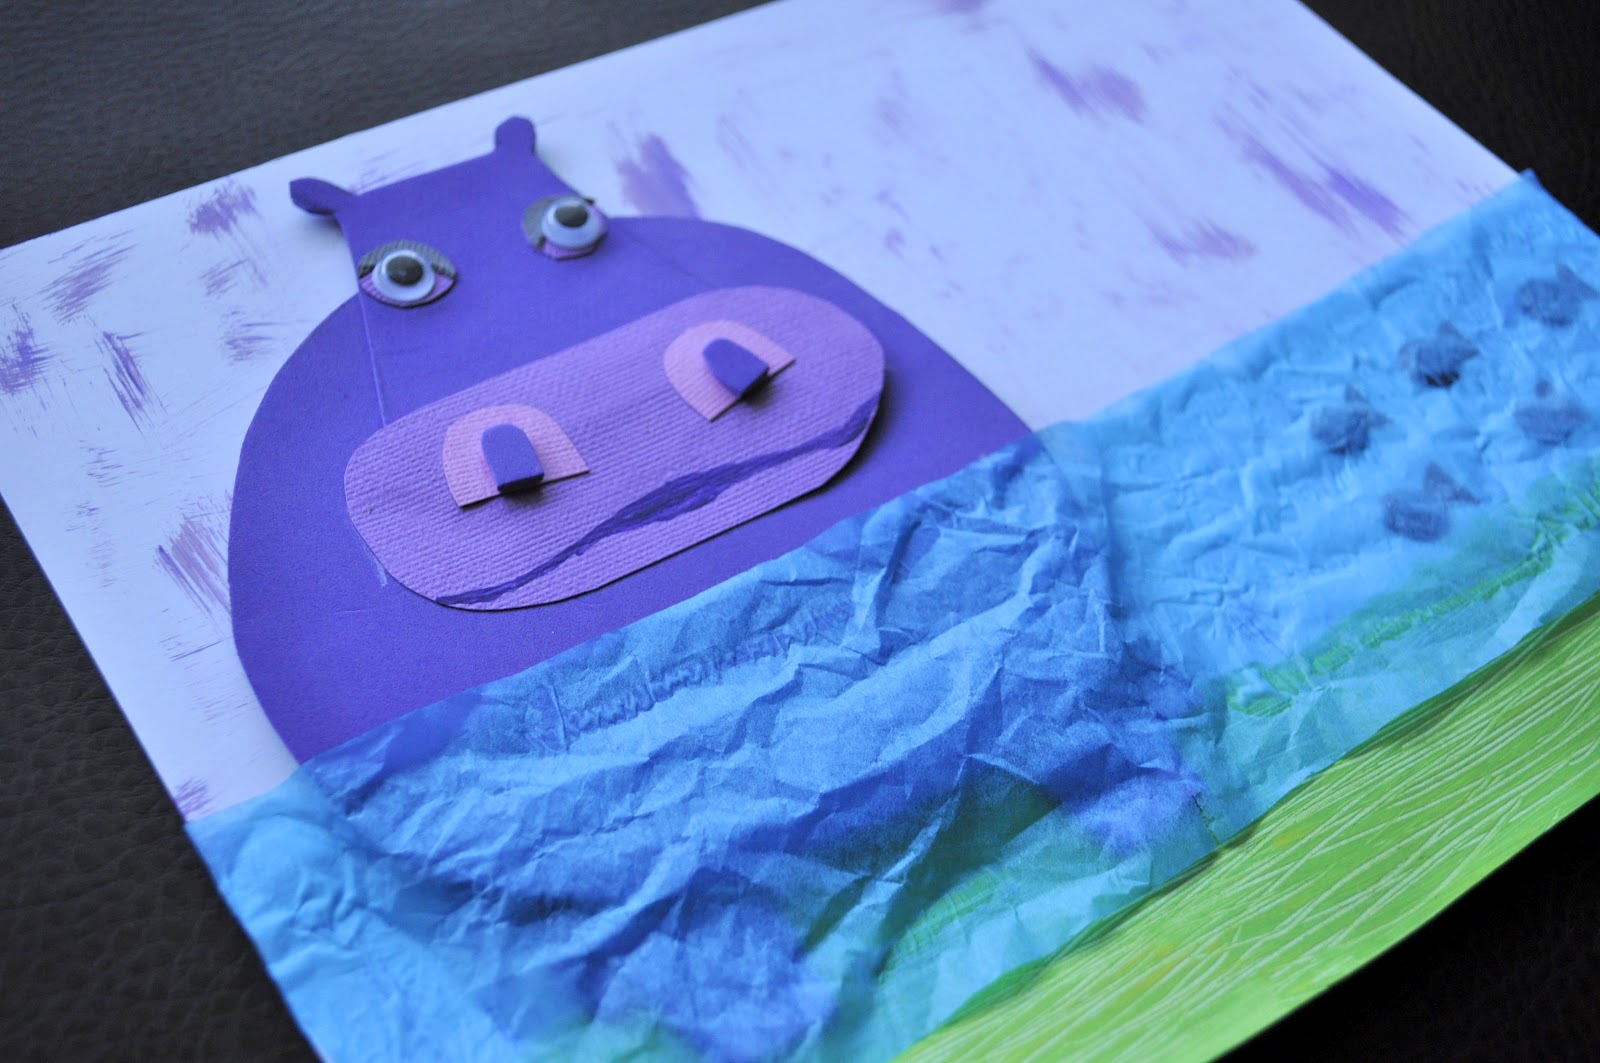
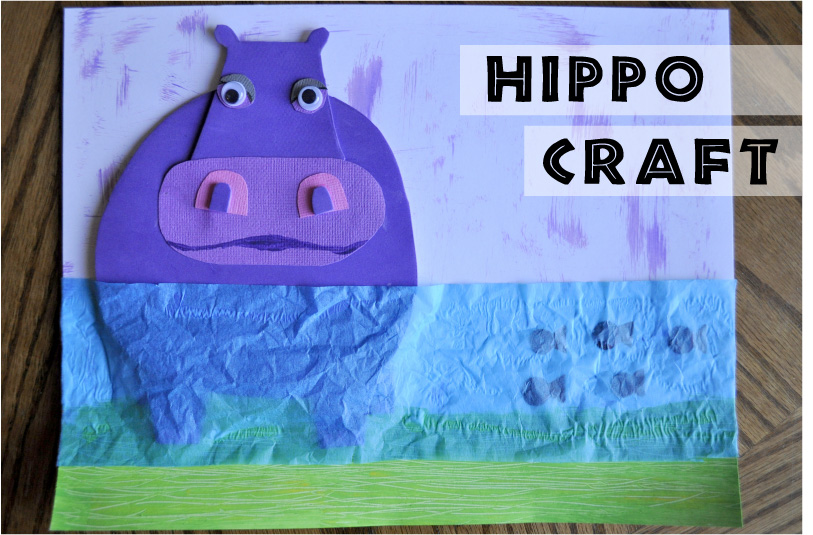
Here is the completed background before putting the Hippotamus on it.
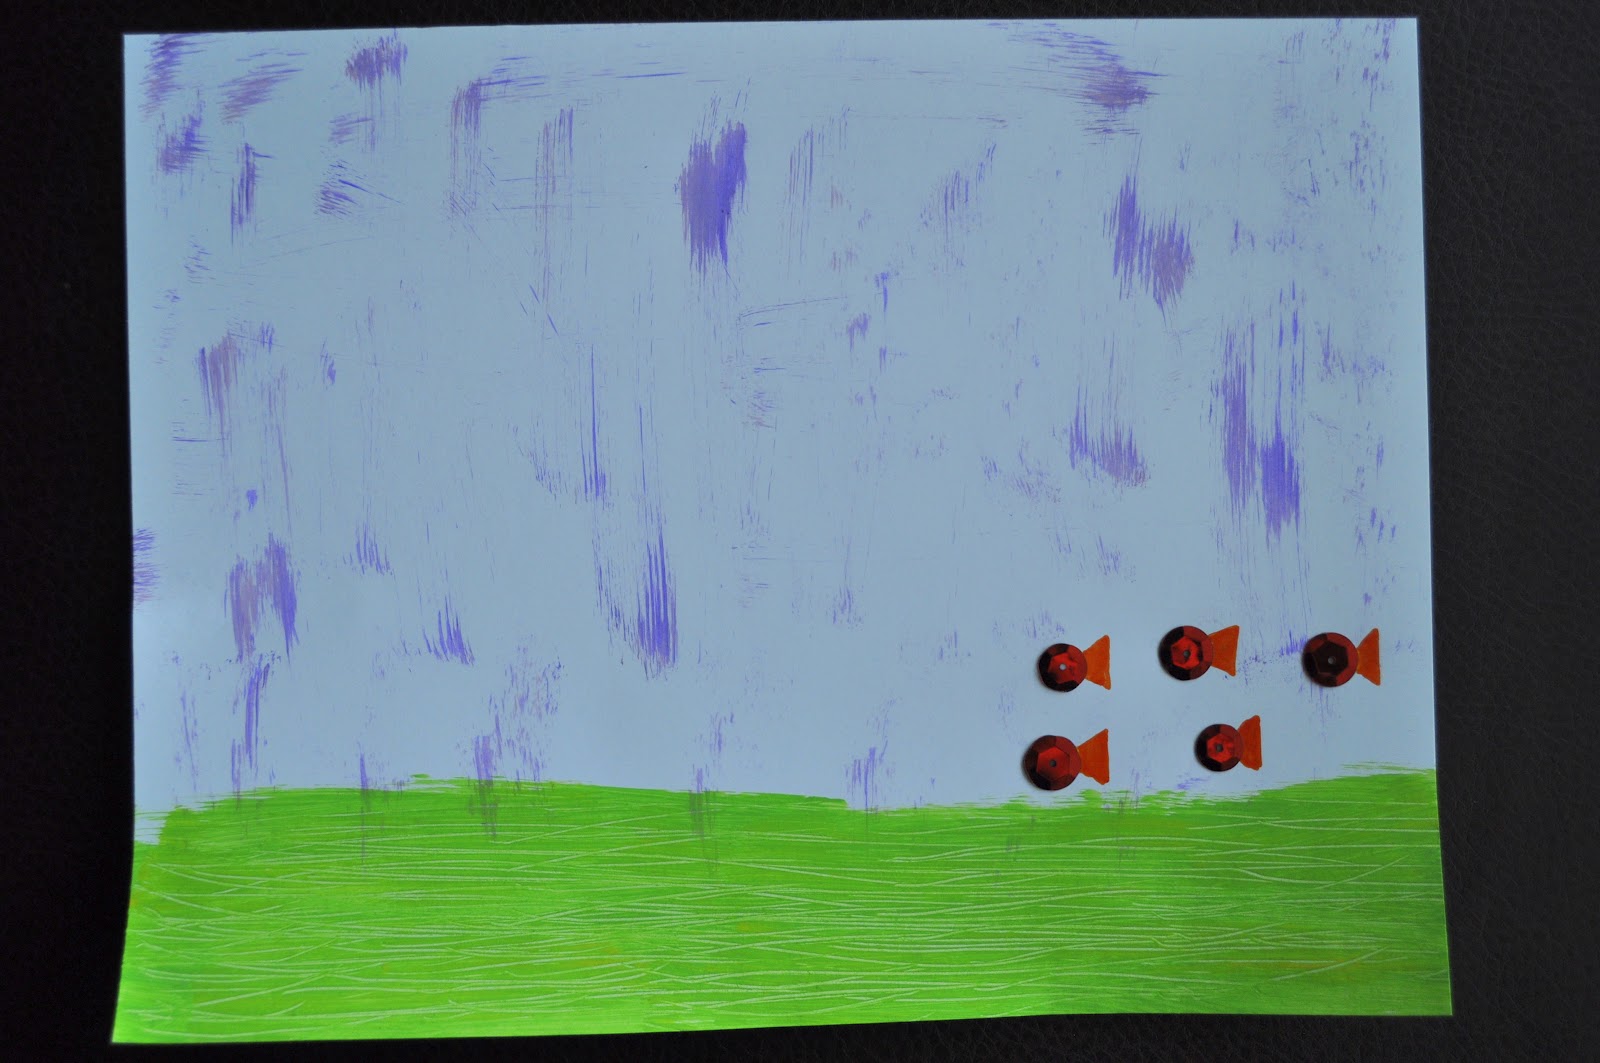
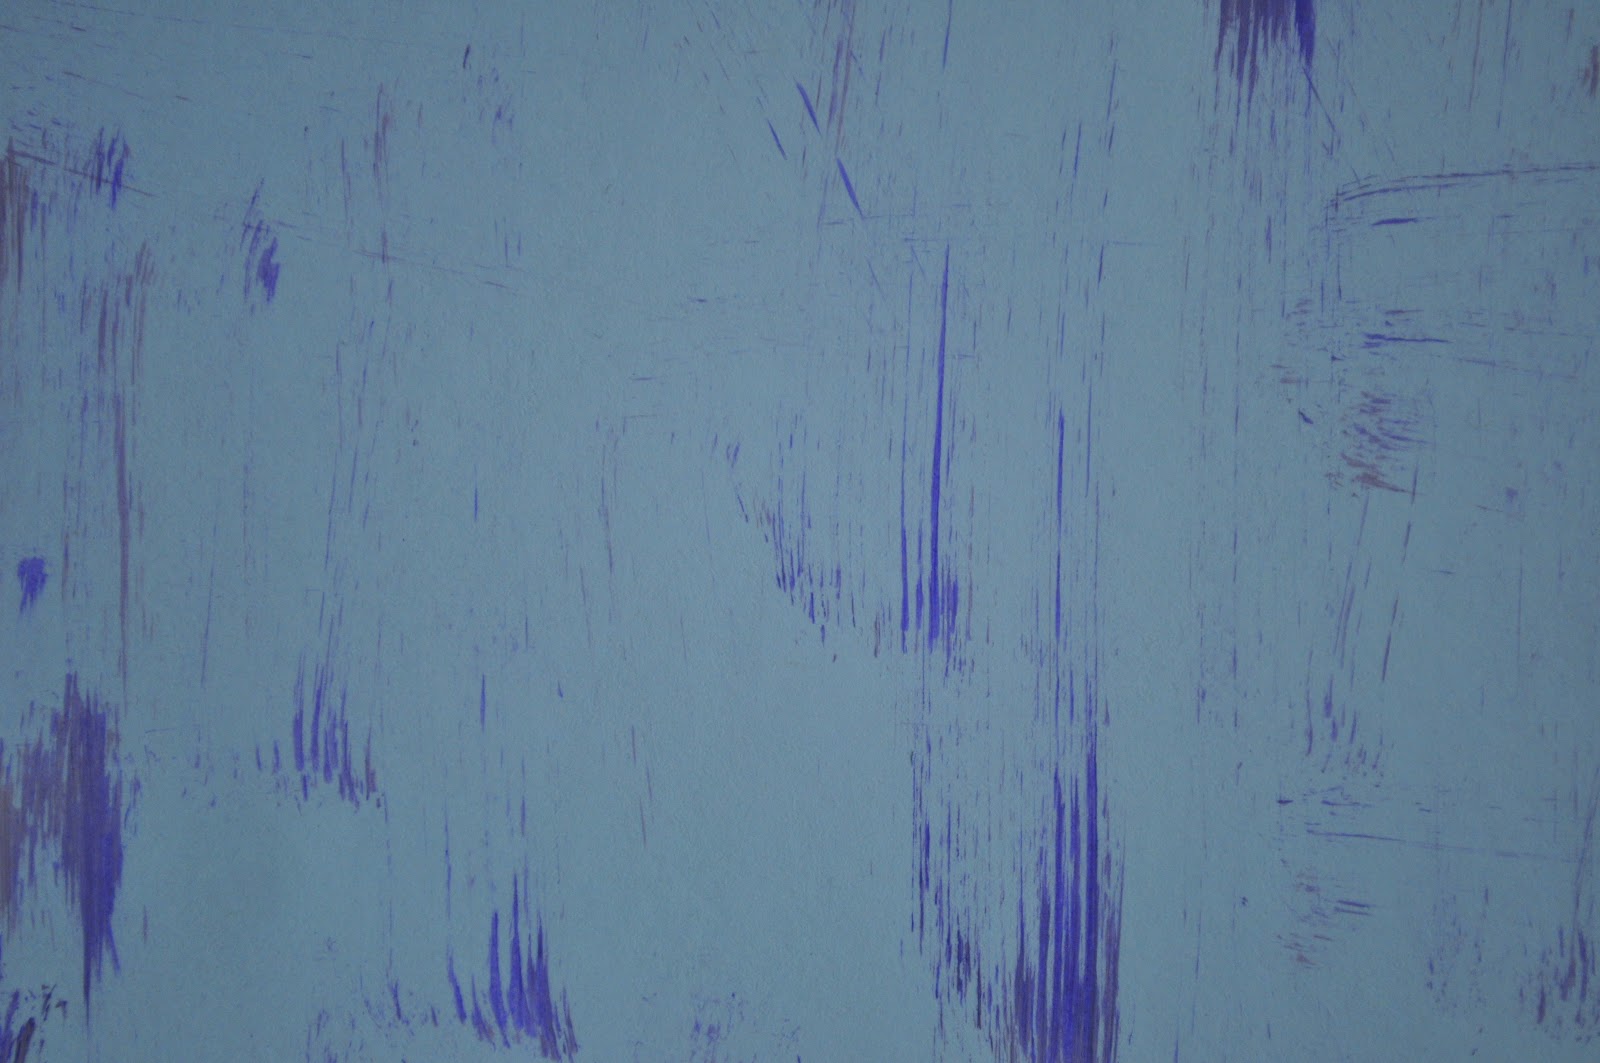
I used a thick paint brush with hardly any purple paint on it and made streaks all over the paper reminicent of the artwork.
For the ground I mixed green and yellow and brushed it on. Then while it was still wet I used a fork to make the texture in it.

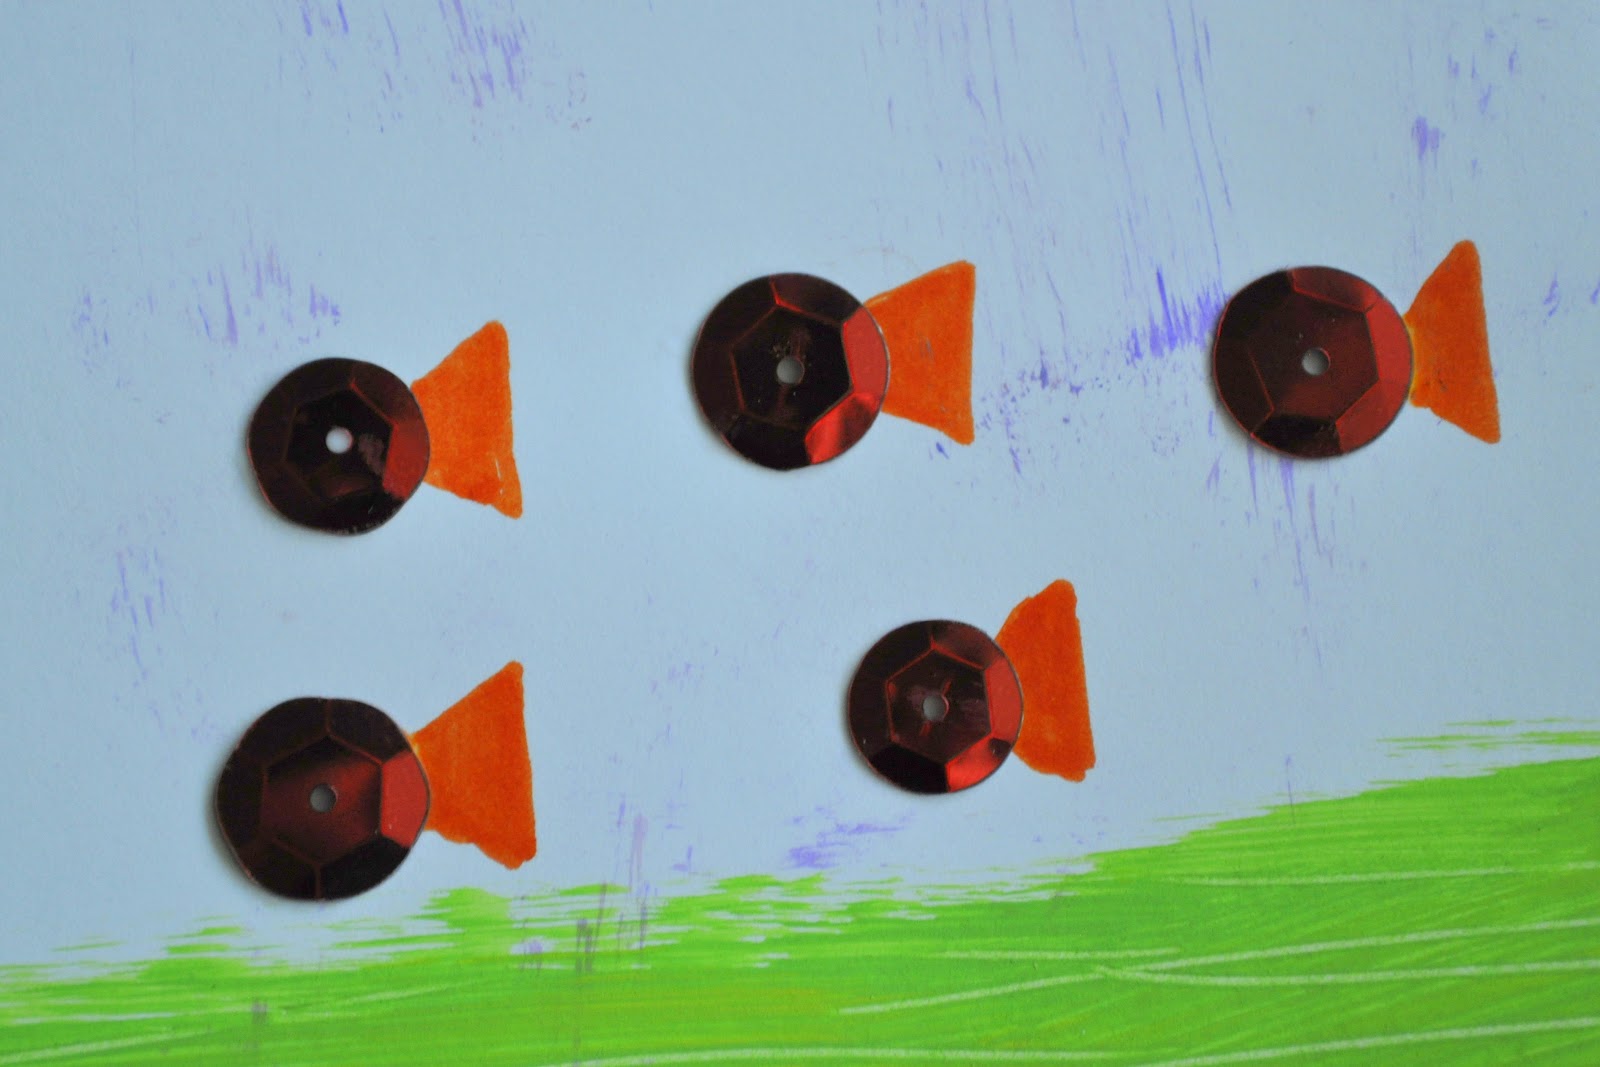
The fish are red sequins with orange markers used for the fin.
Here is the completed Hippotamus. I used a purple foam sheet to make the Hippo because it was the only dark purple I had. If I had darker purple card stock paper, I would definitely use that instead. I simple cut out all the Hippo pieces and glued them together. I used a lighter purple for the mouth and eyes, as you can see. There is also some gray on the eyes with a black thin black line, kind of like the artwork.
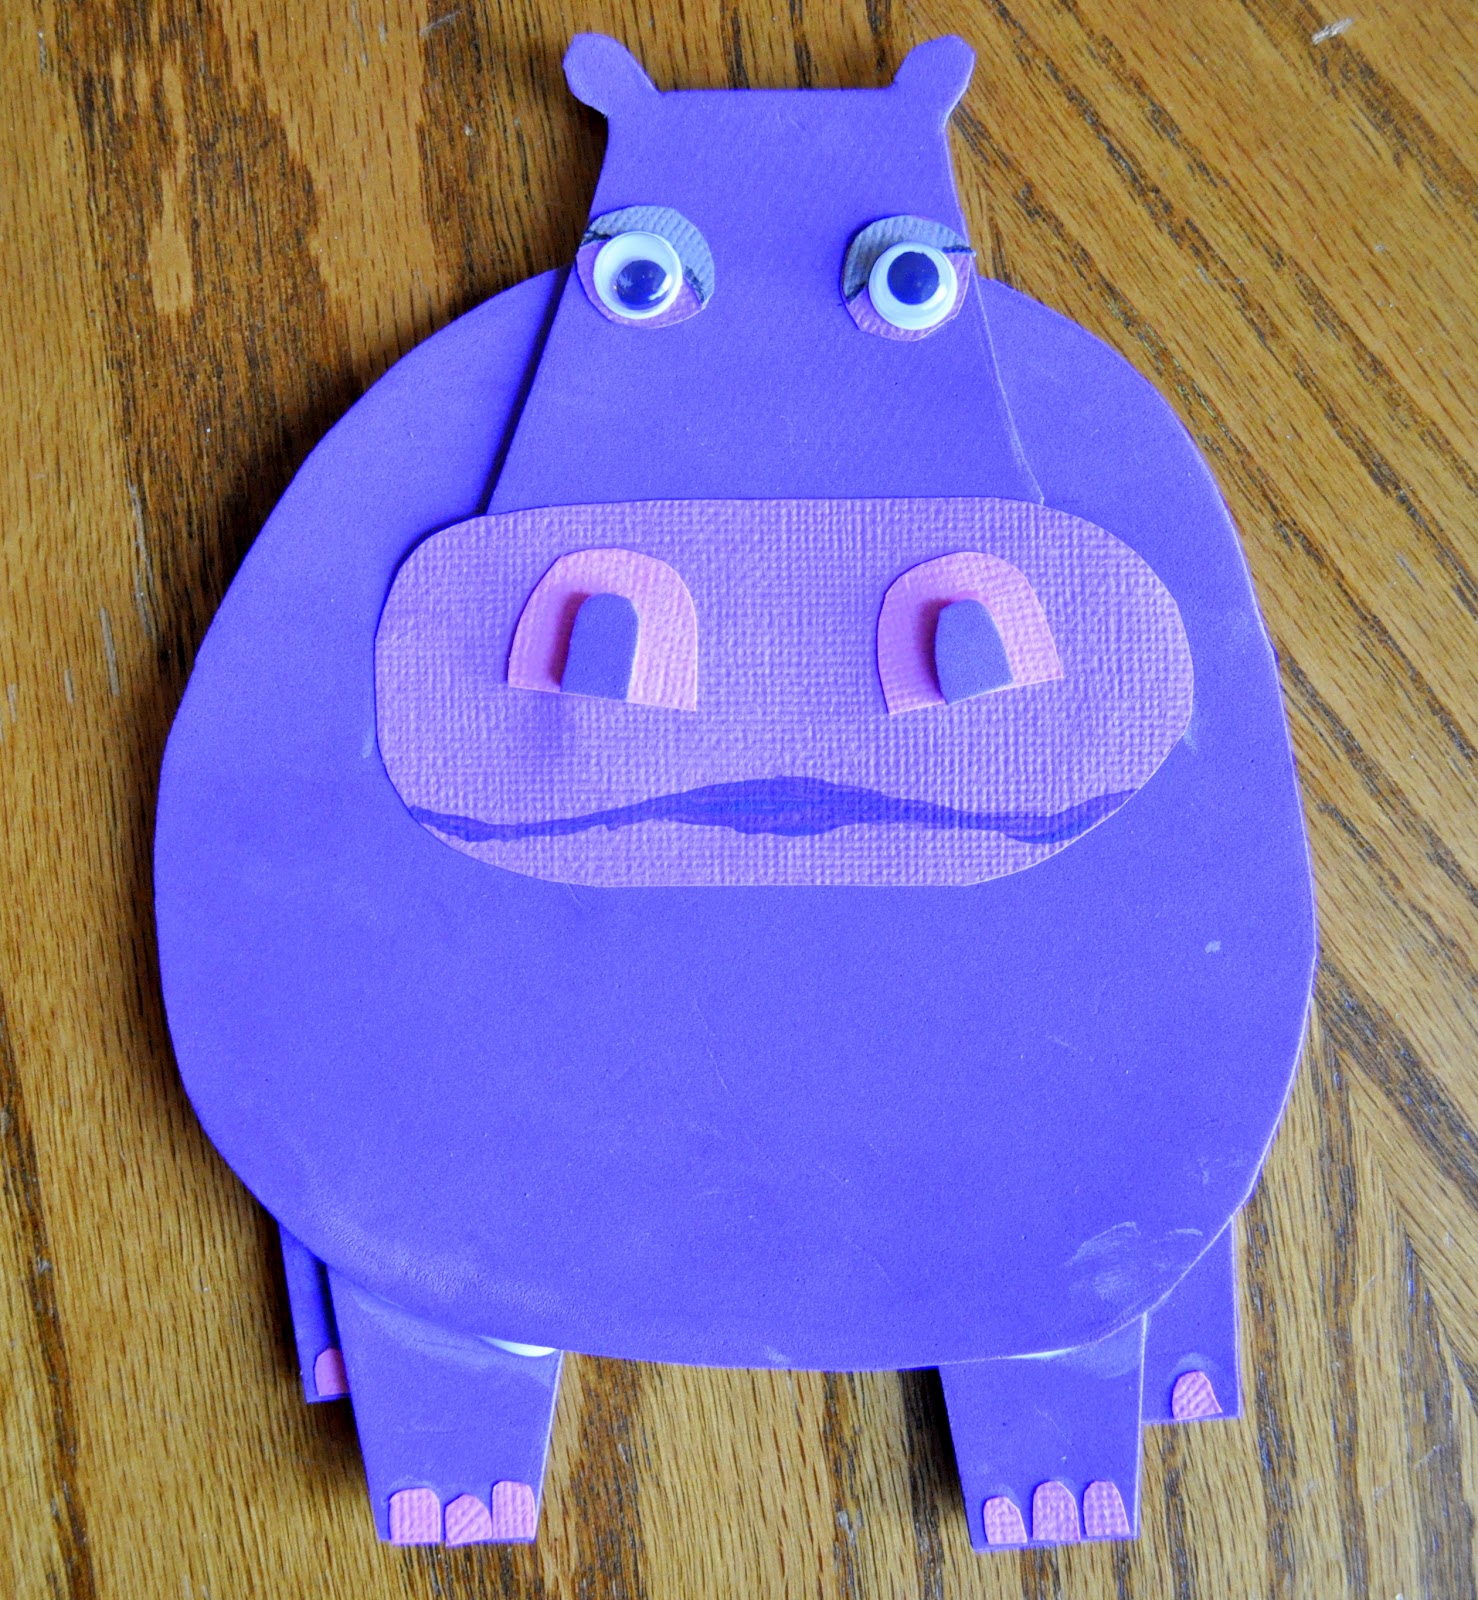
When I do this craft with my kids I will definitely leave out the pink fingernails on the feet and the extra detail in the eyes. Totally not necessary, but I was just trying to get close to the artwork.
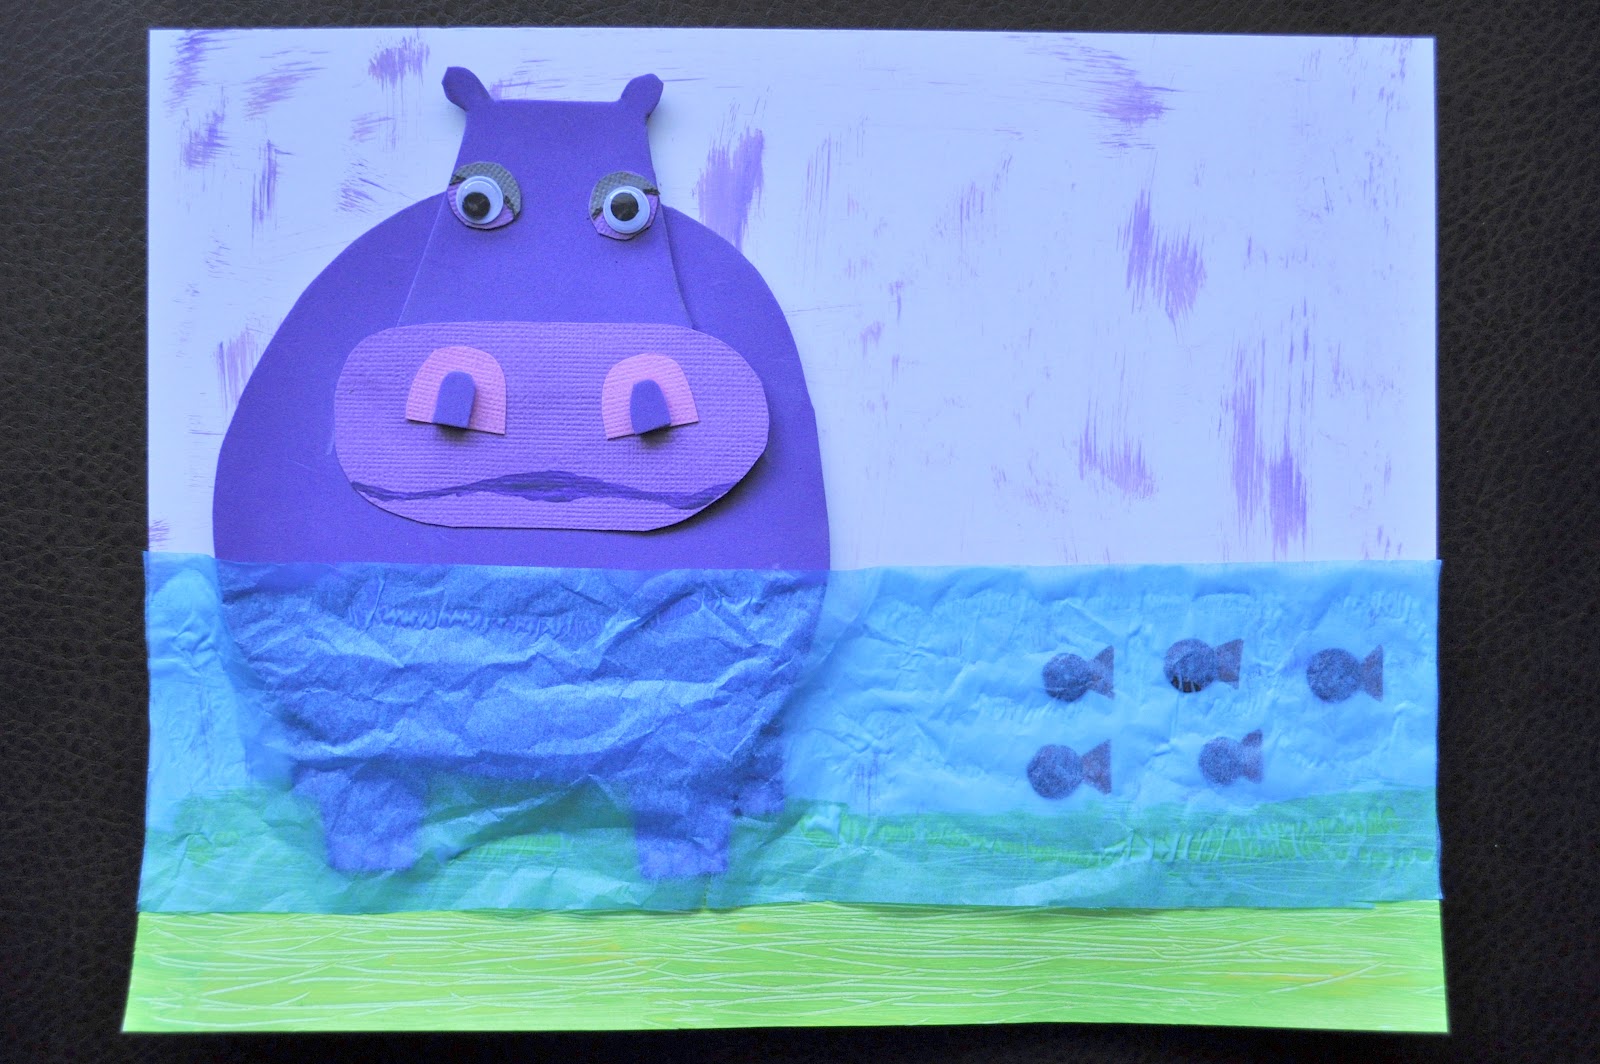
Then simply glue the Hippo on the paper and a sheet of crinkled blue tissue paper on top to act as the water. The artwork shows the Hippo’s mouth submursed, but my tissue paper was too dark for that, so I opted to just have him standing in the water.
I’m really pleased with how it turned out and I can’t wait to make it with my kids with some minor changes to the hippo to make it easier for the kids. I will probably have them add some birds in the background too since there is lots of empty space.