A couple weeks ago I guest posted on Little Lucy Lu. I decided I wanted to go ahead and publish that post on my blog today because we are going to read another story in that series this week and I wanted to make sure you didn’t miss out on our first activity.
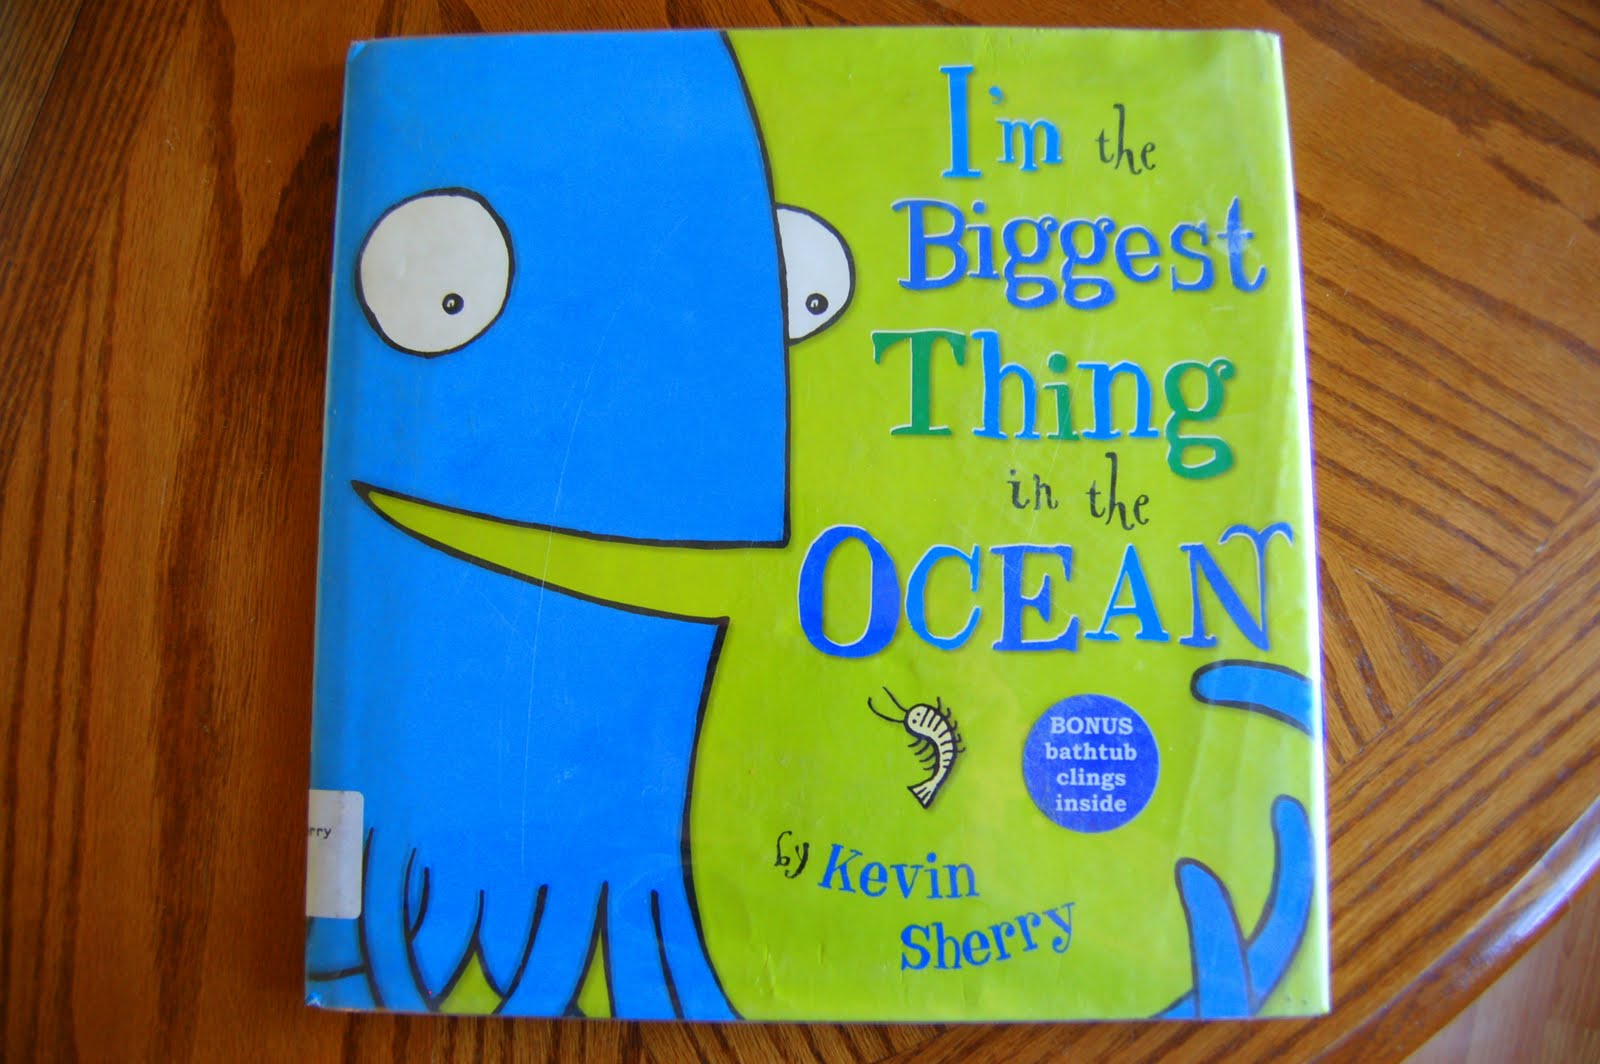
This week we read the story “I’m the Biggest Thing in the Ocean” by Kevin Sherry. It is a short, funny story about a giant squid who goes about bragging to all the creatures in the ocean about how he is bigger than them. He soon encounters a whale who obviously is bigger than him, but do you think that stopped his bragging?? You’ll have to read it to find out! 🙂
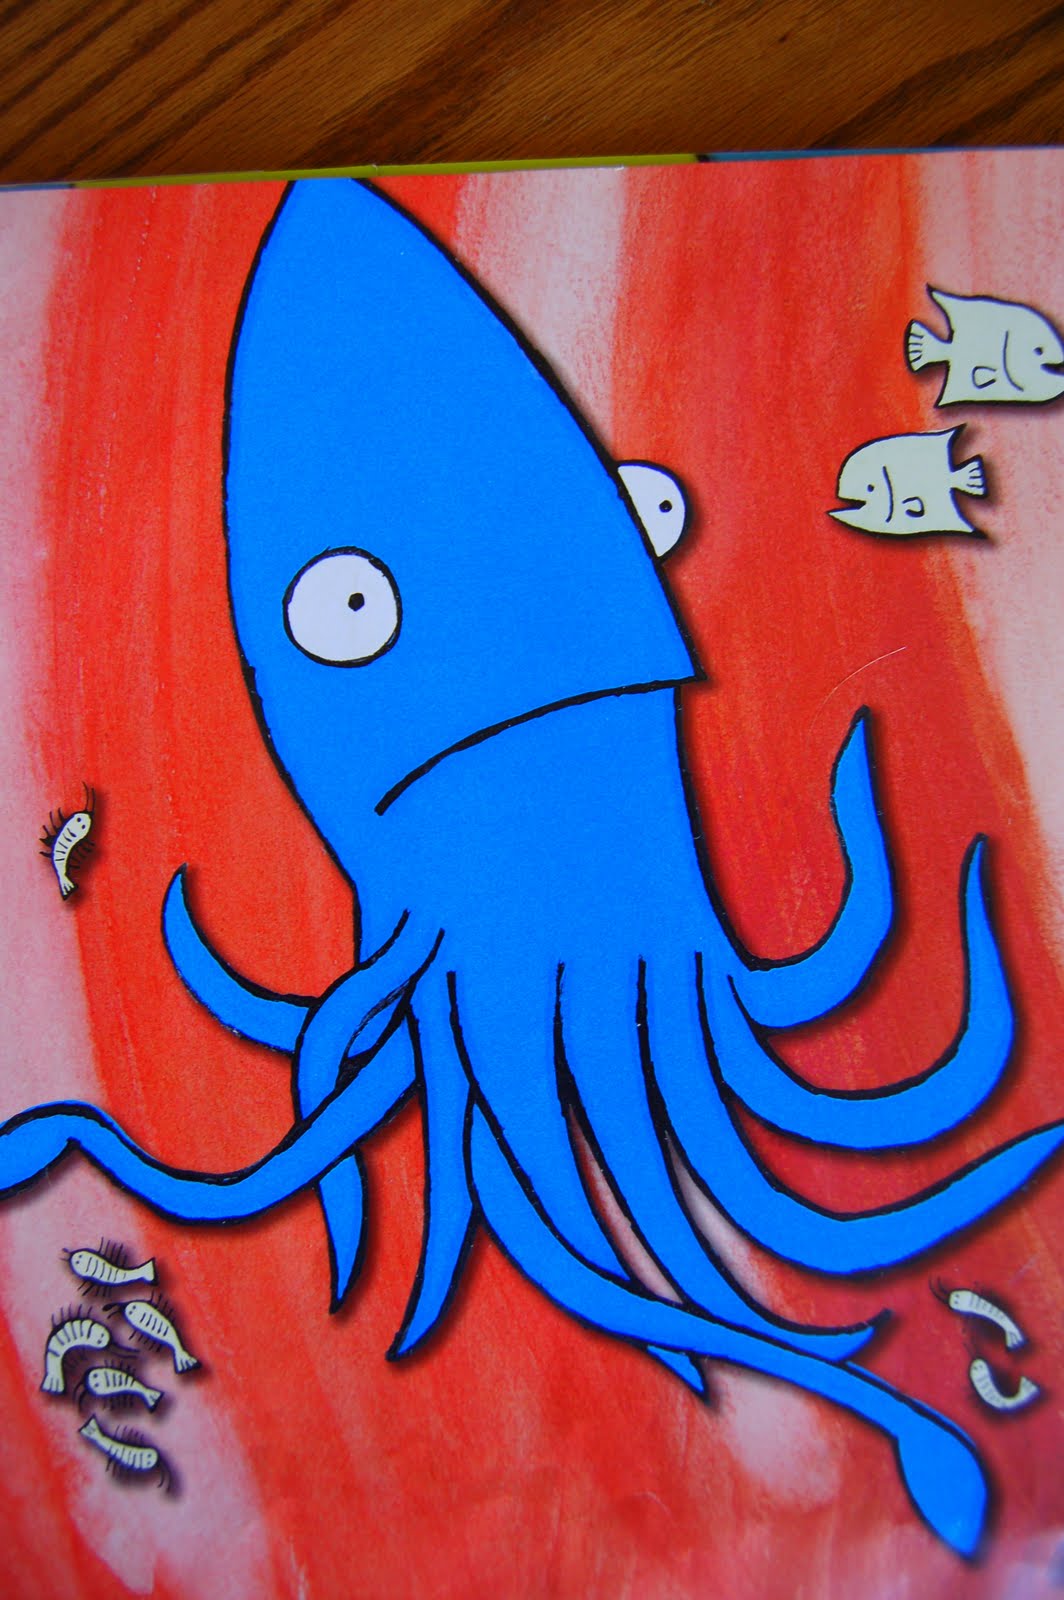
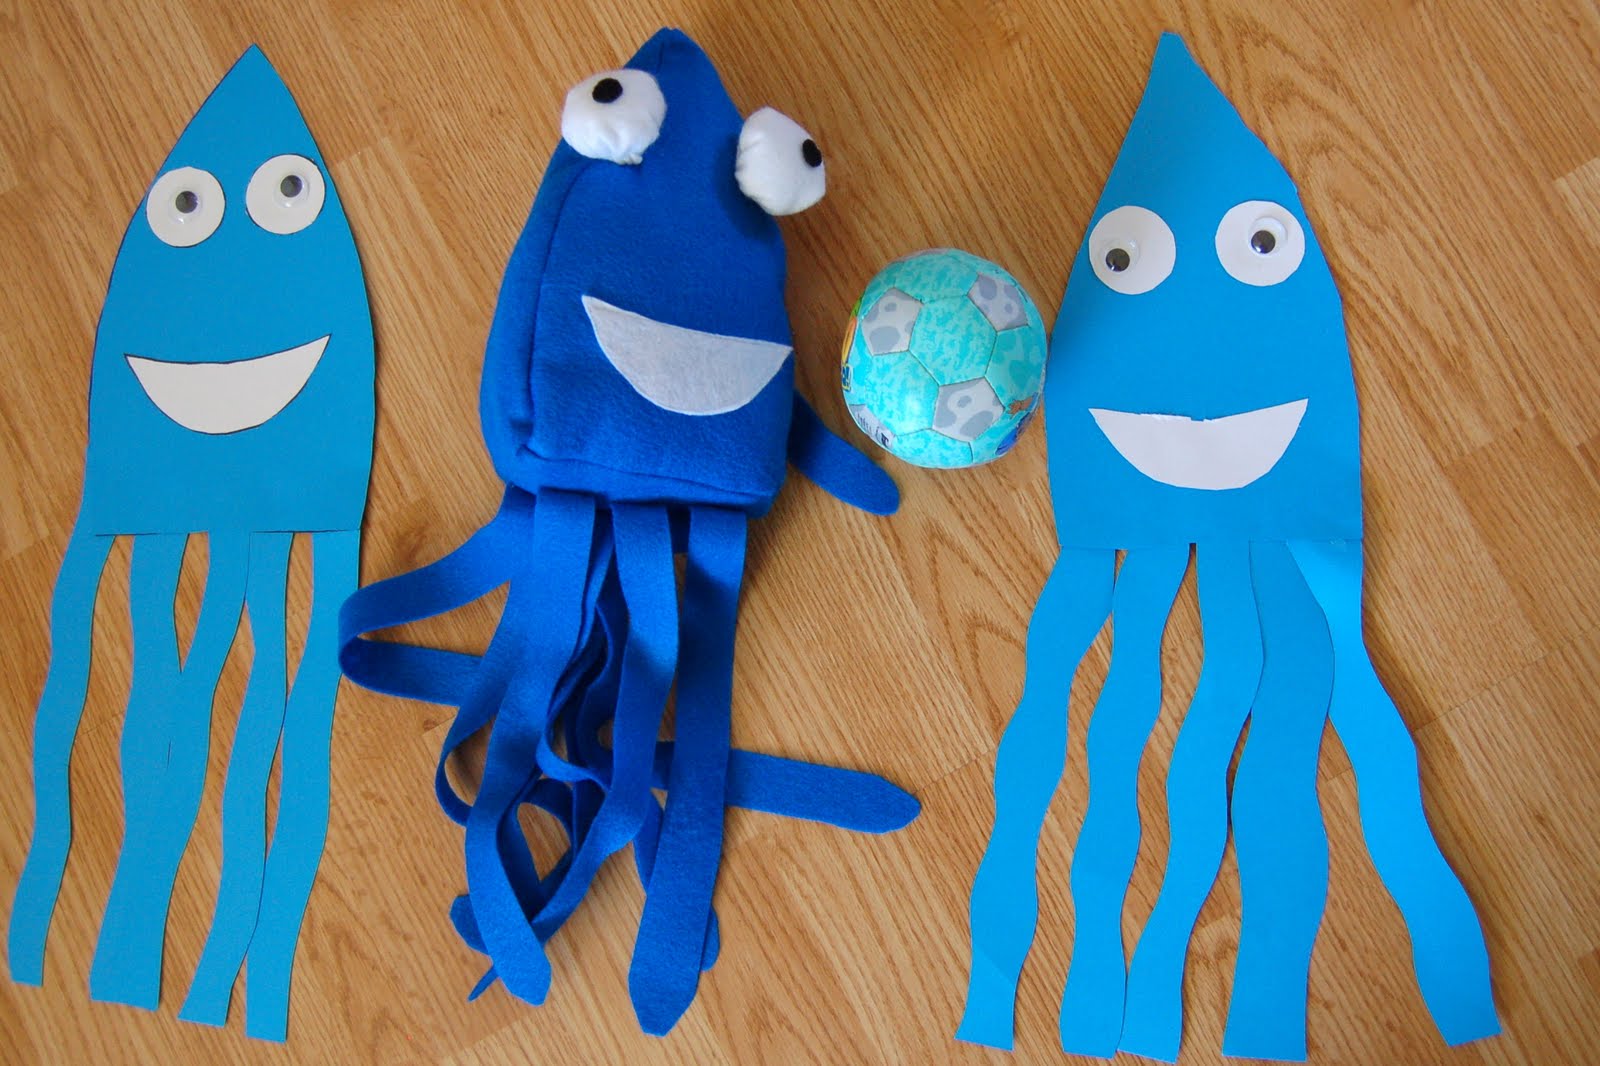
After previewing the book before reading it to my children I thought it would be super cool to make my very own squid who could be there to help me tell the story in his squid-like voice. I also thought this would be a fun way to read this story in a Preschool or Kindergarten Classroom. Pictured below is the giant squid in the story who was the inspiration behind my creation.
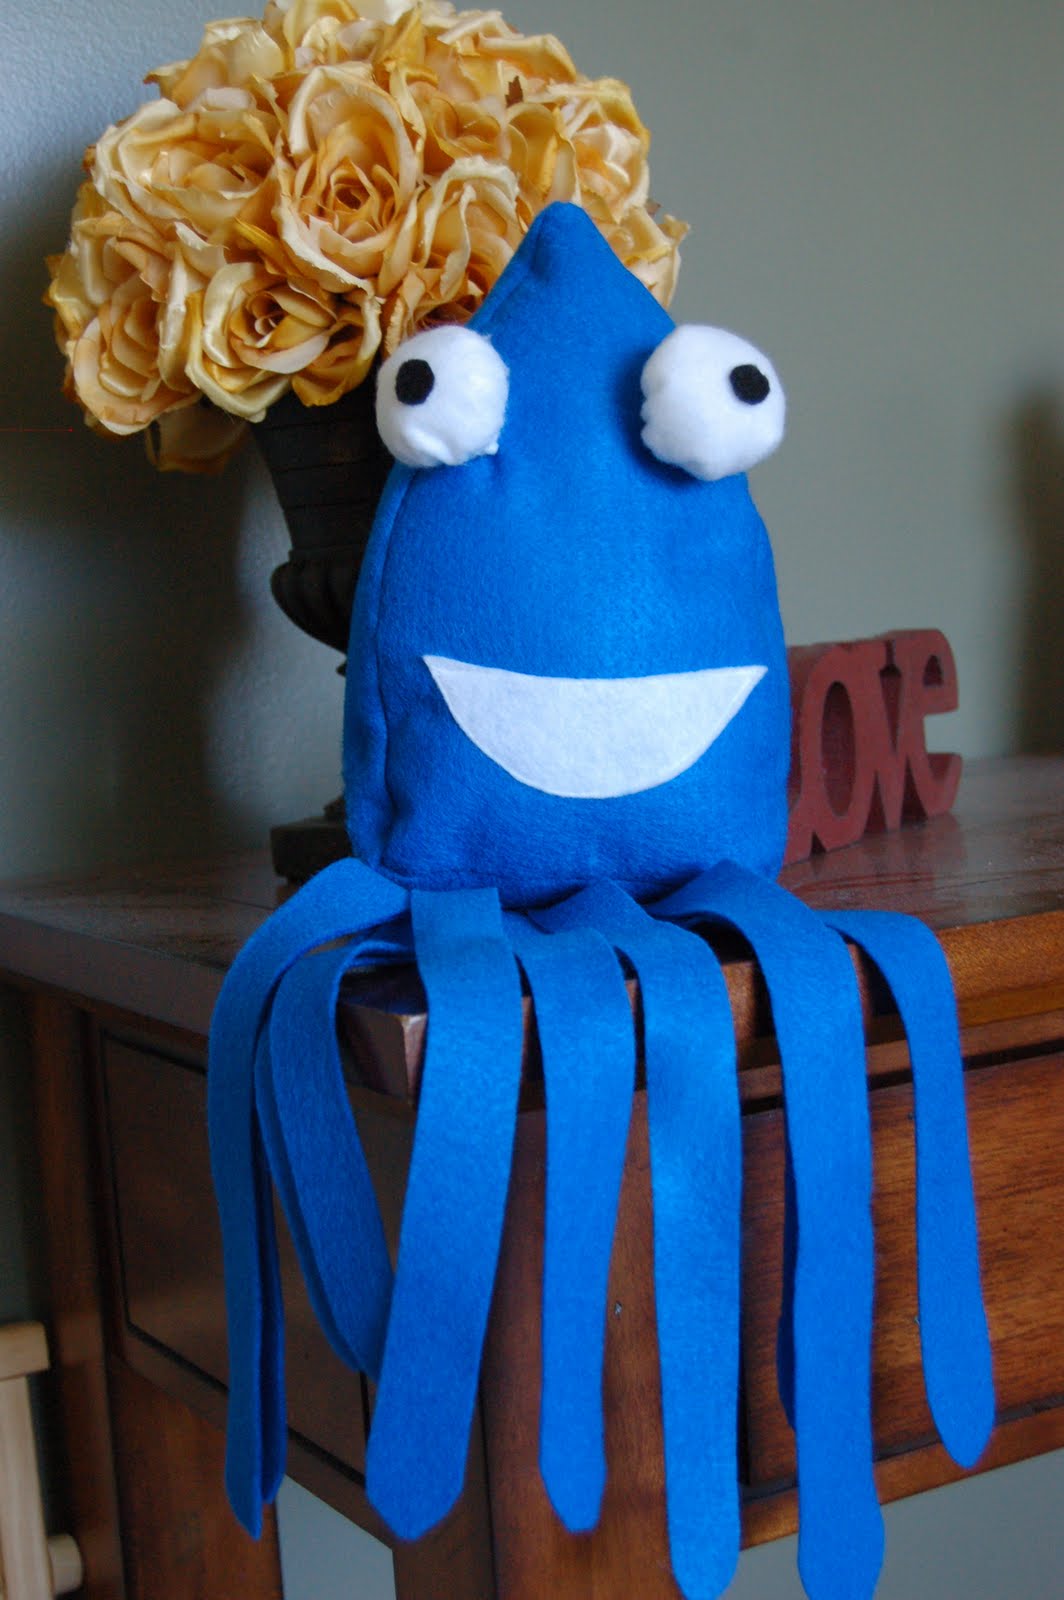
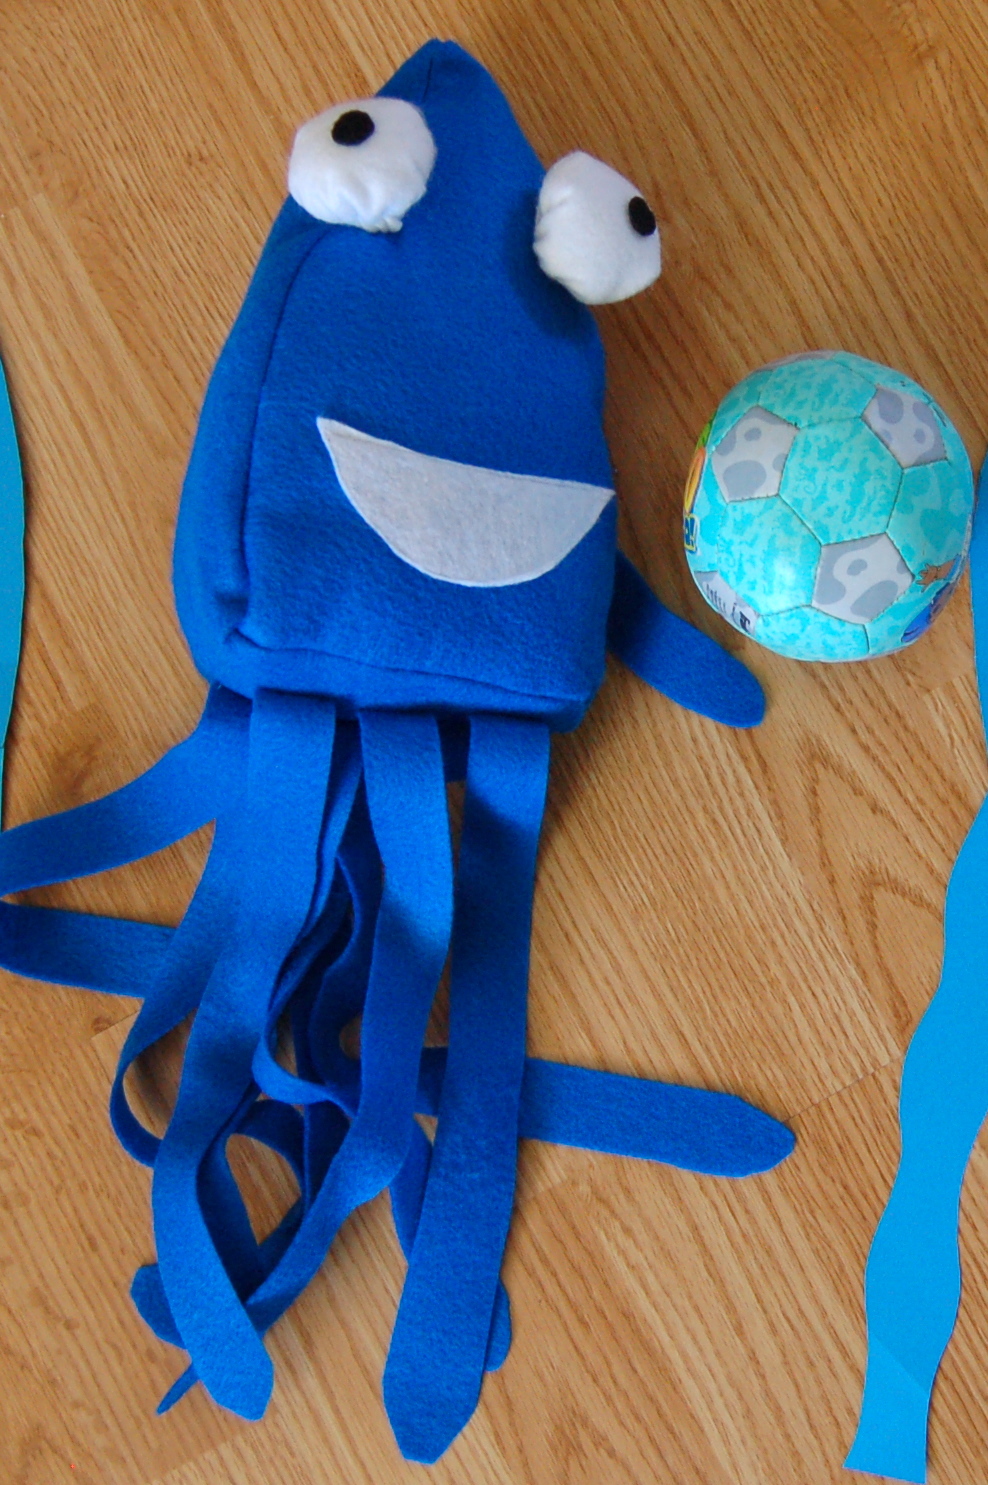
After formulating a couple ideas and gathering some supplies, I hauled up my sewing machine from the basement (no craft room, sigh…) and got to work….I’d like to introduce Mr. Squid…
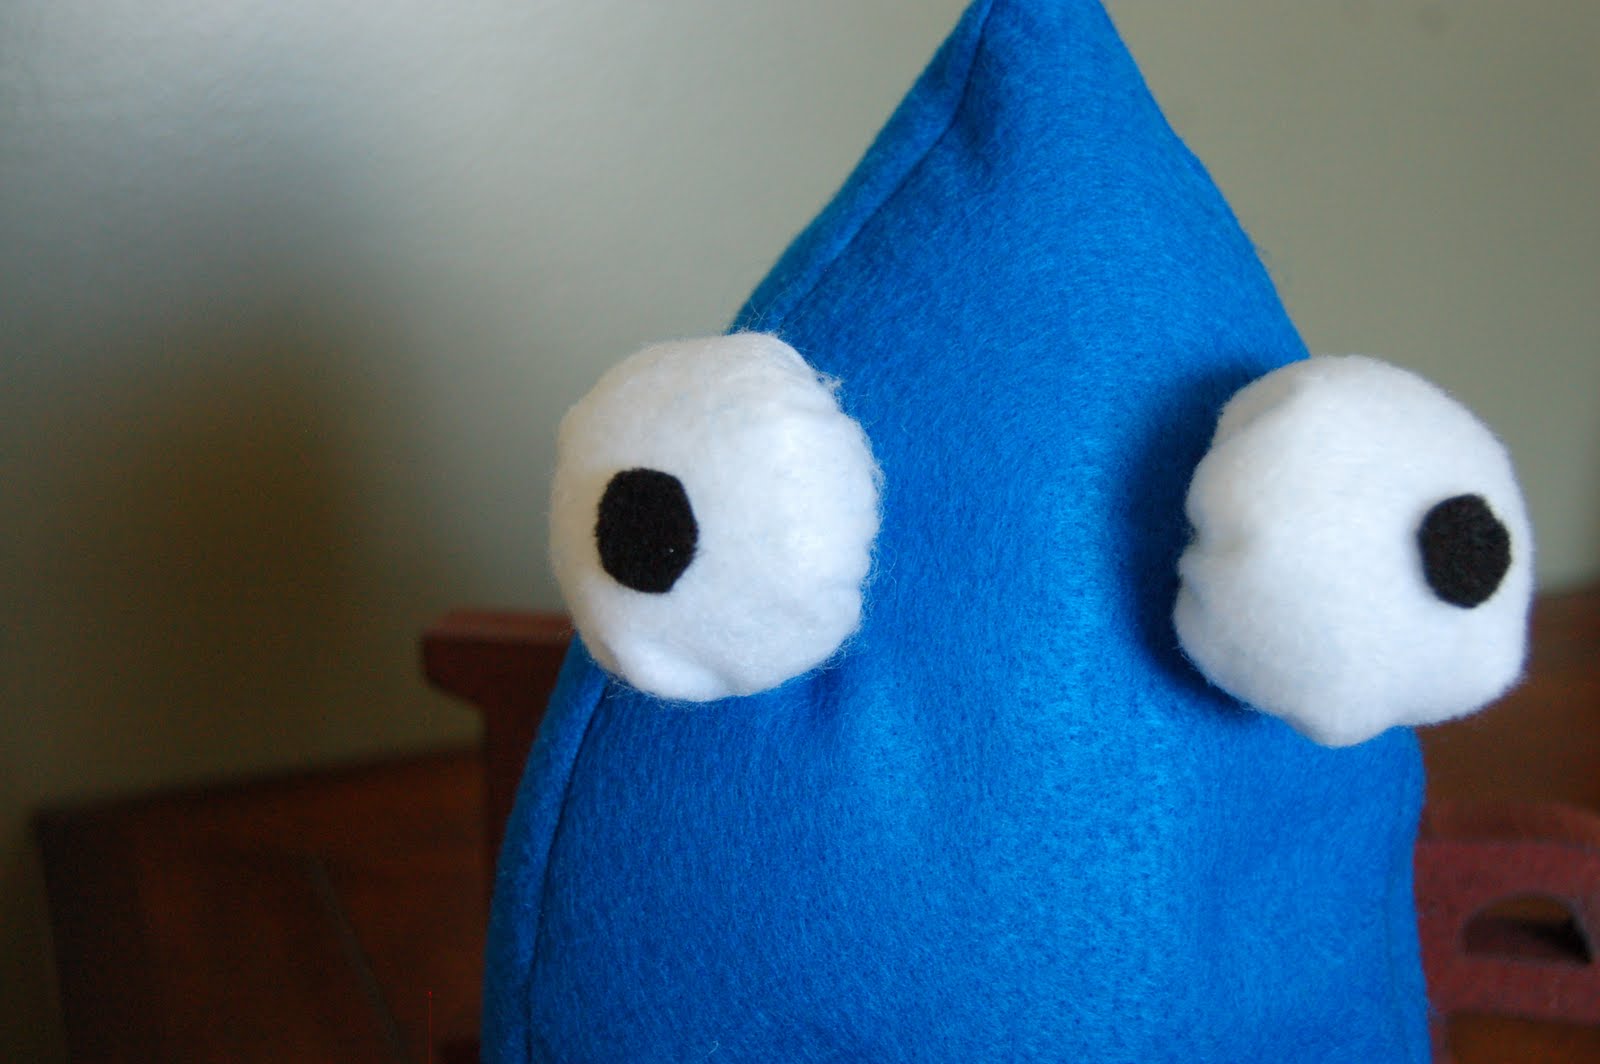
Yes, I really did mimic those bulging eyes on the squid from the story. Aren’t they cute?
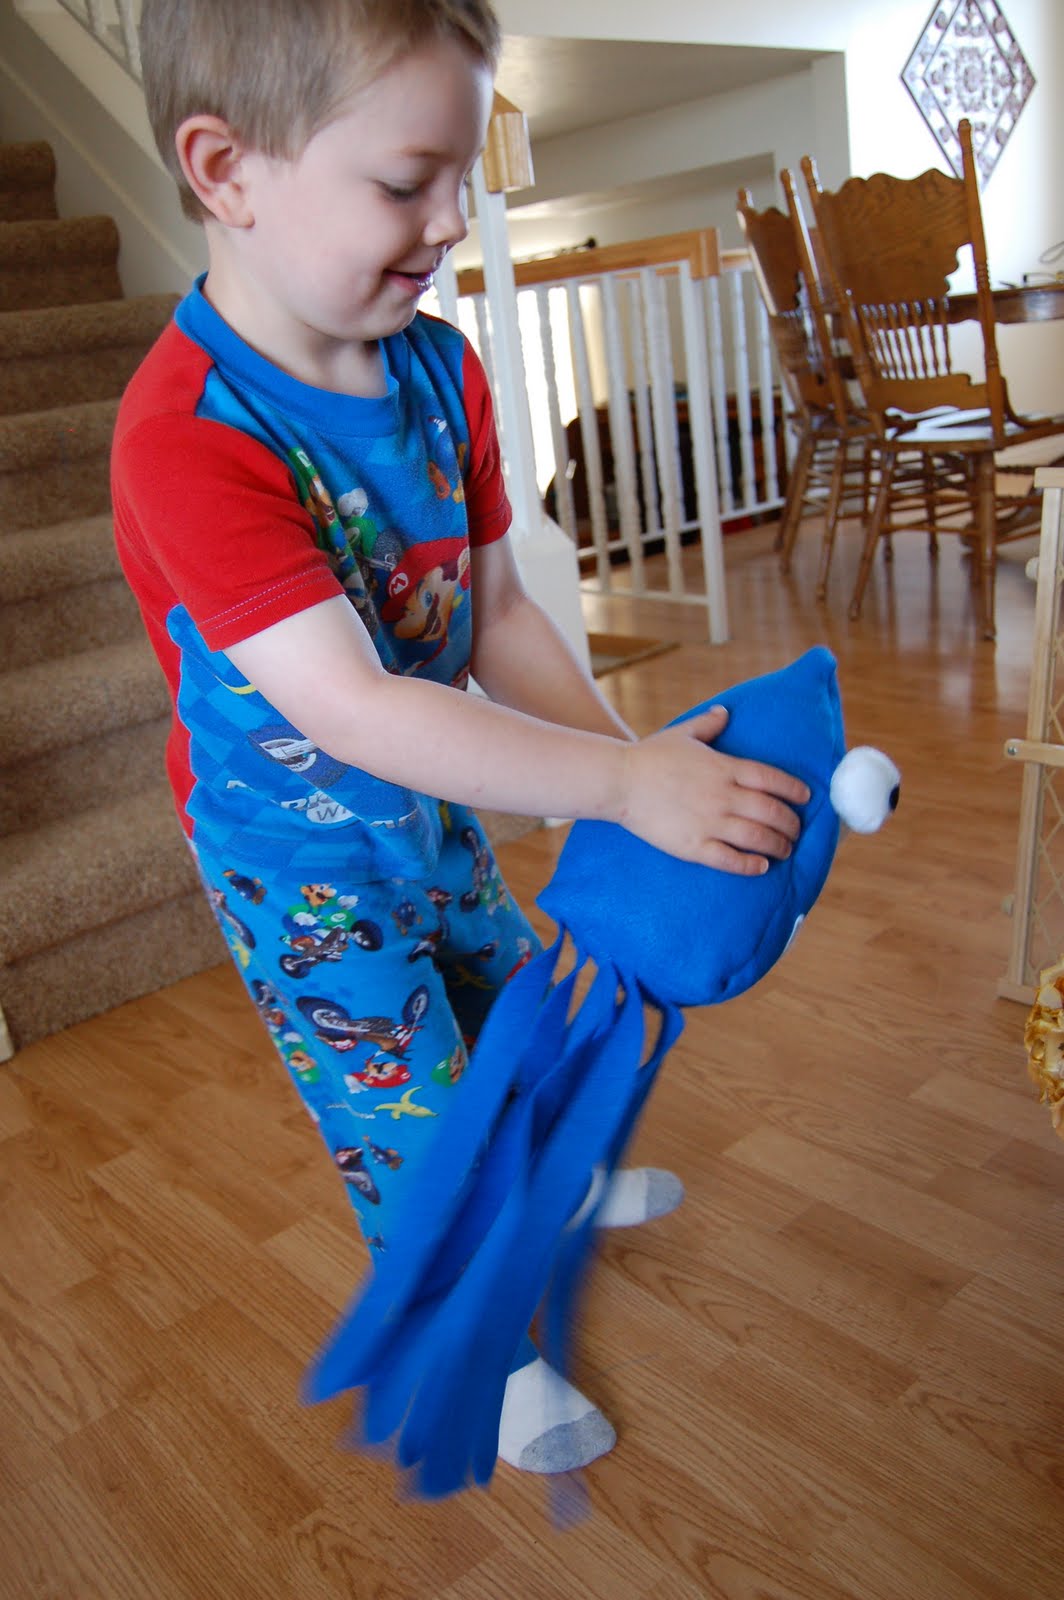
I’ll tell you how I made this guy in a minute but first I wanted to share with you what we did with him after he helped read the story for us. Since the book was about measurement I decided it was a great opportunity for my Preschooler to swim Mr. Squid around the house and find things that were smaller and bigger than him. This could obviously be done in a classroom too.
After my son found several items we laid them side-by-side and he told me if the item was bigger or smaller than the squid.
We also lined several items up together and decided which was smallest, which was biggest, and I asked questions such as “Is the pencil bigger than the squid?” My son had a BLAST doing this and my 6yr old even wanted in on the action.
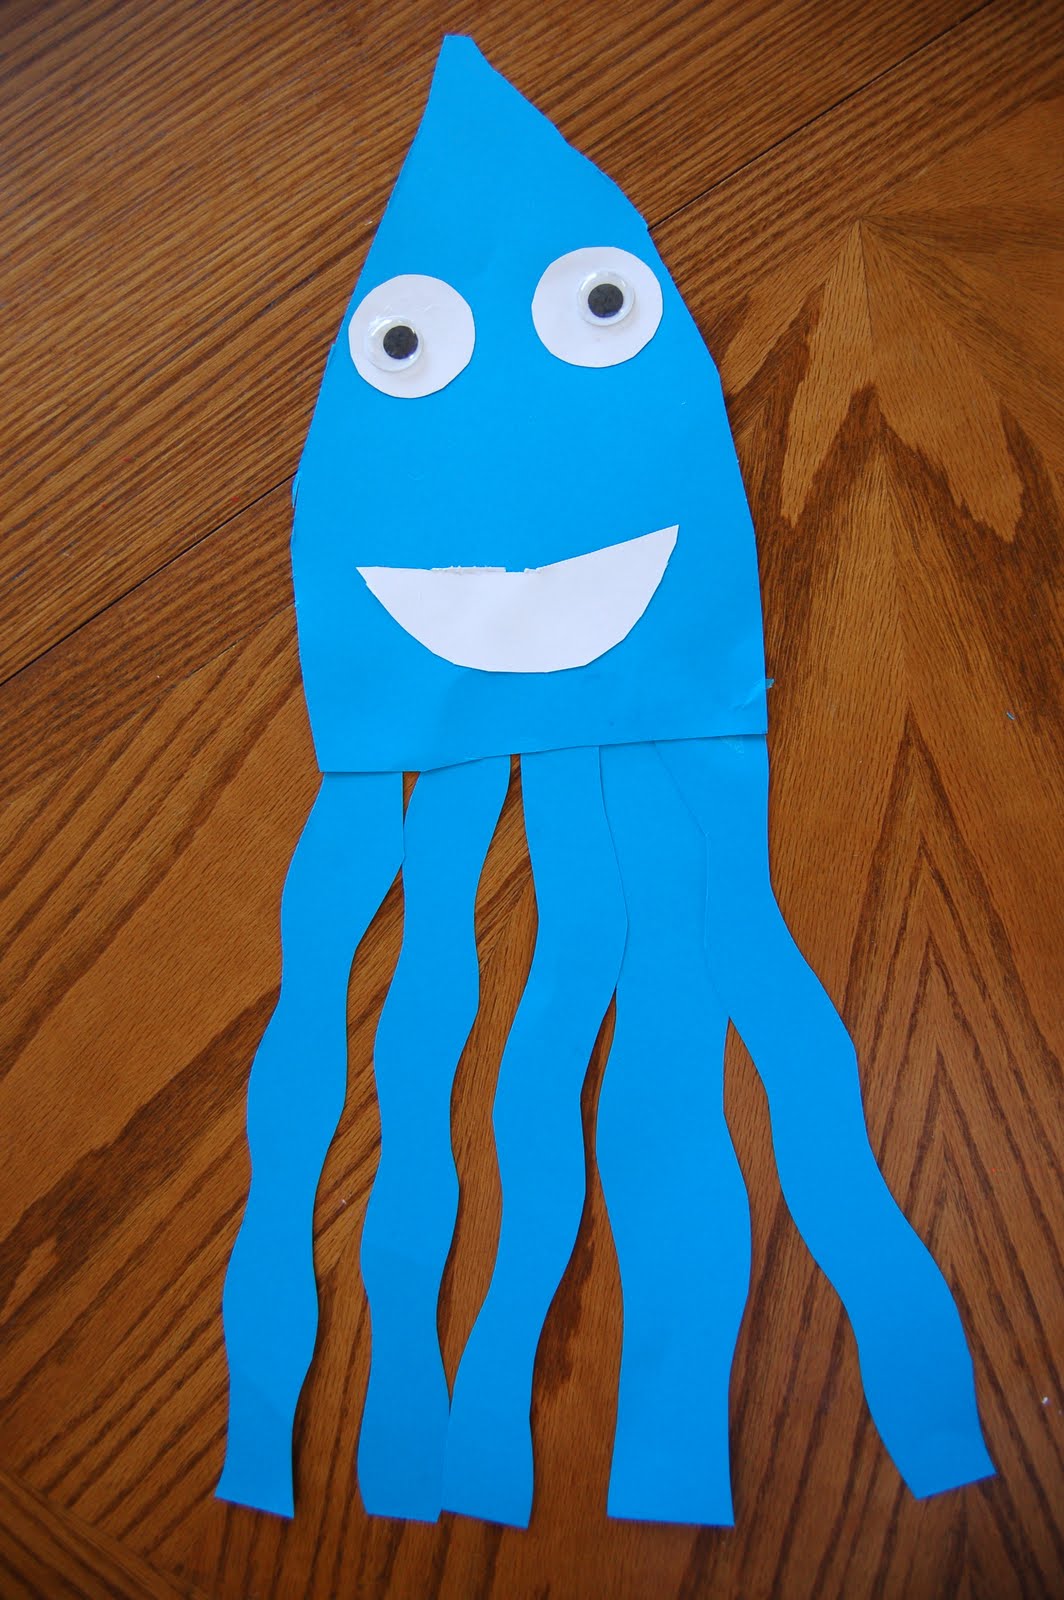
My son loved the squid so much he wanted to make his very own so we got out some more supplies and made paper squids.
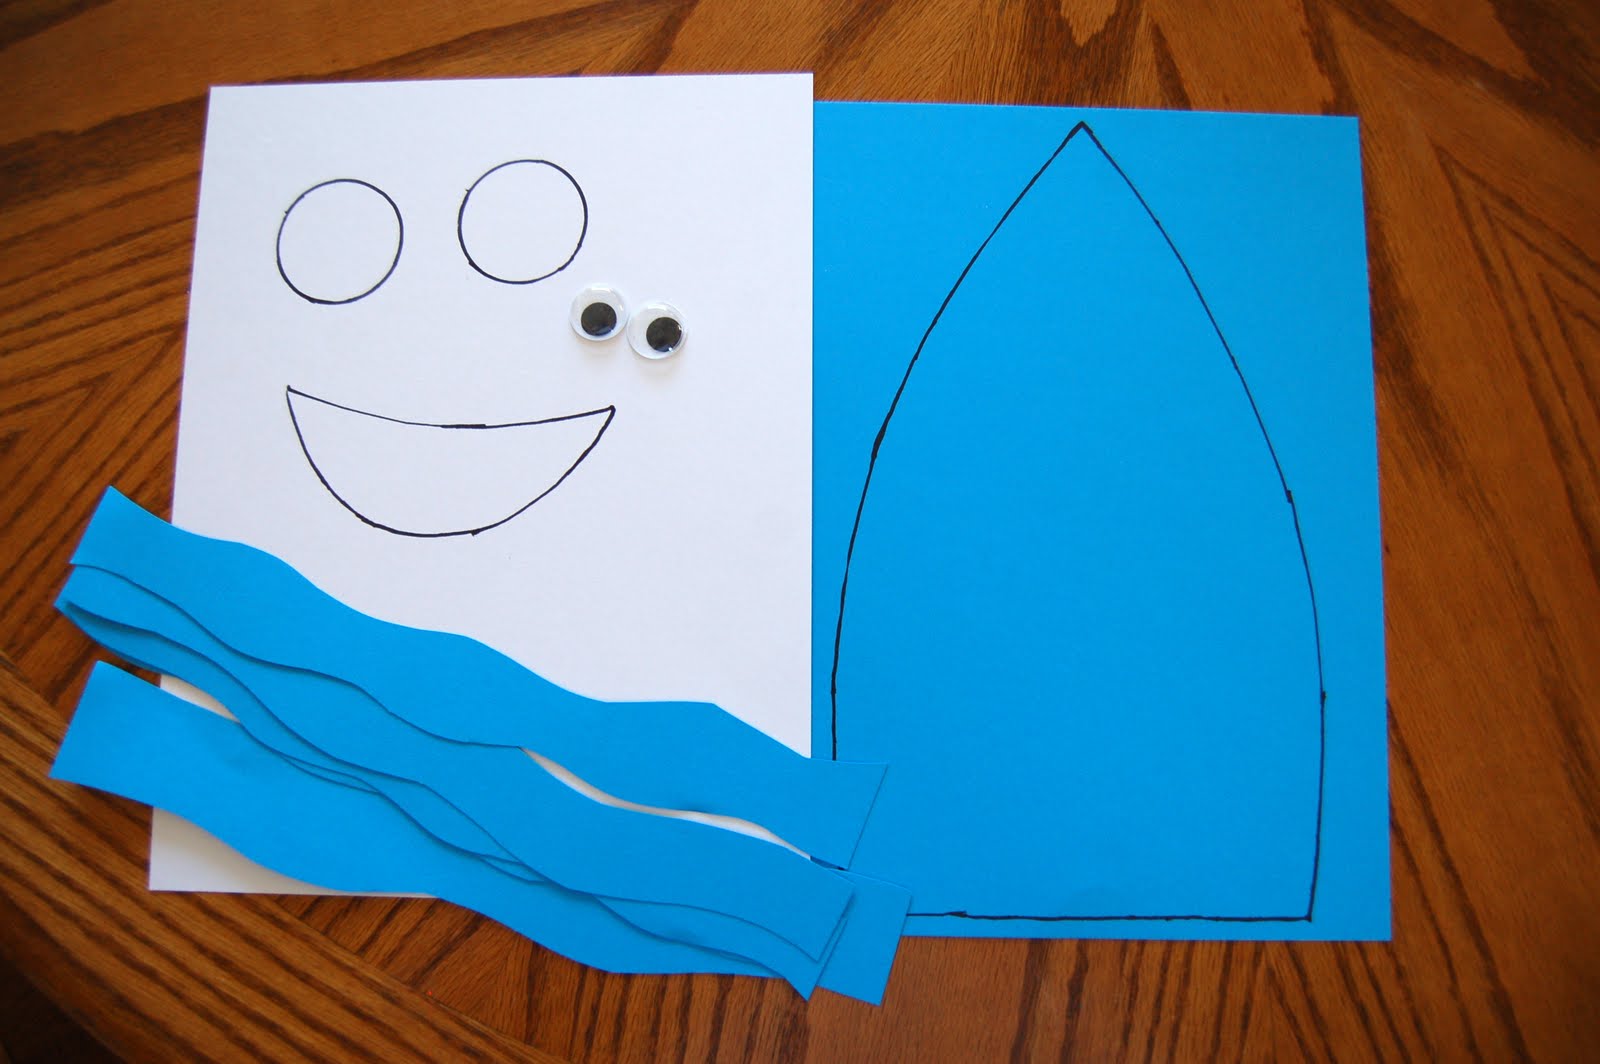
Materials you need:
-2 sheets of blue construction or card stock paper
-1 sheet of white construction or card stock paper.
-black marker
-2 large wiggly eyes (LOVE those things!)
-scissors
-glue stick
Directions:
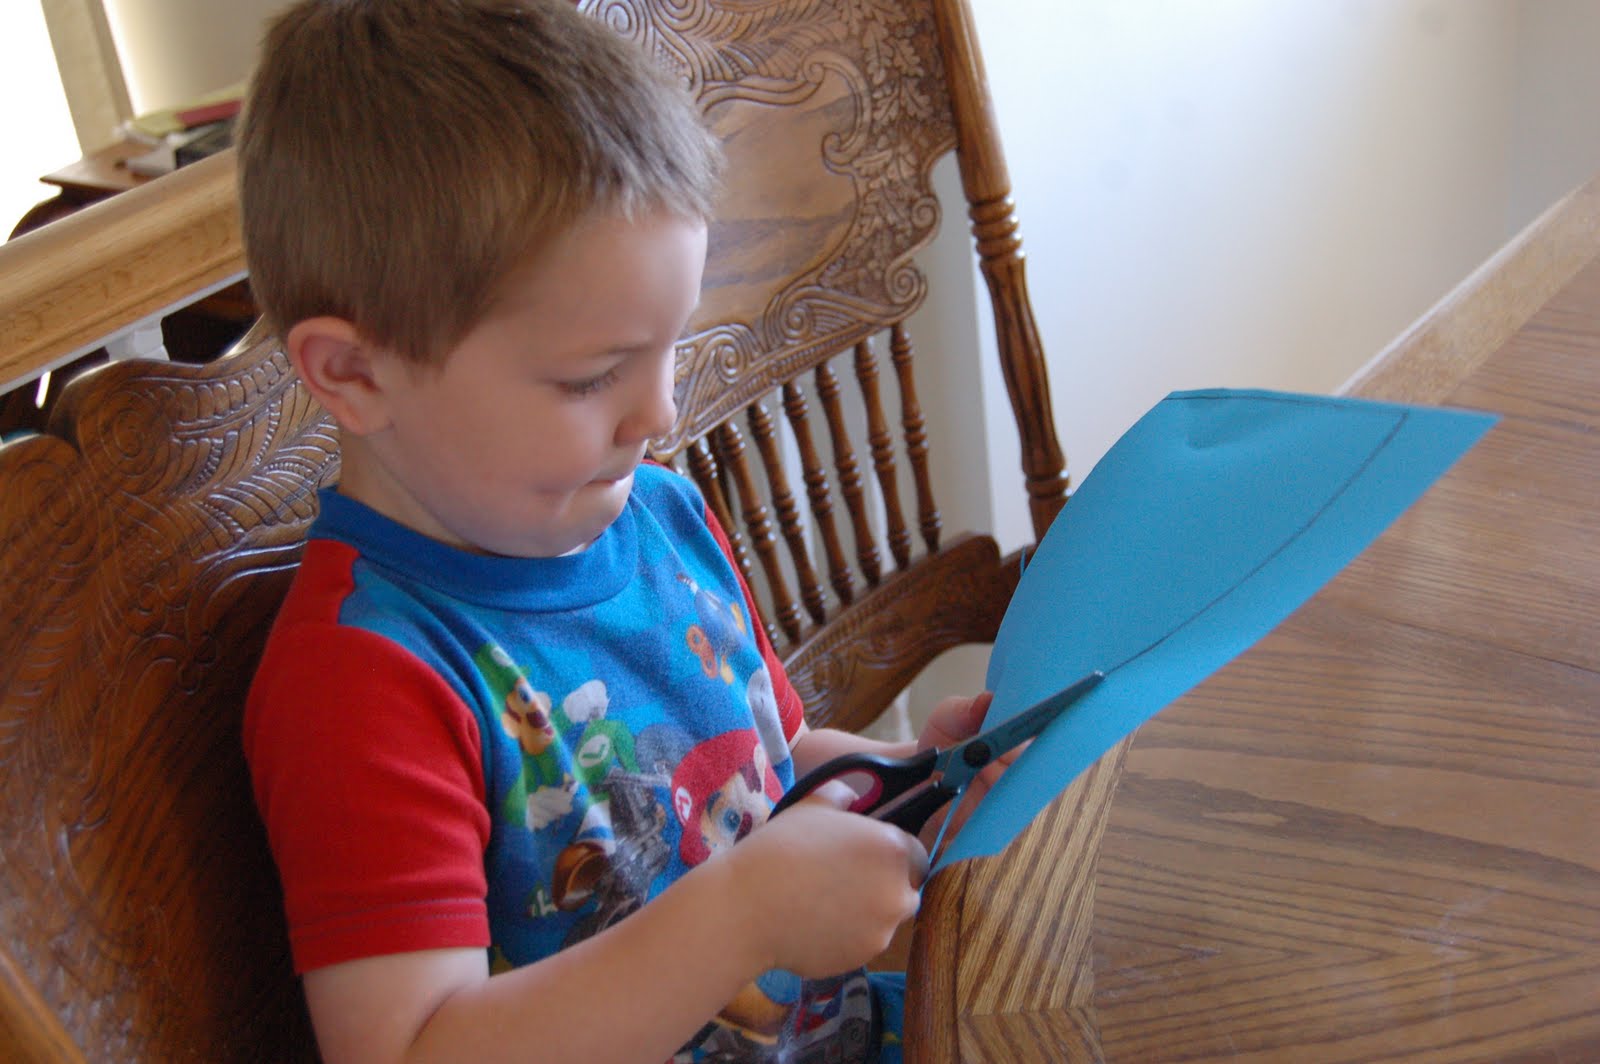
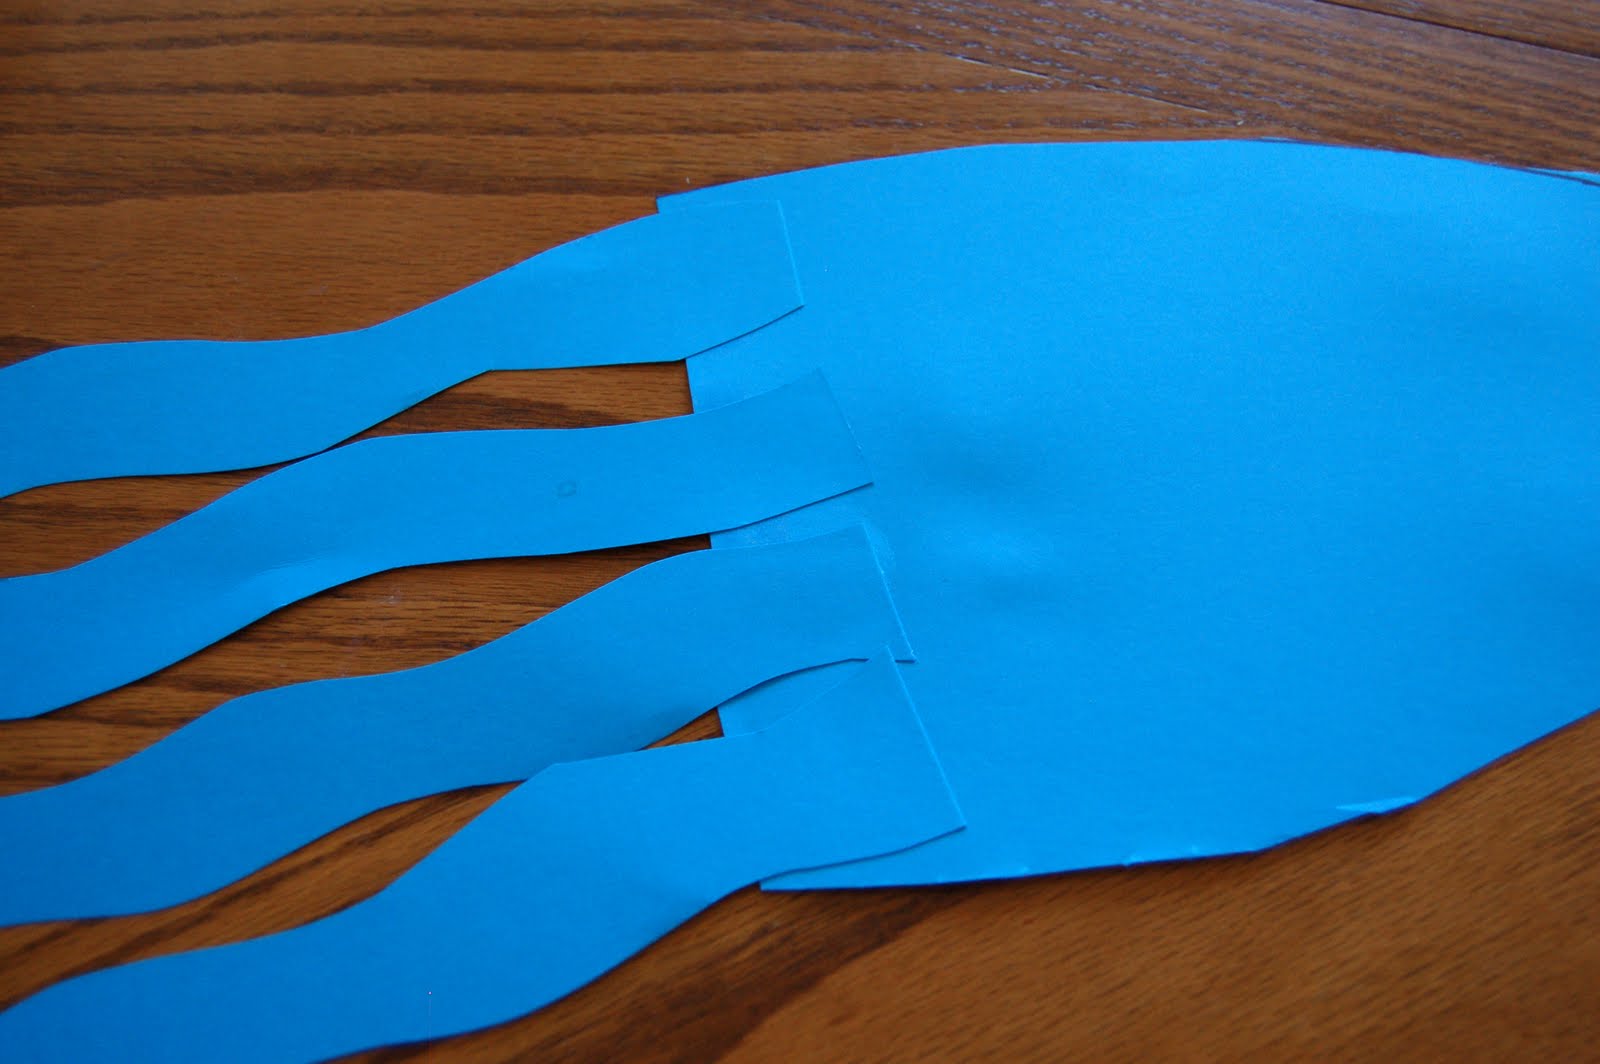
1. Draw a squid body on one sheet of the blue paper, and draw 2 circles for eyes, and a mouth on the white paper. Use the other blue sheet of paper to cut out the legs for the squid. I cut mine curvy and we used 5 legs for the squid.
2. Have your child cut out all the parts for the squid.
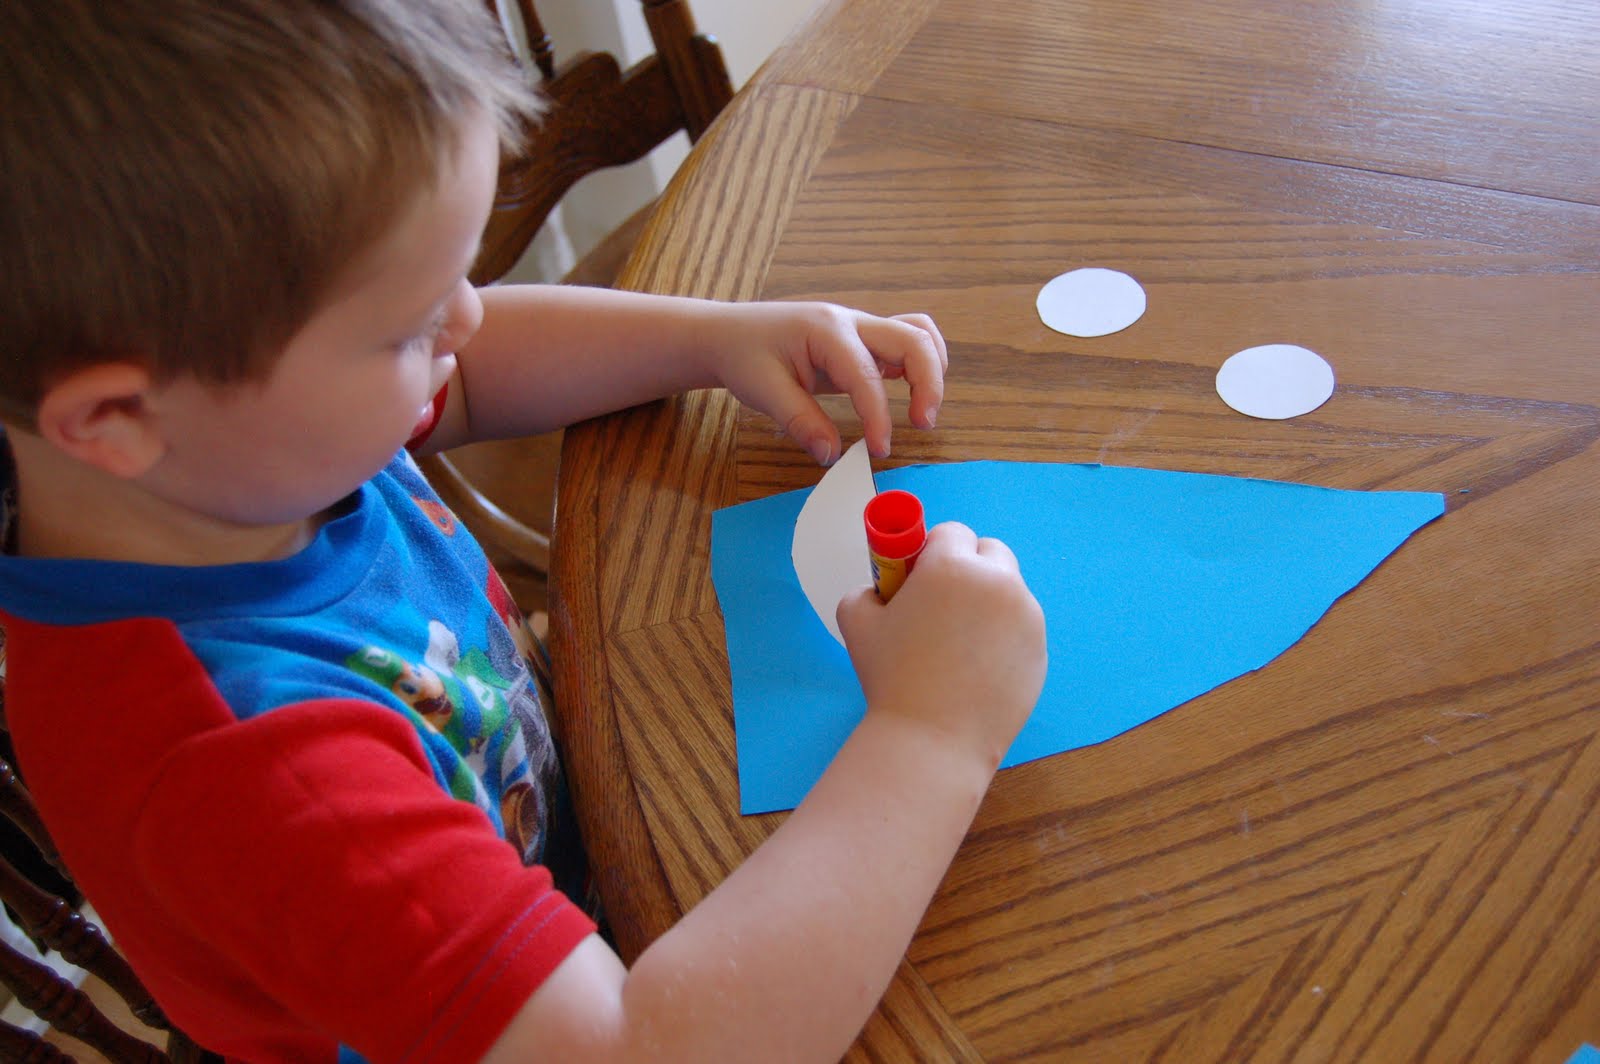
3. Use the glue stick to glue the eyes and mouth on the squid.
4. Turn the squid over and glue your legs to the back of the squid.
5. Now just glue your wiggly eyes into the white eyes and you are done! Super simple and fun!
Now want to know how to make the stuffed squid??? I made sure to trace all my pieces on paper for you so I could share the pattern. You can download it
HERE and
HERE. It is 2 different files so you will need to download and print both.
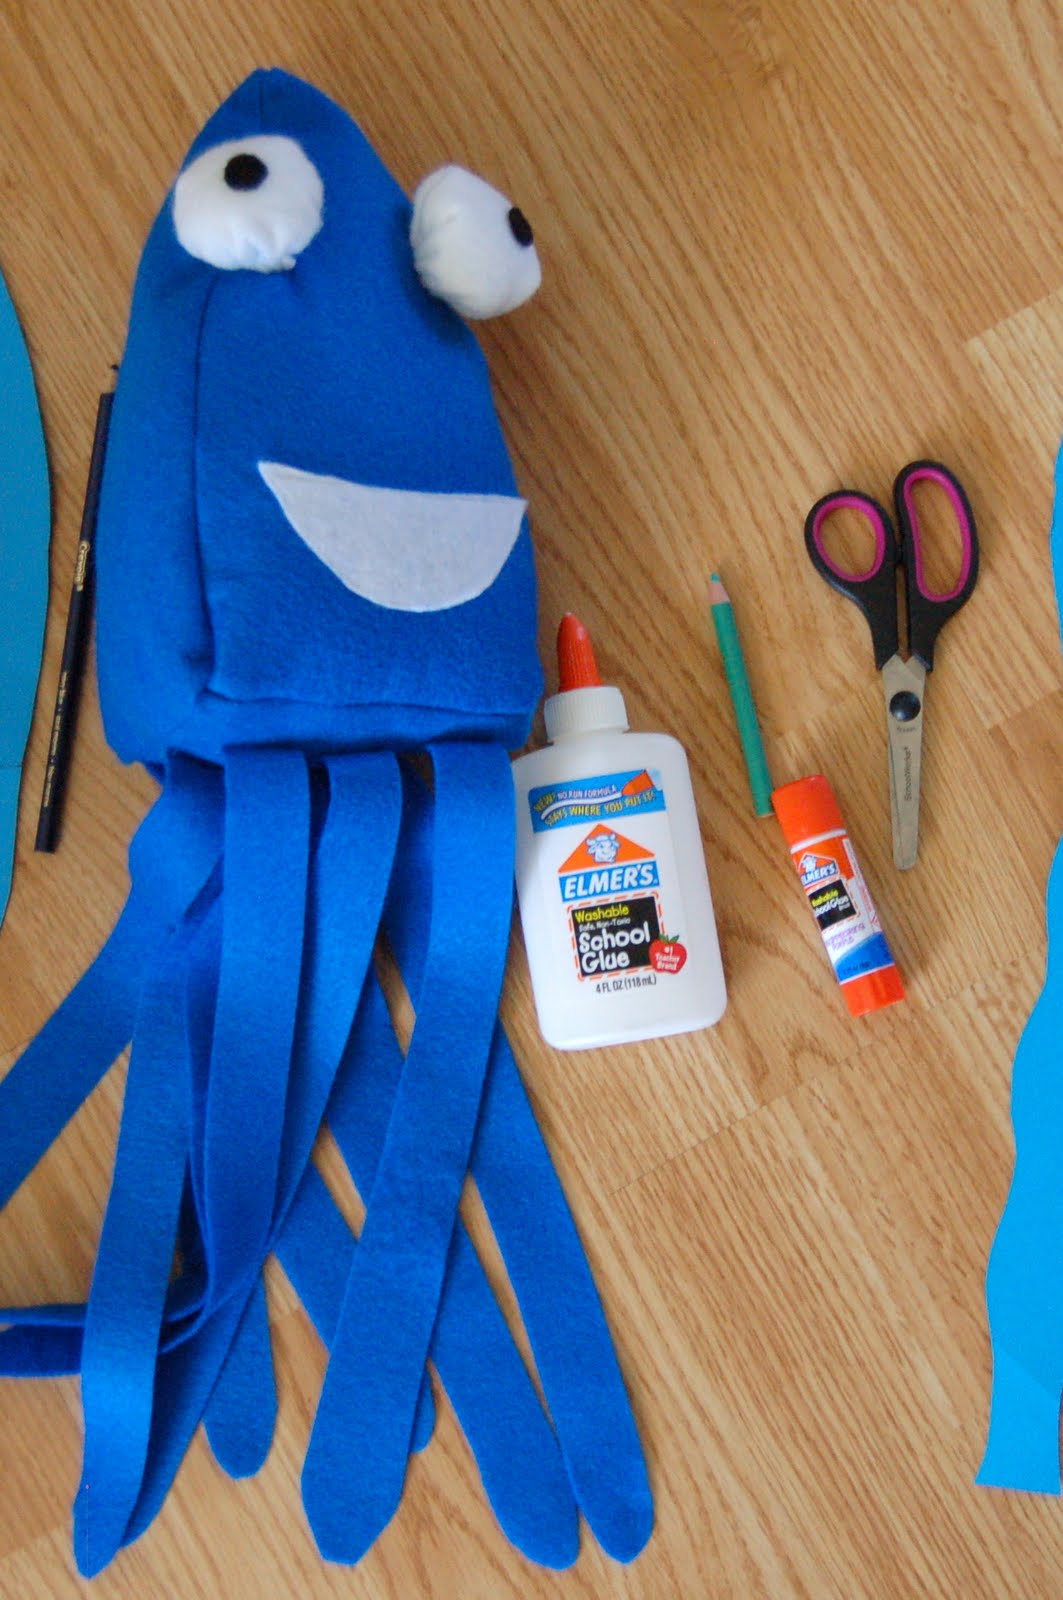
Materials you will need:
-5 to 6 sheets of blue felt
-1 sheet of white felt
-small piece of black felt for eyes (I just used scraps I had)
-fabric glue (unless you want to sew the black eyes on)
-Fiberfill
Directions:
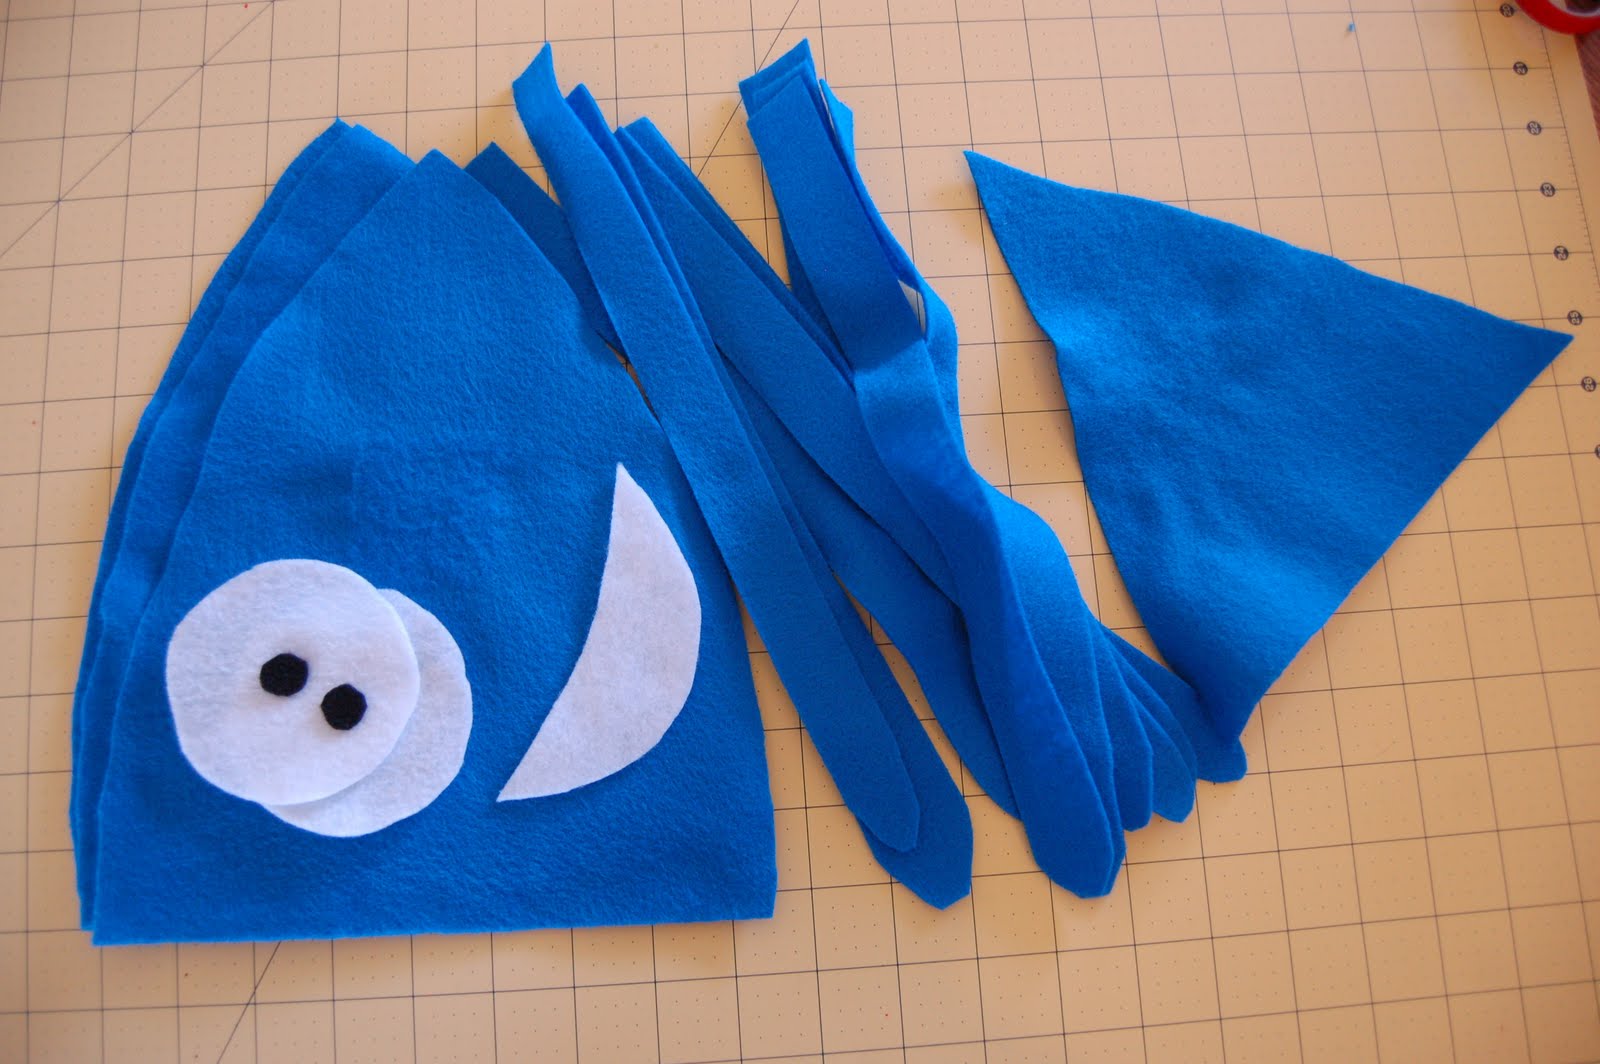
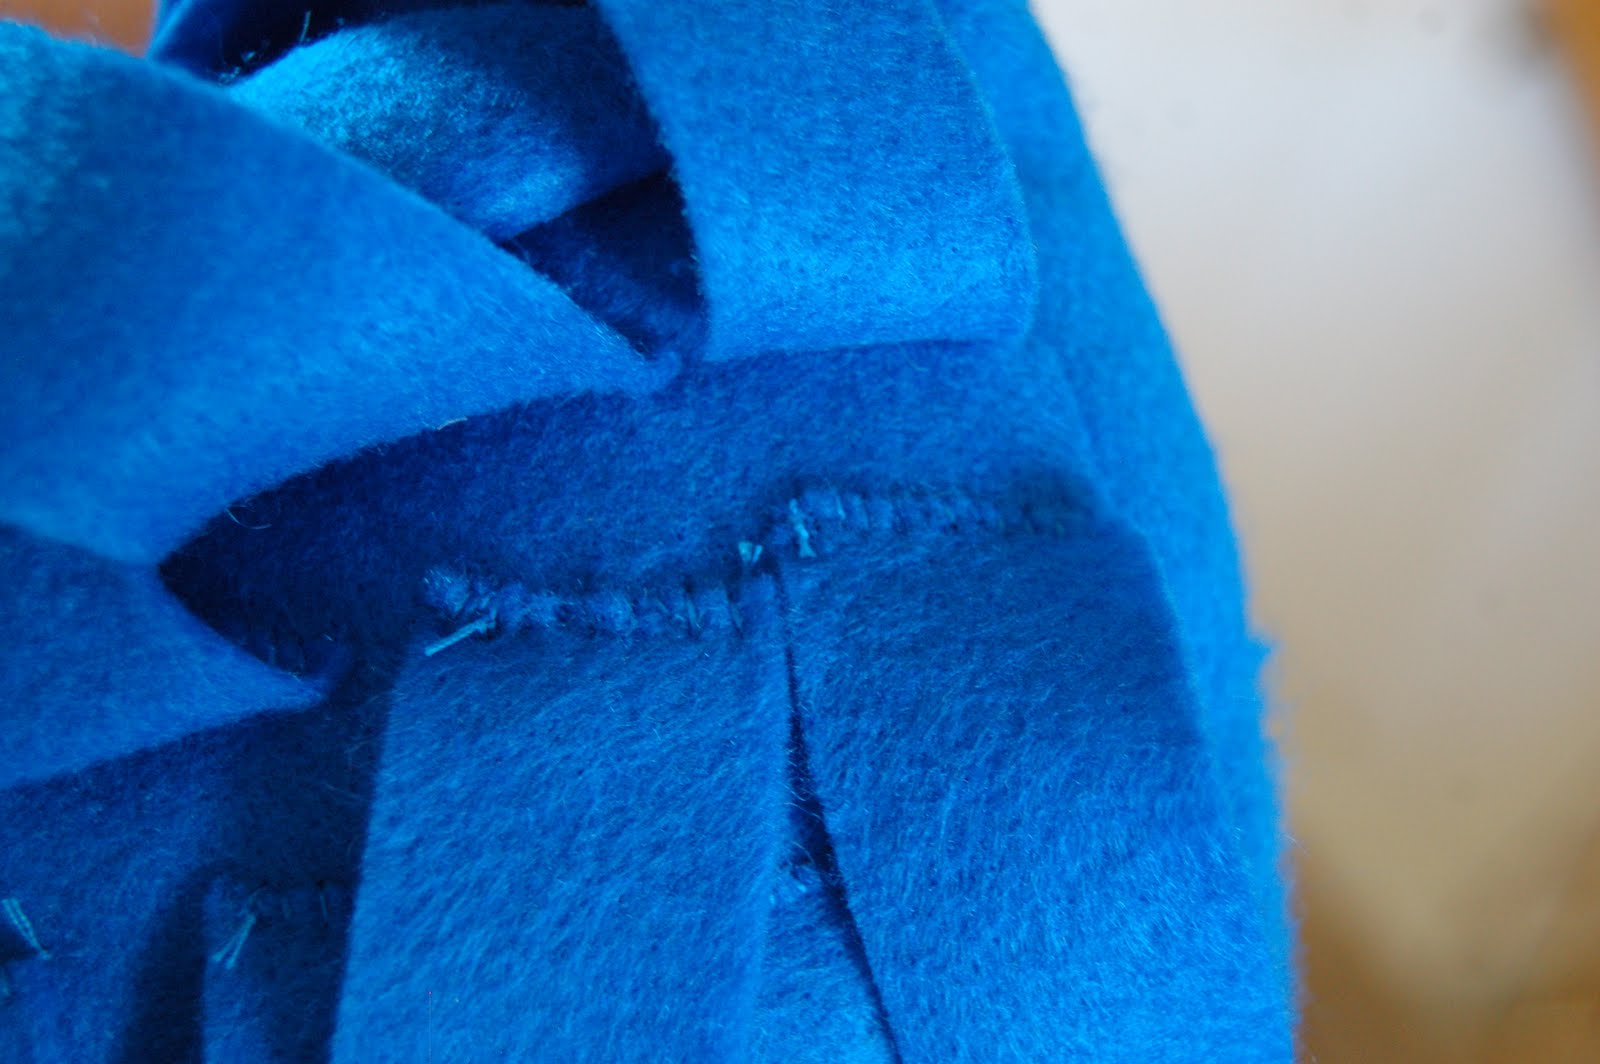
1. Cut out all your pieces. With using the pattern you should have 3 large triangles, 1 smaller triangle, 2 white circles, a white mouth and 2 black small circles. Not included in the pattern are the 10 legs. I simply cut 1″ strips out of the blue felt and rounded the corners on one end.
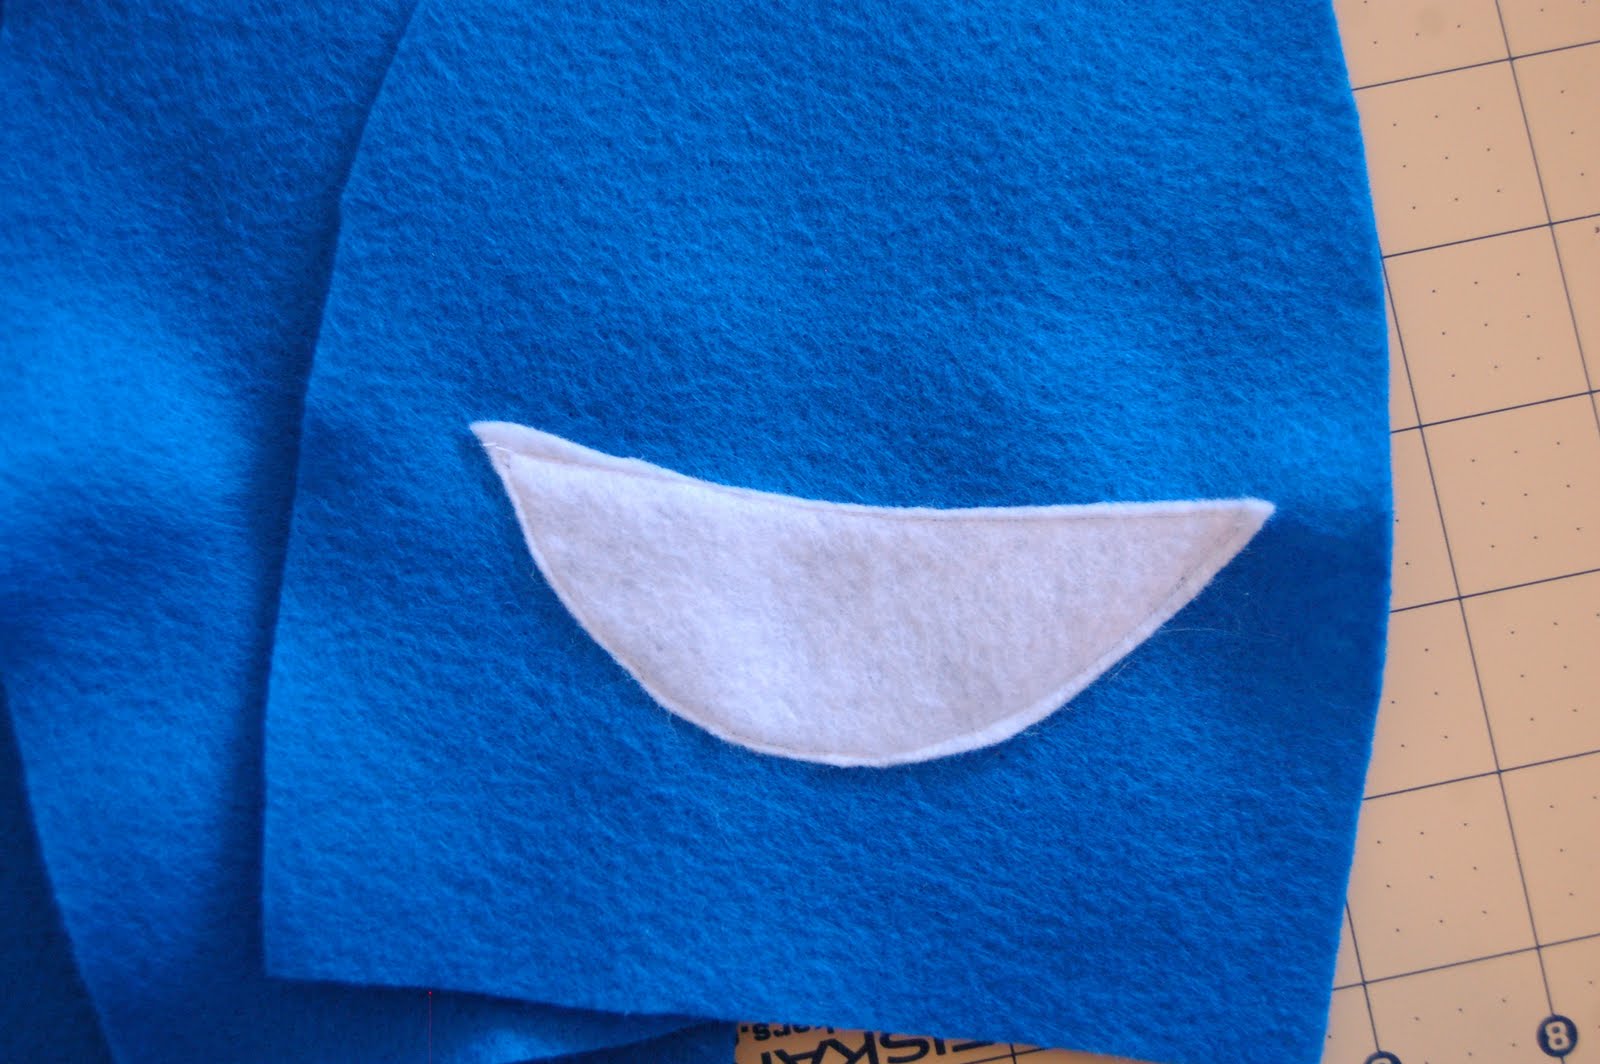
2. Sew your white mouth onto one of your large triangles.
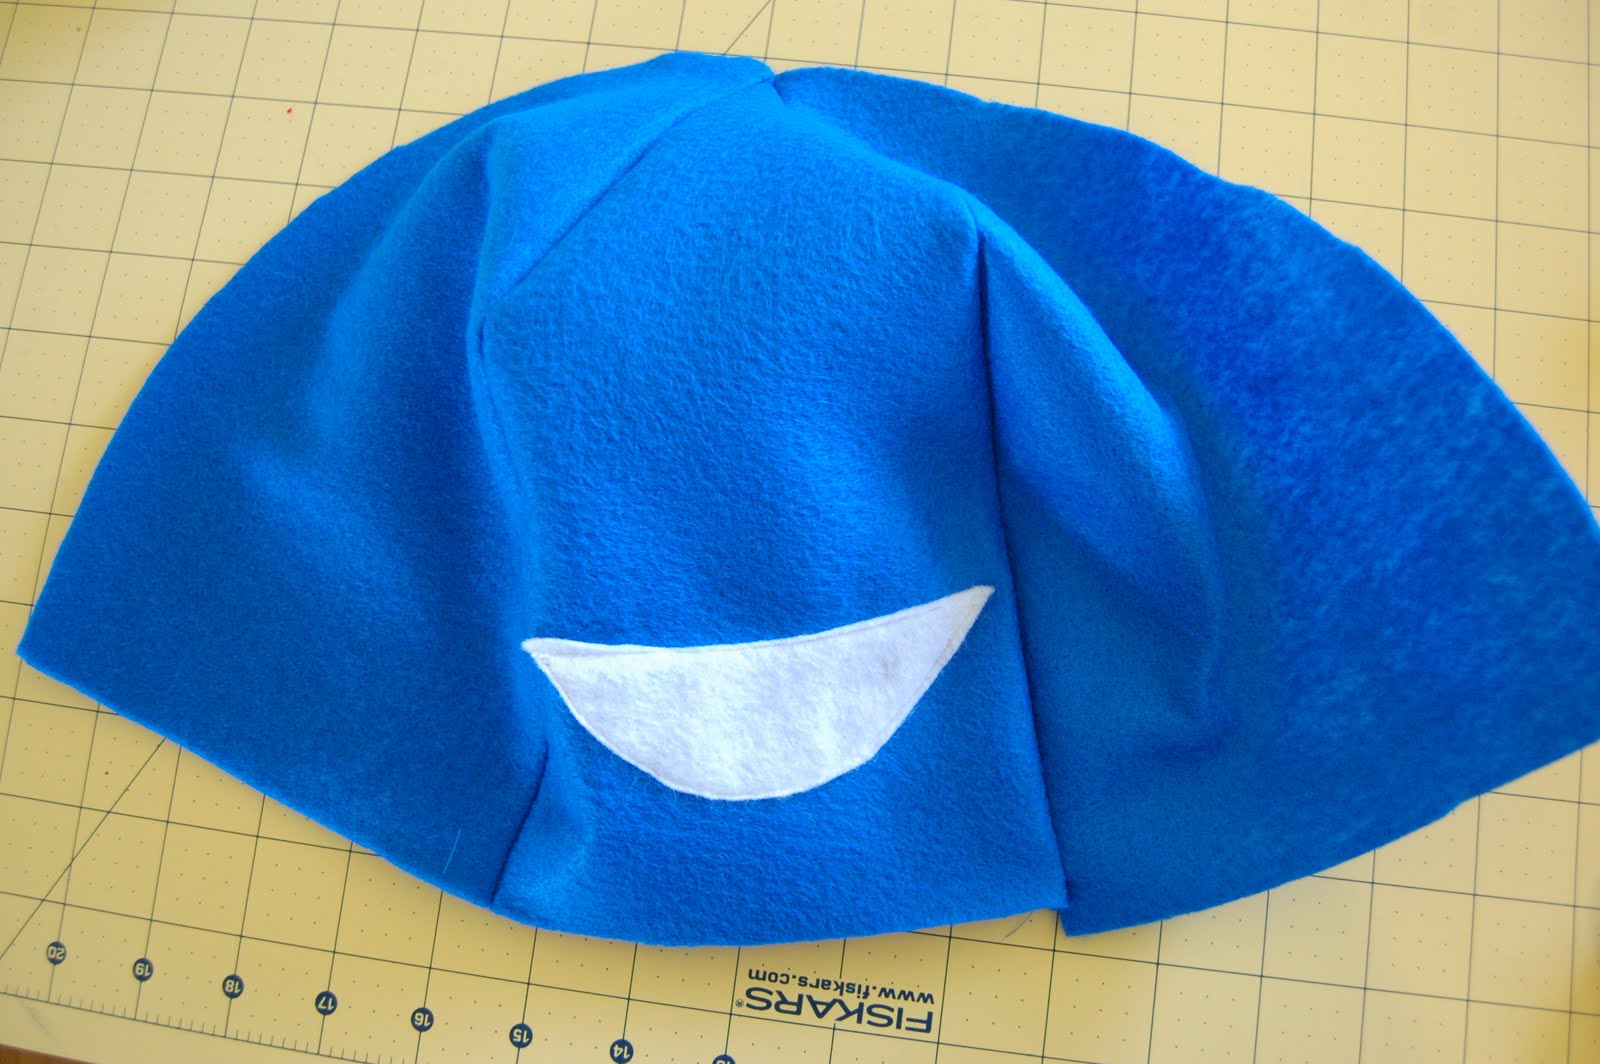
3. Sew a big triangle to each side of the face, making sure the seam is on the back of the face. Seriously, double check this because I accidentally made this mistake and had to start all over once. hahaha (I’m a beginner what can I say!) It should look like this at this point.
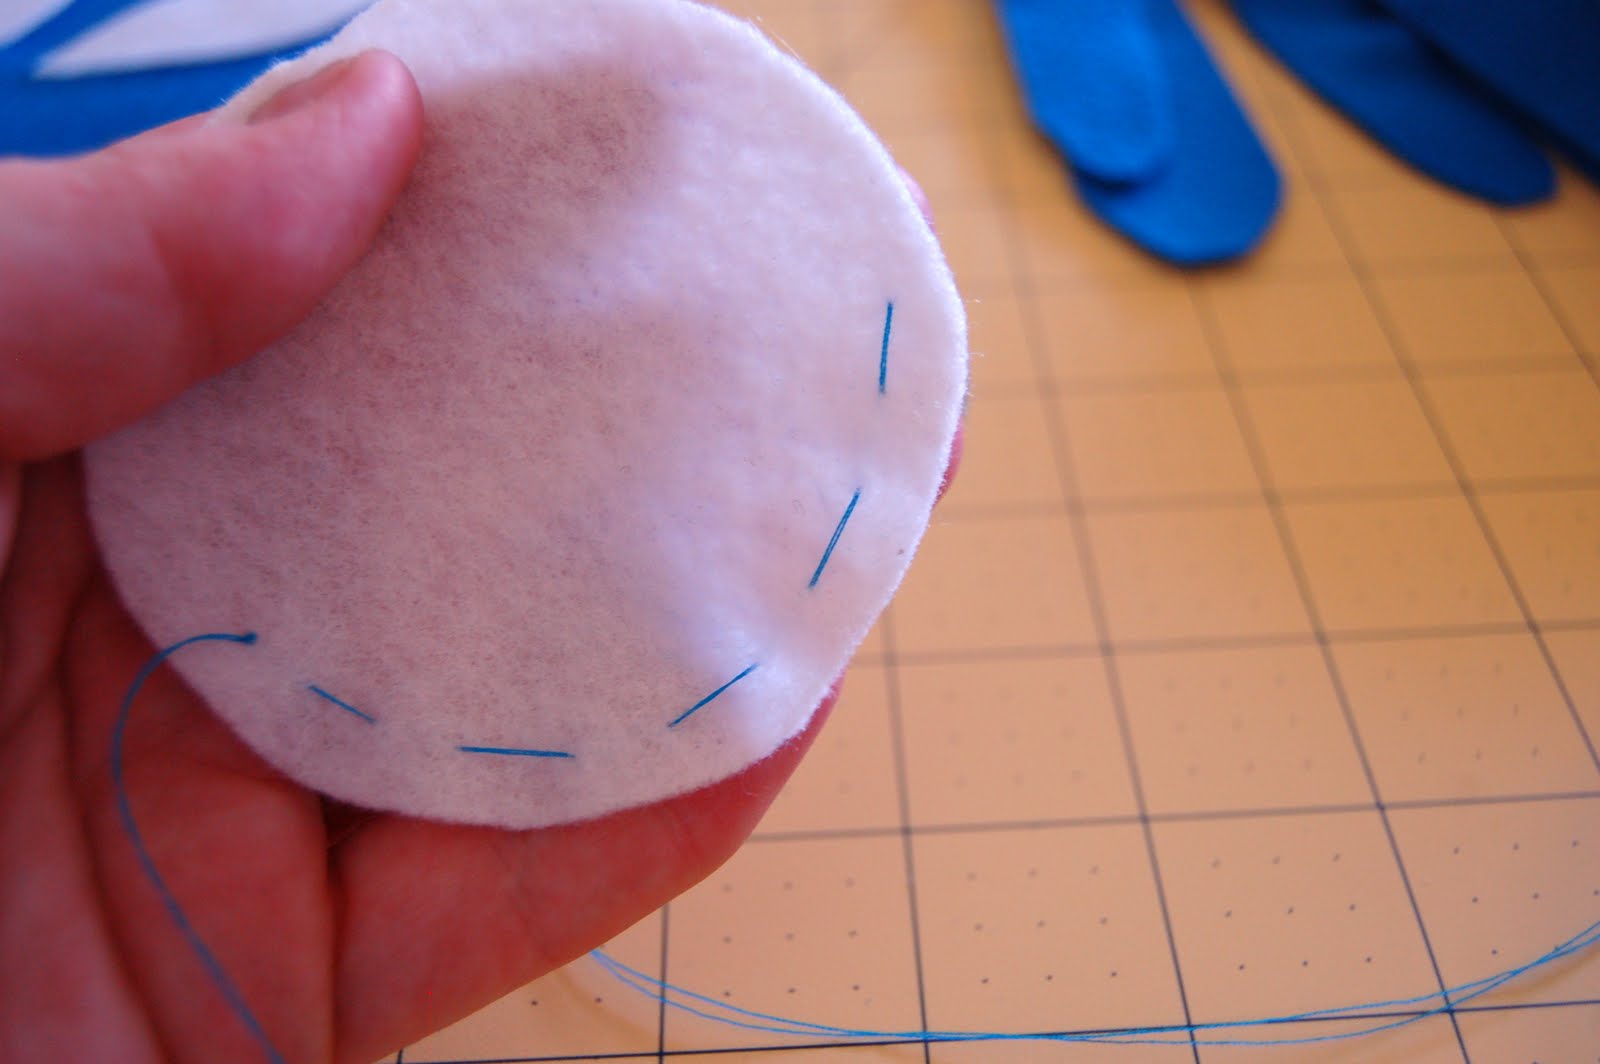
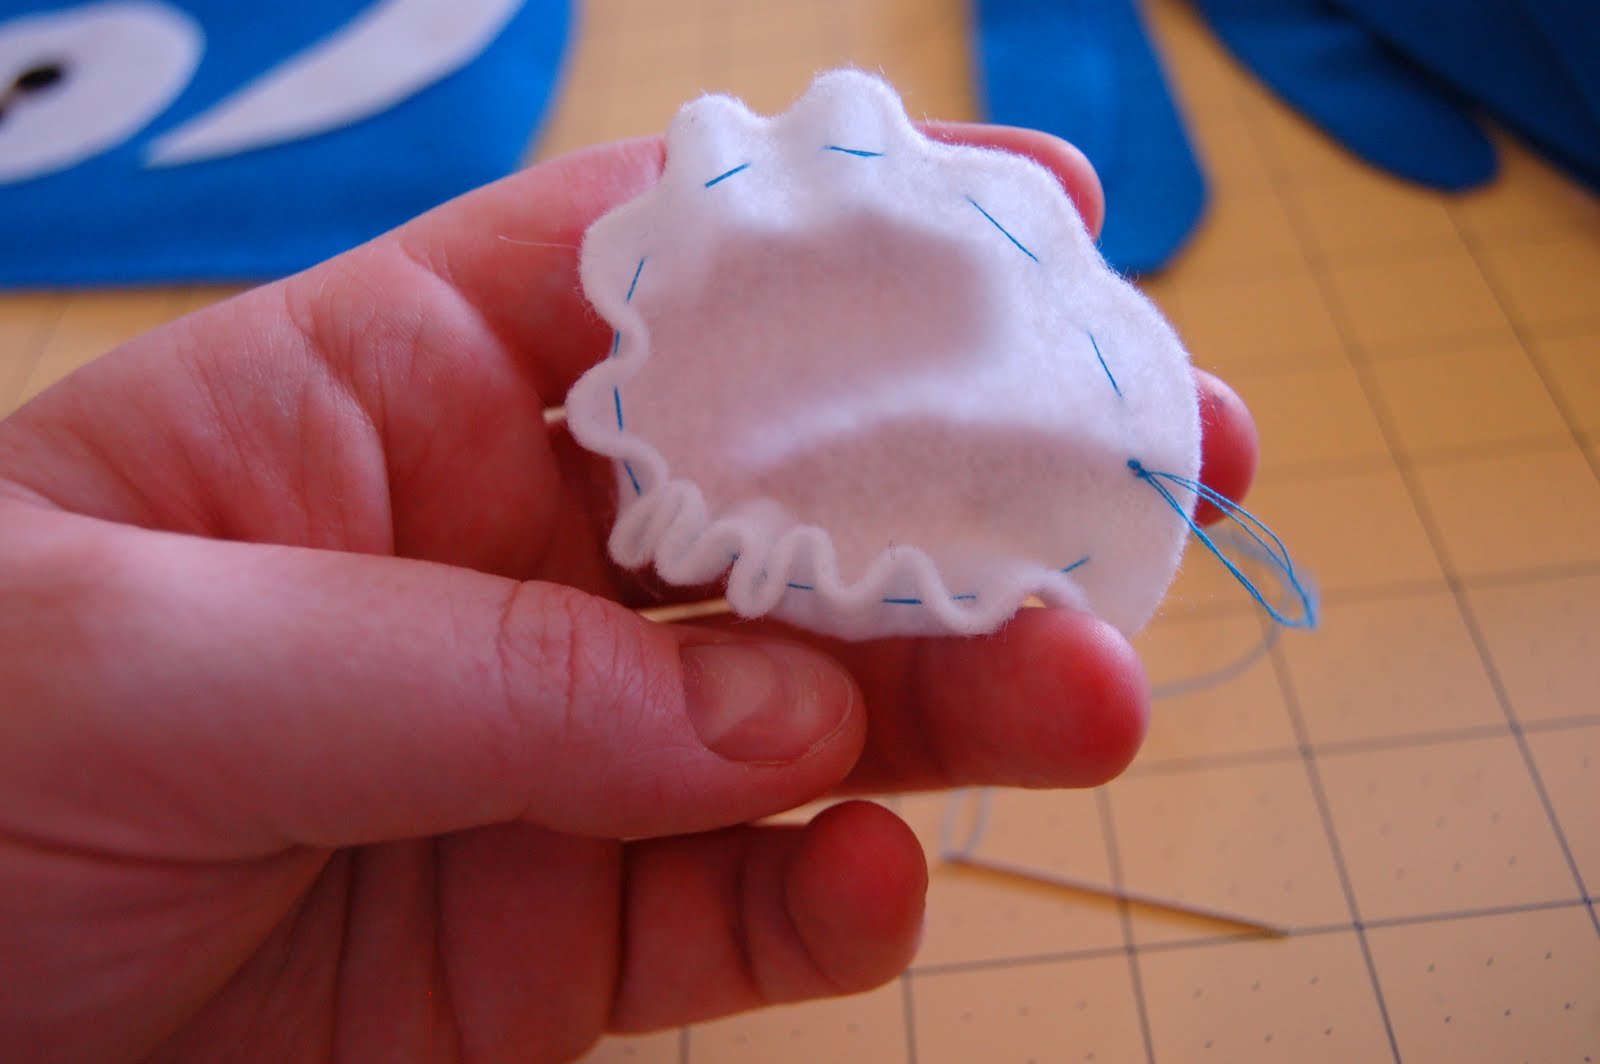
4. Next I made my eyes and sewed them on. Start by sewing a running stitch all the way around the eye, 1/4″ from the edge.
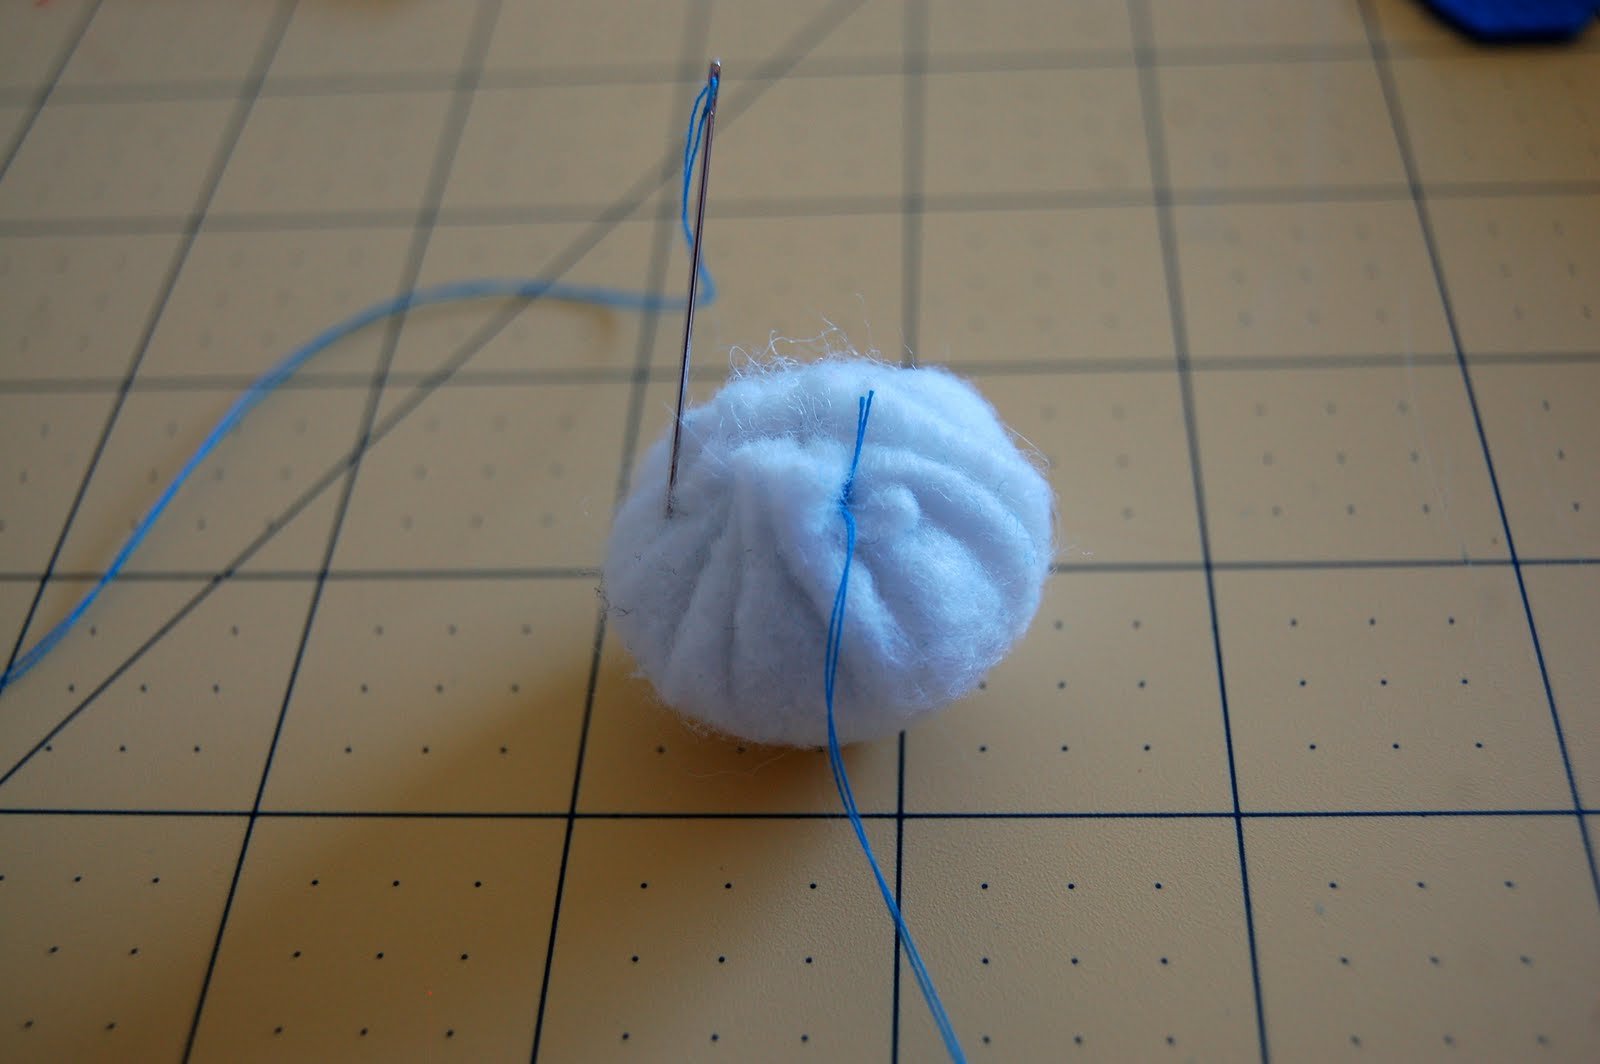
5. Start drawing it up tight by pulling the tail of your thread. Make sure to leave just enough room to stuff it full of fiberfill.
6. After filling it with fiberfill, pull it tight and tie a firm knot. I just went ahead and left the thread tail and needle attached and sewed it directly on the squid face at this point. Repeat for second eye and attach it to the squid face also.
7. Now finish sewing together the back seam of the body.
8. Next, turn the body wrong side out and sew the smaller triangle onto the bottom of the body on all three sides, leaving just enough room on the back of the squid to turn it right side out and fill with fiberfill. After it’s stuffed with fiberfill, sew your open hole. (Before sewing on the smaller triangle I placed my body on top of the triangle to check the fit. I suggest doing this in case you need to adjust the size a bit before sewing it on.)
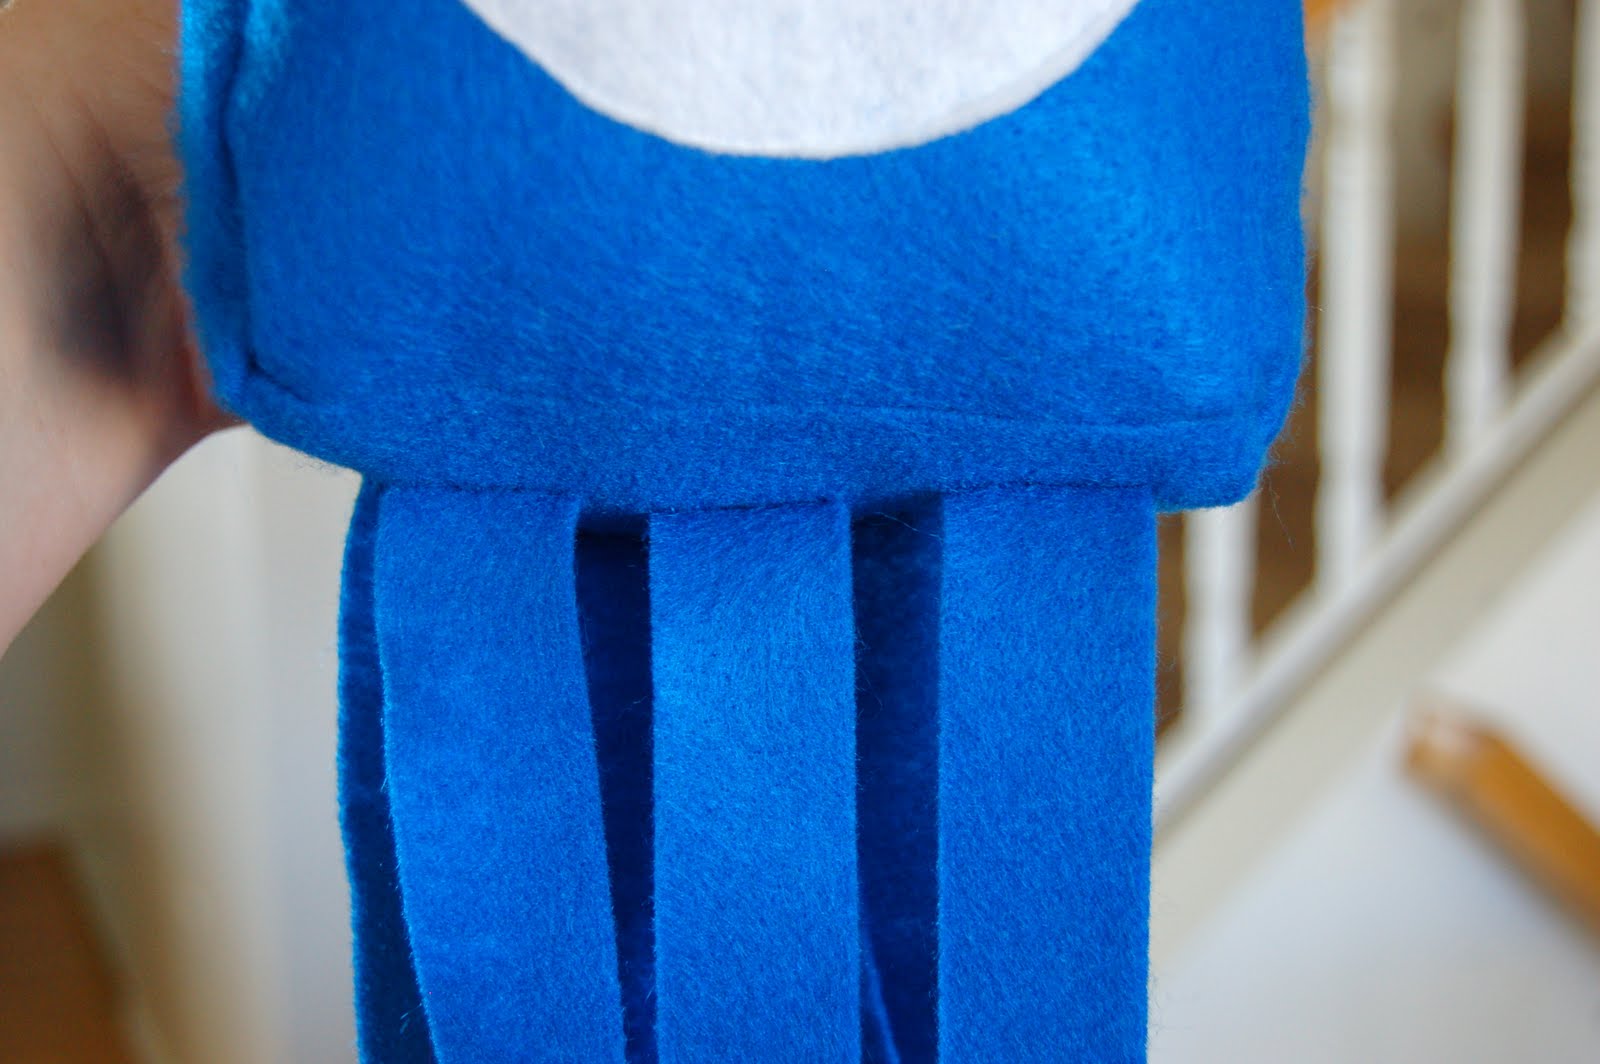
9. Take your 10 legs and pin them where you’d like them on the bottom of the squid. Sew them by hand onto the bottom of the squid. (it really doesn’t take the long)
10. When you flip it over it looks like this.
11. All you have to do now is glue on the black pupils using fabric glue and let it dry completely.
I hope you enjoyed this activity and enjoy all the new friends you have at your house. I know my kids do!!