One of my most favorite family activities during the fall season is taking drives up into the mountains to see all of the gorgeous foliage and colored leaves on the trees.
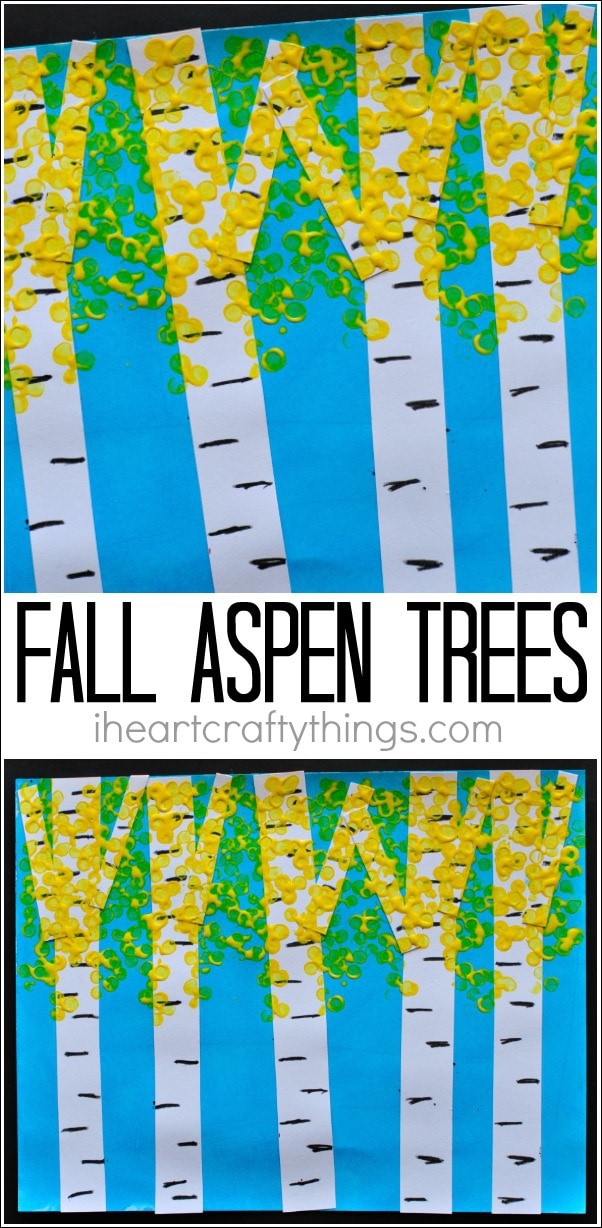
The vibrant reds and oranges are so stunning, but my absolute favorite is big patches of yellow-leaved aspen trees. This fun family activity was the inspiration behind this beautiful fall aspen tree art.
It’s perfect for a wide range of kids so the entire family can enjoy this fun project.
This post contains affiliate links to the products mentioned. Read our disclosure policy for more information.
How to Make Beautiful Fall Aspen Tree Art
Supplies Needed for this Beautiful Fall Aspen Tree Art
– white cardstock
– blue watercolors (we love liquid watercolors)
– paintbrush
– black crayon
– yellow acrylic paint
– 3 pencils
– rubber band
– paper plate
– scissors
– glue stick
Directions for this Fall Tree Art
1. Start by painting a sheet of white cardstock with your blue watercolors. Set it aside to dry completely. Note: You could skip this step and just use blue cardstock for a background if you’d like.
2. Cut out aspen tree trunks from another piece of white cardstock. Then cut out a few branches for the tops of the trees.
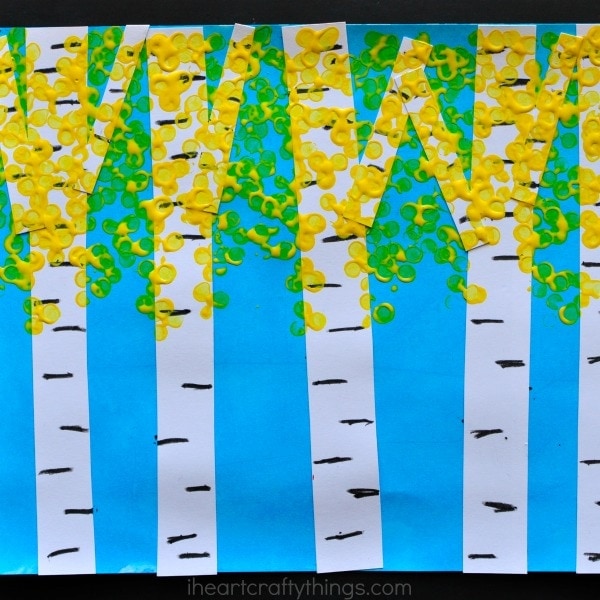
3. When your watercolors are dry, glue your aspen trees onto your paper, along with the branches. Use your black crayon to draw small lines all over your trees to mimic that classic aspen tree look.
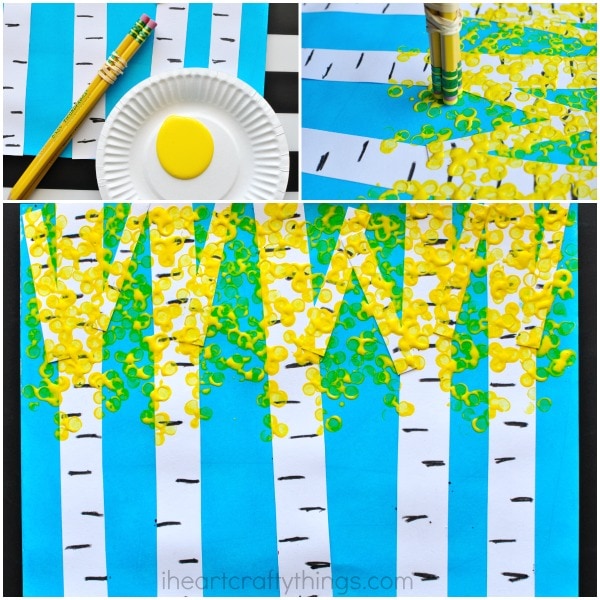
4. Group three pencils together and use a rubber band to secure them together. This creates a fun stamp that stamps three leaves at a time. If you want to use the pencils as individual stampers that works too.
5. Pour a small amount of yellow paint onto a paper plate. Dip your pencil eraser stamper into the yellow paint and then stamp it onto your paper around the top of your aspen trees. Continue dipping and stamping, filling the tops and branches of your aspen trees with bright, yellow leaves.
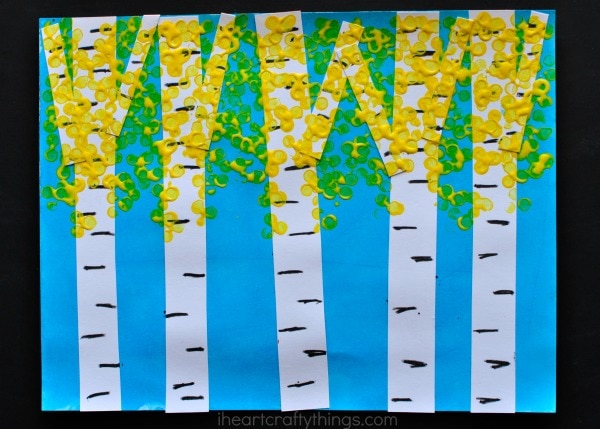
When your fall aspen tree art is dry, it will remind you of taking a drive through the mountains on a cool, beautiful fall day.