Thought I’d post this today in case you missed our guest post over at Adventures in Mommy Land the other day.
One of the books we just finished reading was Rudolph the Red-Nosed Reindeer by Robert L. May.


They are so simple to make and since we added a couple jingle bells to the antlers, my kids have been merrily wandering around the house jingling their puppets all day.
To make a reindeer puppet, start by folding a light brown sheet of cardstock paper in half then open it back up. Use a glue stick to add glue to the top and side of the right half (see picture below).

Then fold your paper back down to glue it shut.

Next use scissors to round the bottom of the paper to give it the shape of a reindeer face.
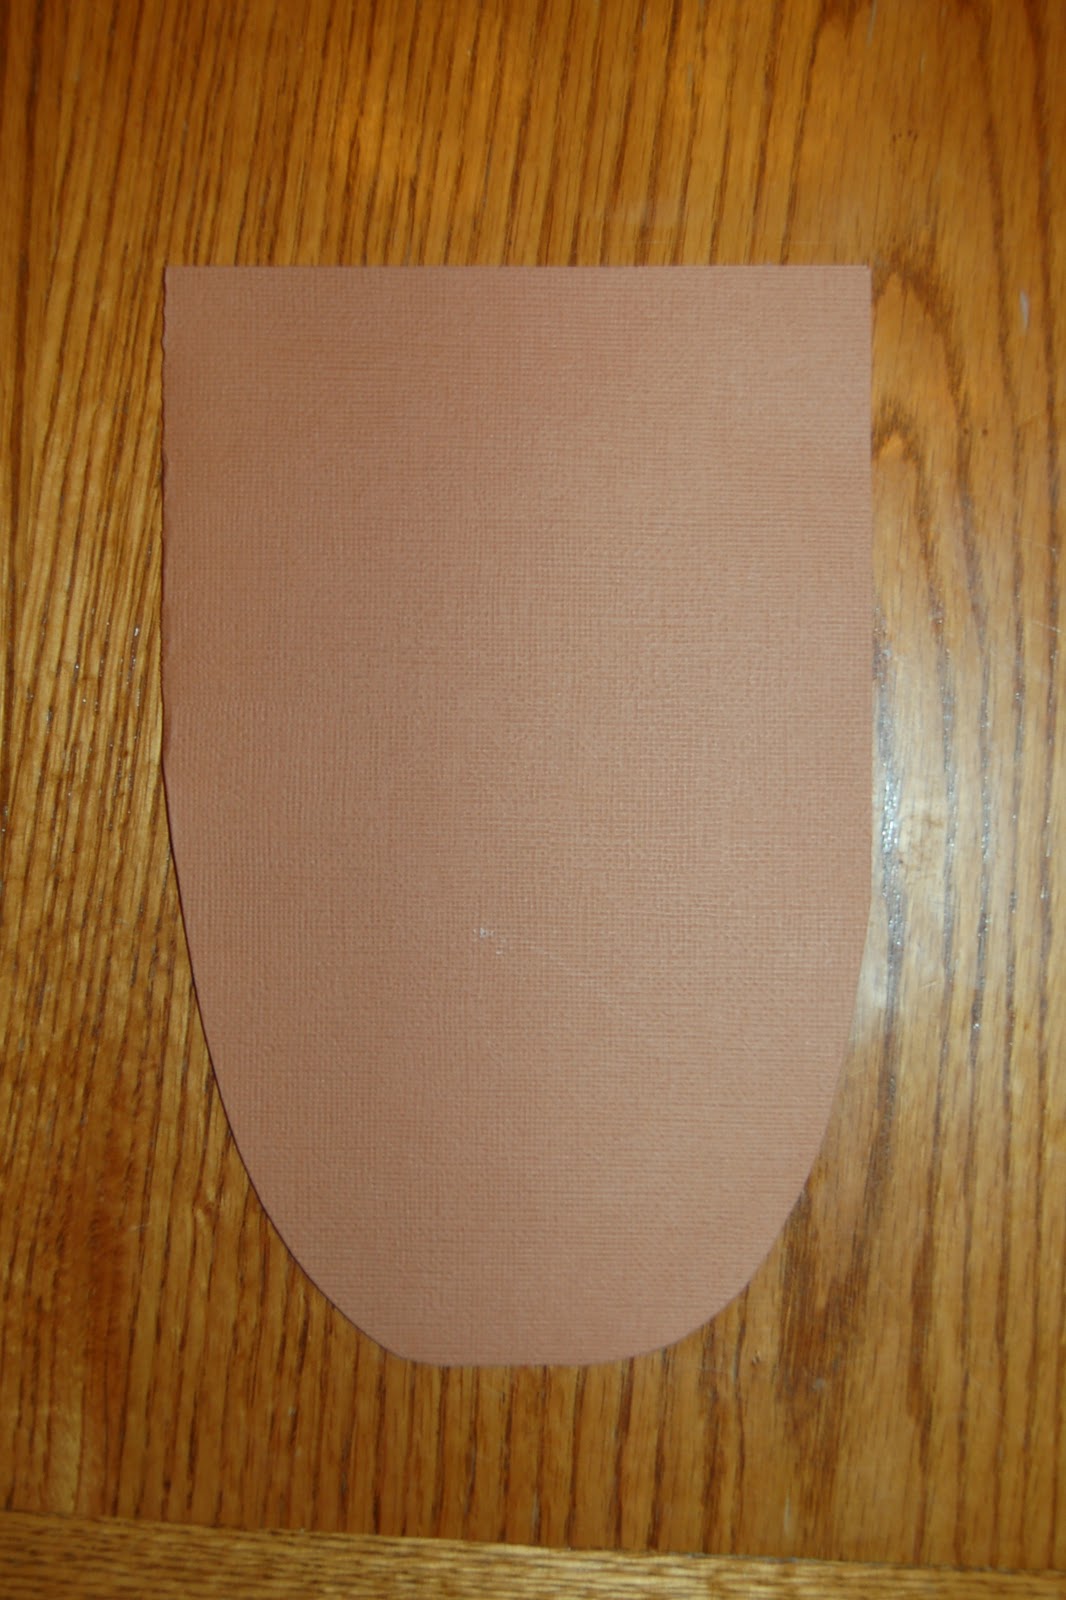
You can see below how the bottom opens so the child can put their hand in it.

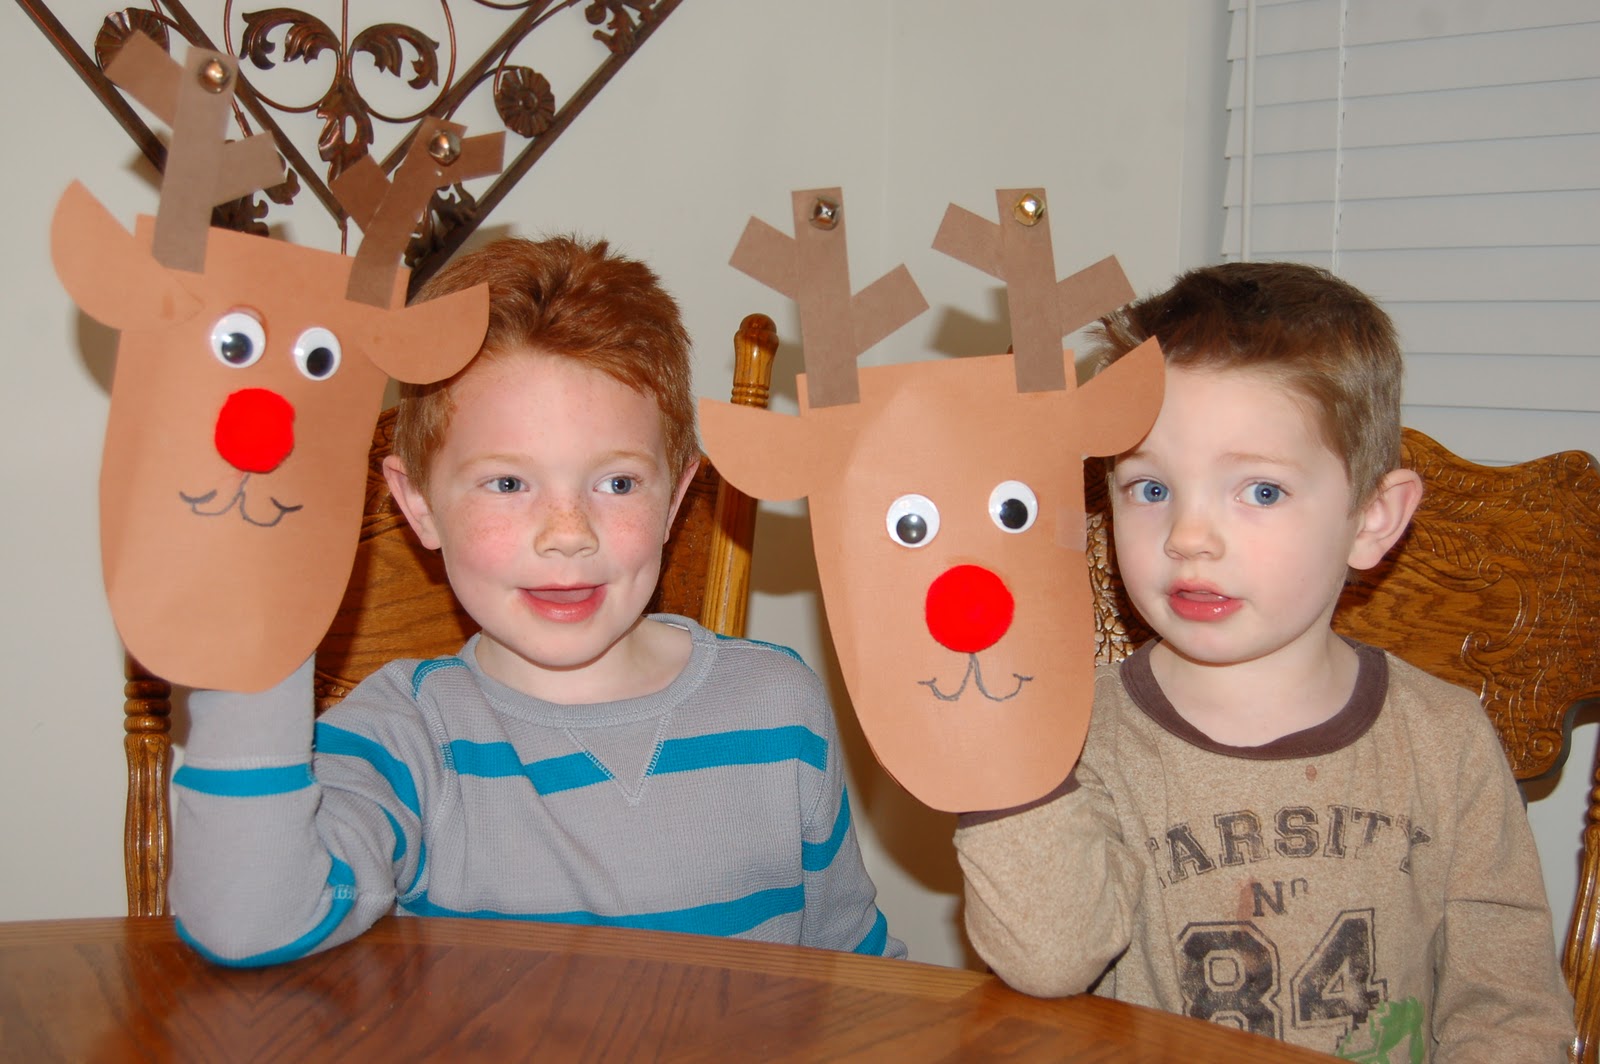
To decorate the reindeer’s face you will need 2 large googly eyes, a large red pom-pom, a 3″ light brown circle cut in half, 2 strips of 1″ x 4″ dark brown paper and 4 strips of 1″ x 2″ dark brown paper.

Have your child make the antlers by gluing 2 of the smaller strips to each larger strip of dark brown paper. Then glue the antlers onto the reindeer along with the half circles which make ears. Then glue on the eyes and nose. I gave my boys a black marker to draw on a mouth.

For added fun, I used my hot glue gun to put a jingle bell on the top of each antler. All you have to do now is get out your camera and take a picture of your kids singing “Rudolph the Red-Nosed Reindeer” while jingling their cute puppets. 🙂
Happy Crafting!!