After making our craft we had lots of fun making pretend scenes with them to take some pictures of them.. Nothing quite like being a big kid, right?! 😉
Materials you will need:
- 2 Large Pieces or Craft Paper (We used the white roll of paper that came with our art easel.)
- Dot Markers
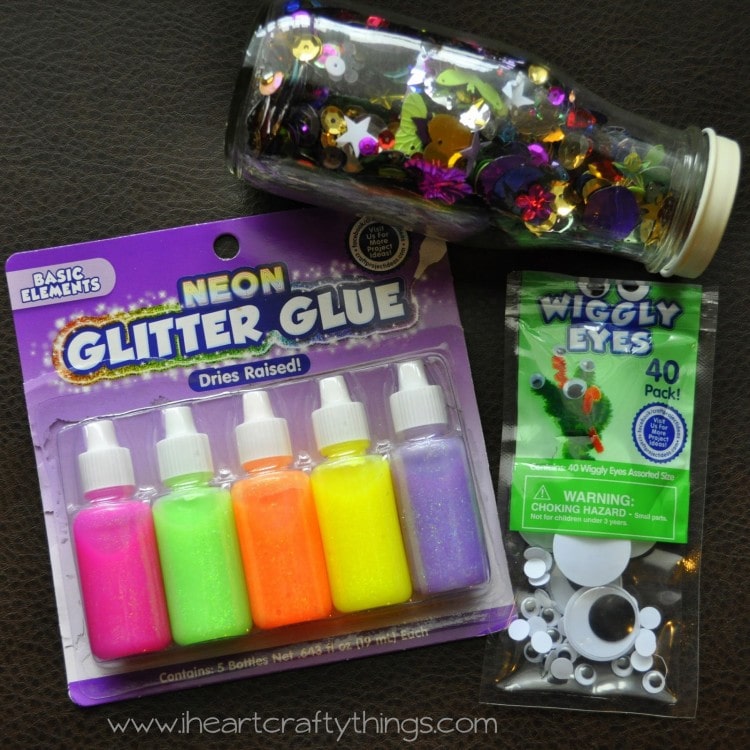
- Neon Glitter Glue
- Large Wiggly Eyes
- Sequins or Spangle Mix
- Sheet of Cardstock Paper (color of your choice)
- Scissors
- Stapler
- 2-3 Plastic Grocery Sacks
Directions:
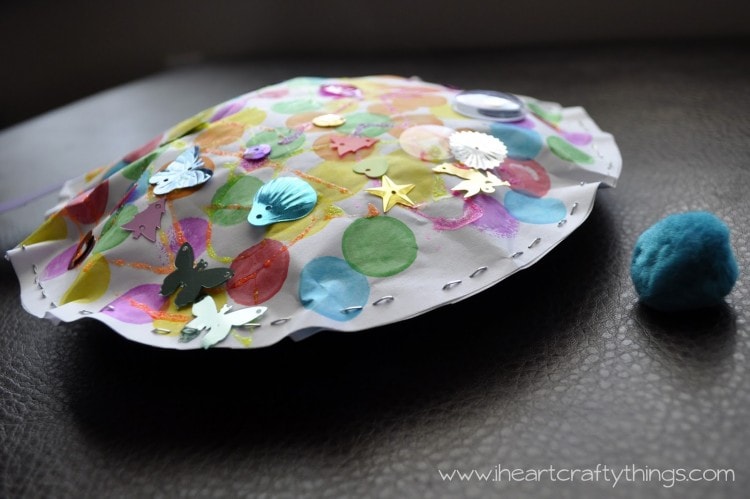
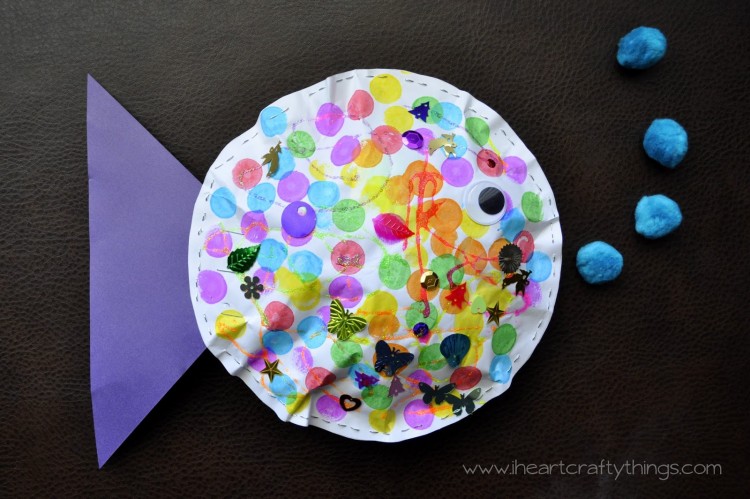
1. Decide whether you want to make an oval fish or circle fish and trace two large circles or ovals onto your craft paper. I used a circle mixing bowl and an oval serving dish from the kitchen to trace my shapes on my paper.
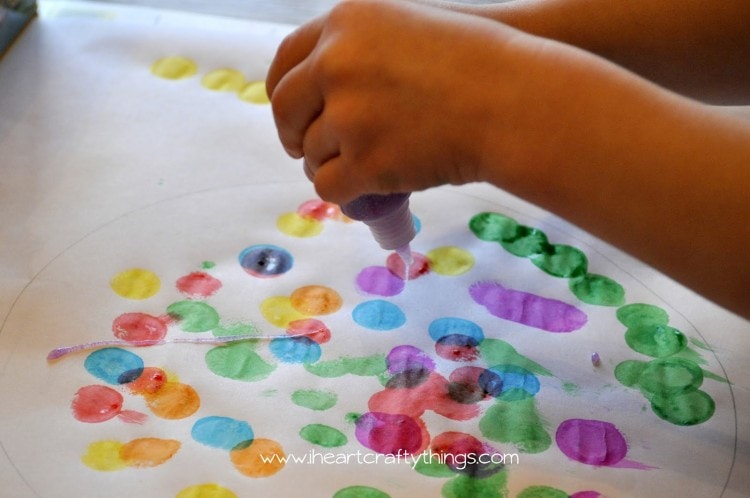
2. Use the Dot Markers to decorate both circles or ovals.

We were recently sent some products from our friends at Craftprojectideas.com to try and I was excited to use them on this project. (We received these products for free from Craftprojectideas.com but all opinions are 100% my own.) You can find the Neon Glitter Glue, Wiggly Eyes and Spangle Mix at your local Walmart in the crafts section.
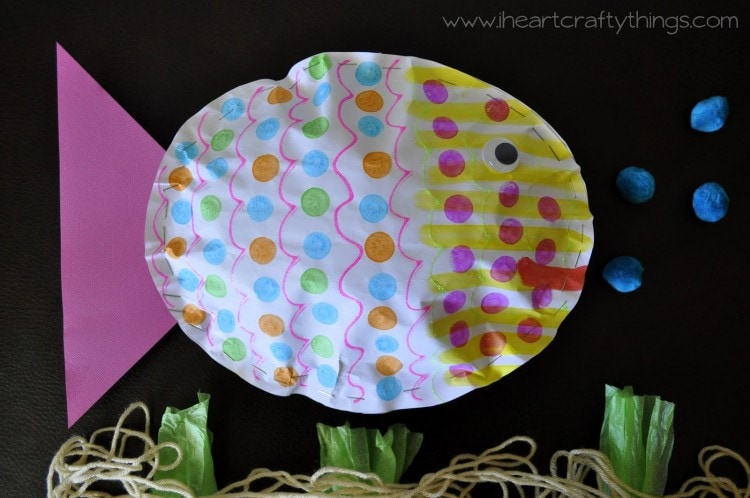
3. Use the Neon Glitter Glue to continue decorating both sides of your fish. Not only do I love how bright the neon colors are, but the glue dries raised and that makes them extra fun!
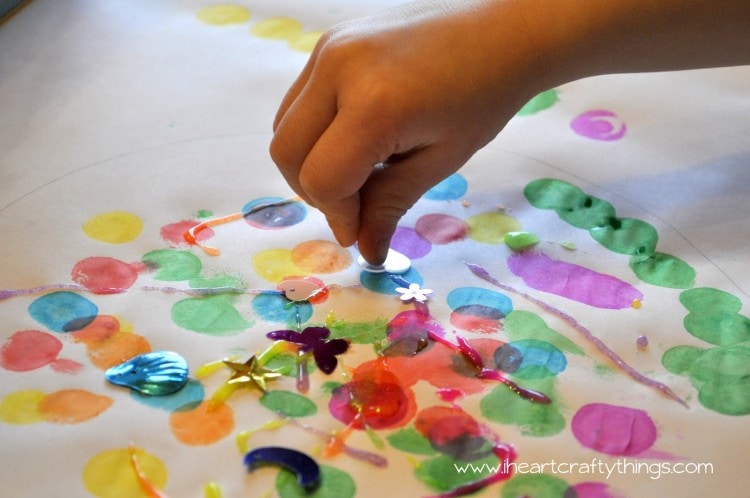
4. While the Neon Glitter Glue is still wet, you can decorate your fish further with some of the spangle mix, making sure to add the sequins onto the glue. The spangle mix is especially fun because there are so many fun shapes in the mix. Also, glue a large wiggly eye onto your fish. Now let your fish pieces dry completely.
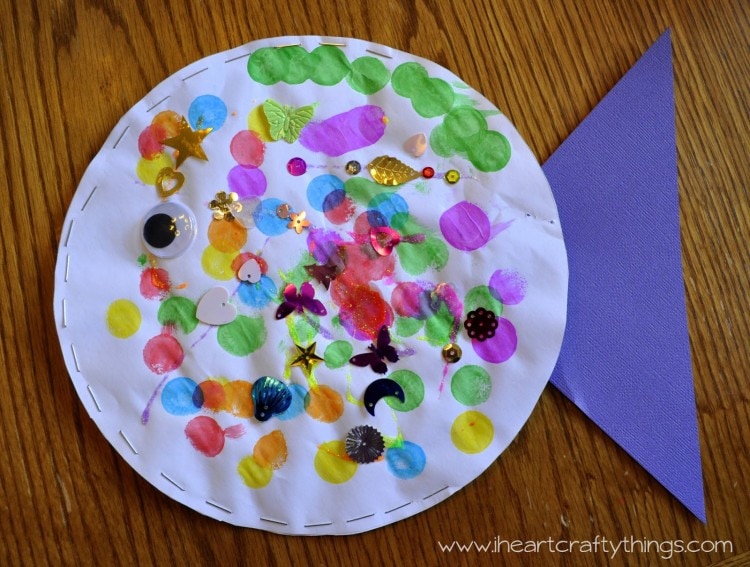
5. While your fish pieces are drying cut a triangle out of your colored cardstock paper for the fish tail fin.
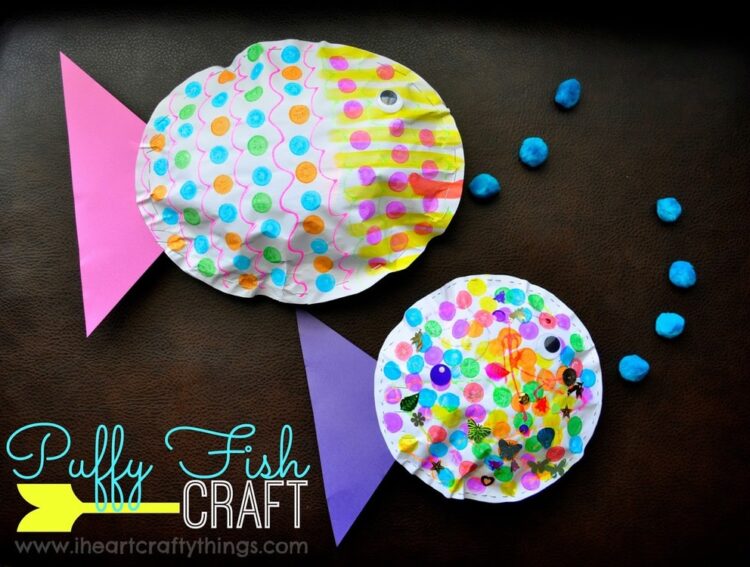
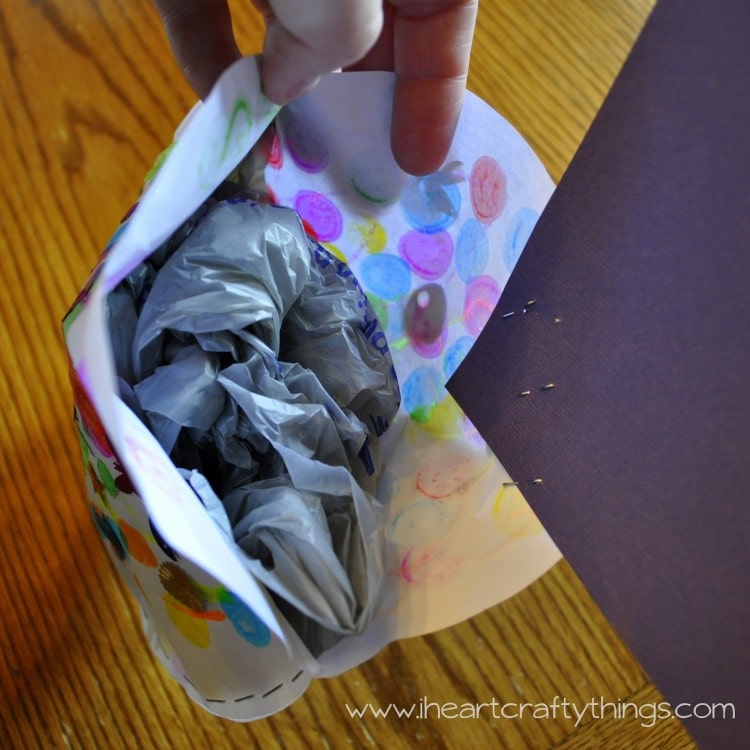
6. After your fish pieces are dry, cut them out. Line them up with each other with the decorated sides both facing out. Start stapling your fish pieces together from the front and up to the top and then from the front and down to the bottom. Don’t staple it all the way around. Leave an opening at the end of the fish to stuff the fish! At this point I stapled my tail fin to one of the circle pieces. (An adult needs to do the entire process of stapling the fish together.)
7. With the opening left at the end of the fish you are ready to crumple up your grocery sacks and gently stuff them into your fish. We used 2 for the circle fish and 3 for the oval fish. It really just depends on how big your fish is. Once your fish is stuffed, carefully finish stapling the fish pieces shut leaving no opening.
My daughter played with our big puffy fish for days! She had a big tea party with all her stuffed animals and the fish were invited to attend and even received a plastic piece of cake or two. 🙂
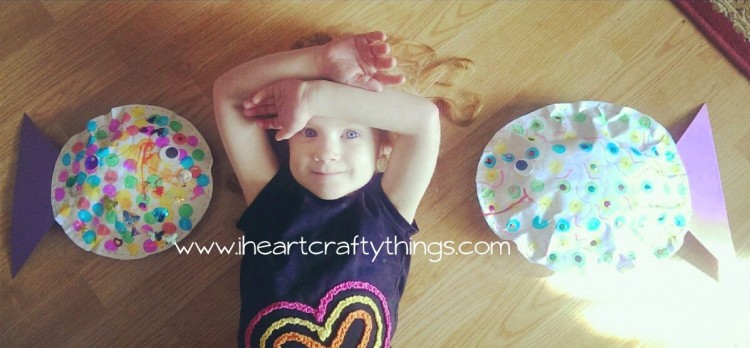
Just to give you an idea of how big our puffy fish were, here is a picture from my Instagram feed that I captured of my daughter soaking in the sun with her fish. These fish would look super fun hung from the ceiling in a classroom.
Follow I Heart Crafty Things on Facebook, Pinterest,
Google+, Twitter, and Instagram!